The TIE Interceptor model is freely available from this website (https://www.myminifactory.com/object/3d-print-tie-interceptor-112711)
The stand that is used is created by the same author (https://www.myminifactory.com/object/3d-print-stand-for-tie-fighter-127608)
The printer I use is an iPrusa mini (https://www.prusa3d.com/category/original-prusa-mini/). This printer is fairly cheap for what it is, but as it comes from Europe, there is a hefty postage fee. However, the quality is good and I do recommend it for large objects like this. For smaller objects, or where detail is required, you should use a resin printer. I use an Anycubic Photon Mono, available from Jaycar (https://www.jaycar.com.au/anycubic-mono-uv-photon-resin-3d-printer/p/TL4422) at the moment.
I started printing this entirely to learn what the printer was capable of. At the time, I printed using 50% draft mode, meaning some quality was sacrificed for speed time. It turns out that for this scale, this faster print speed was absolutely fine.
Let me take you through the journey.
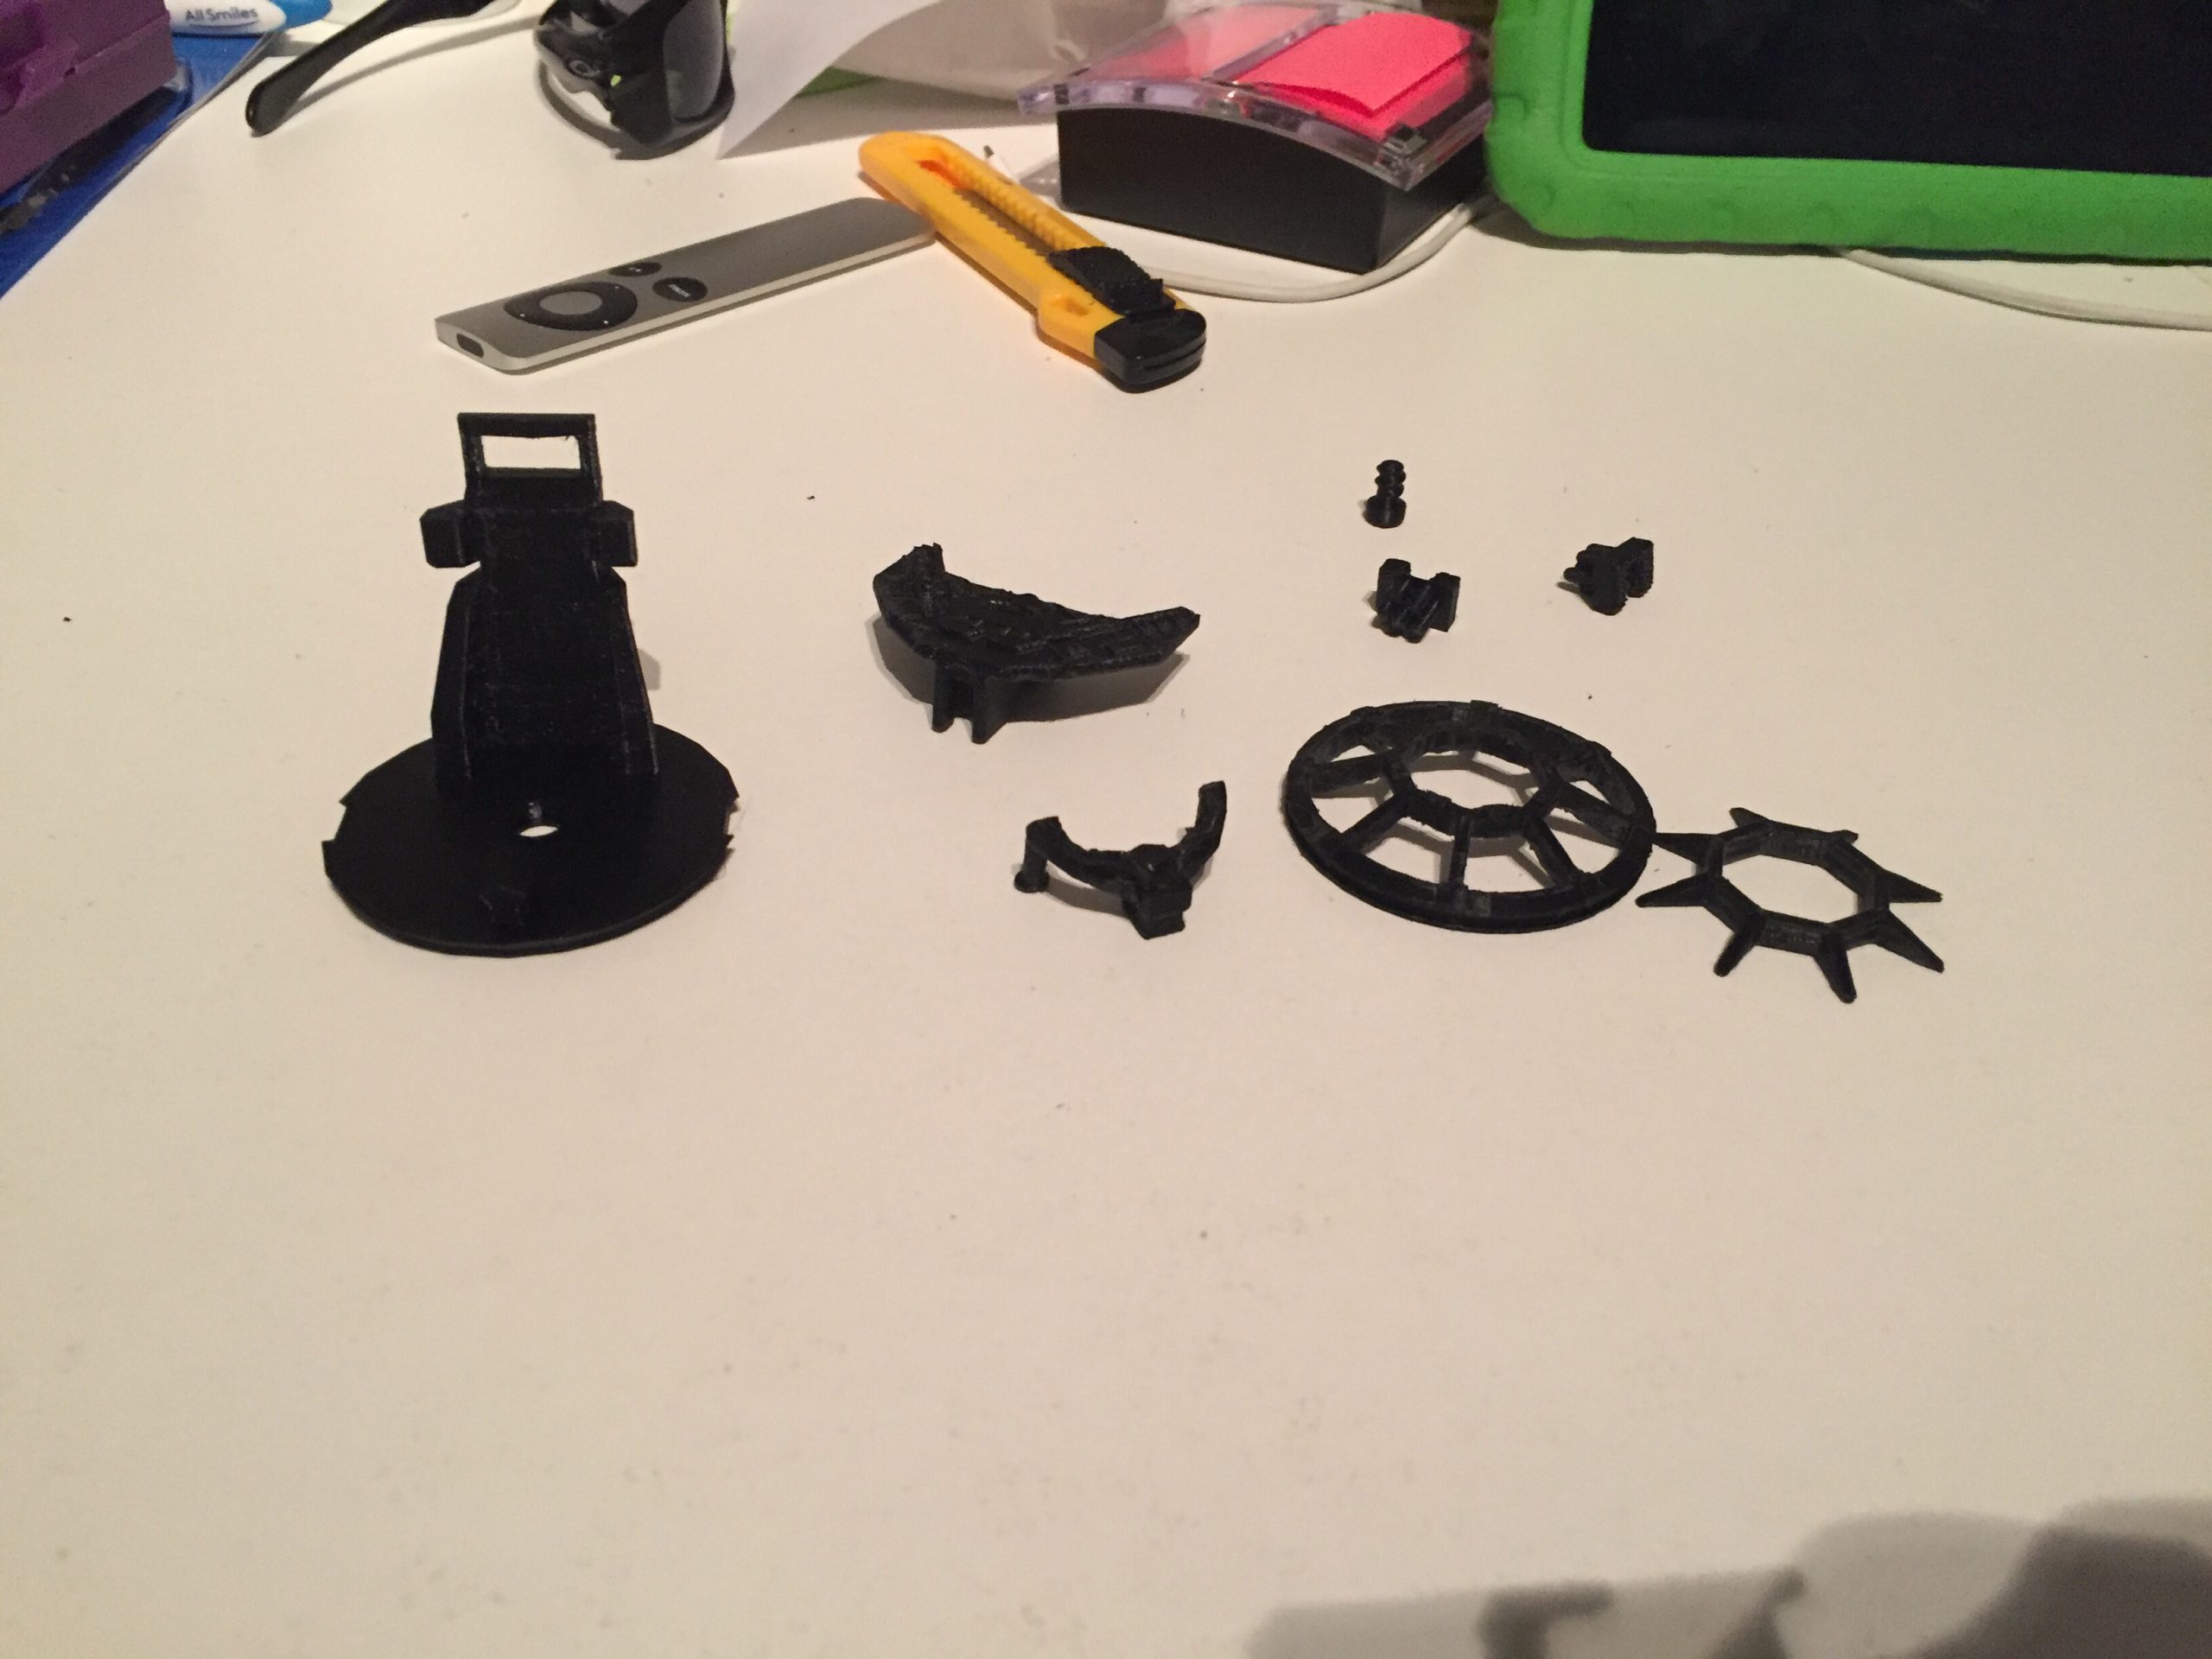
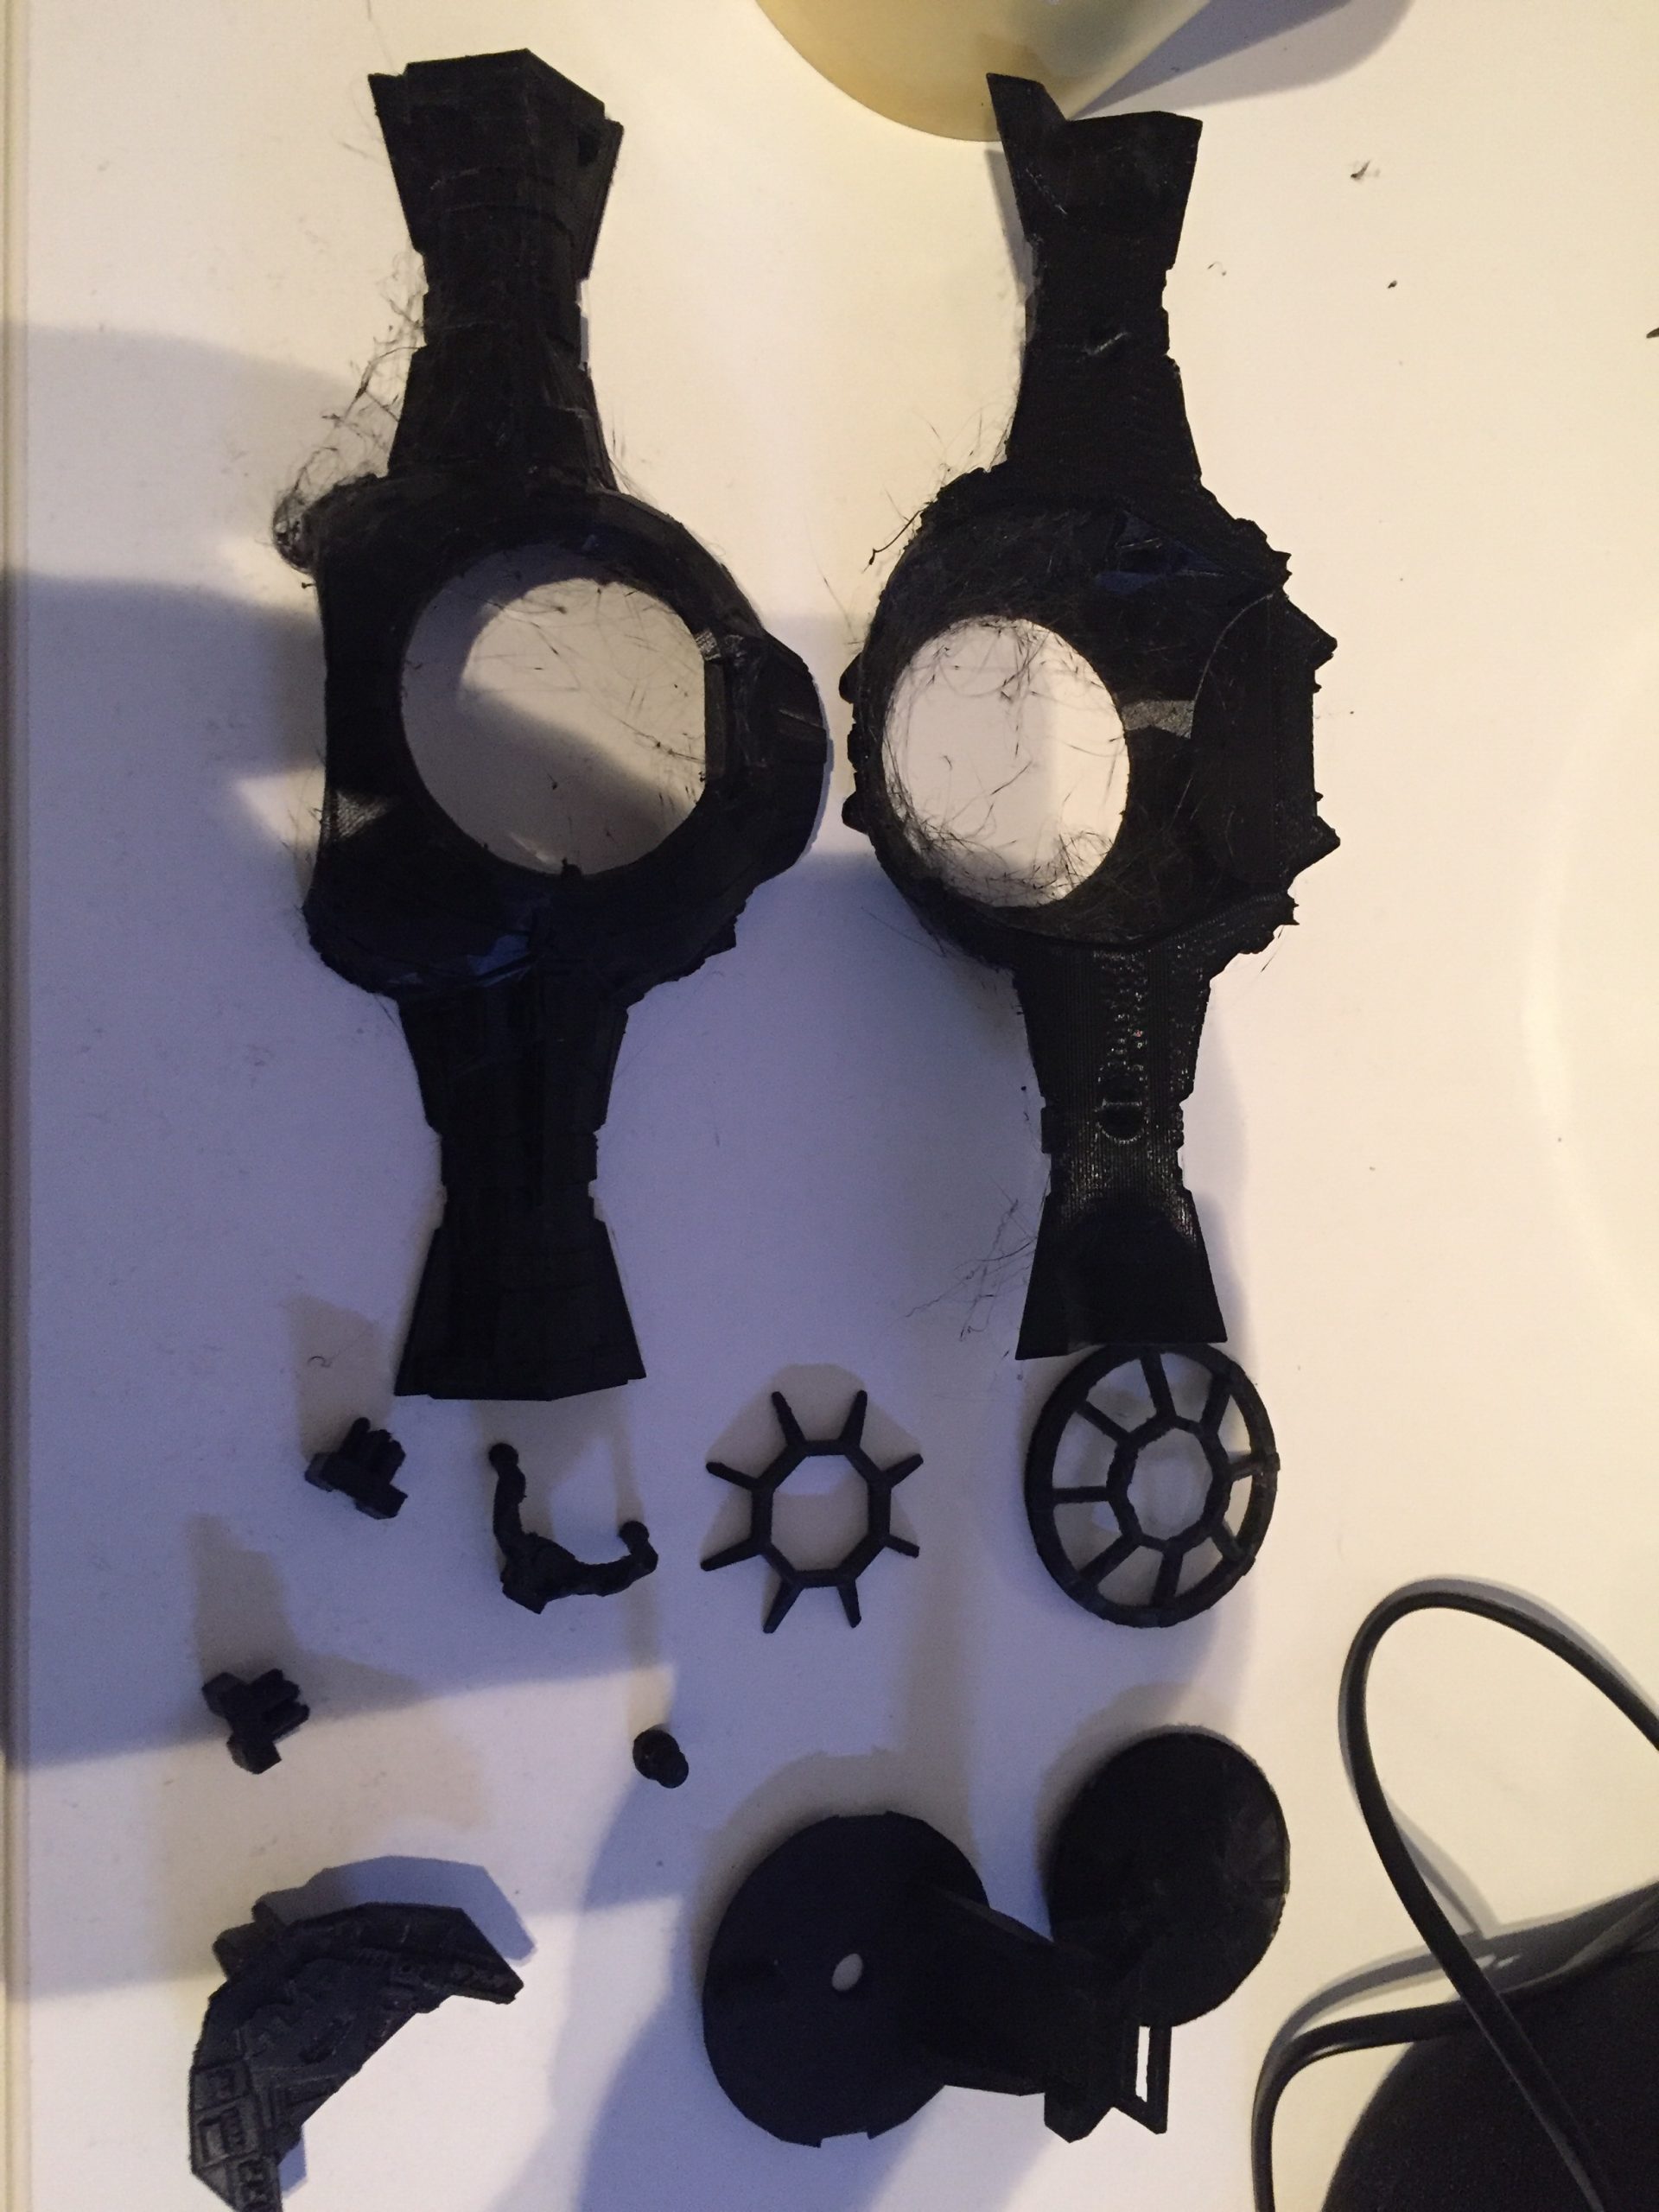
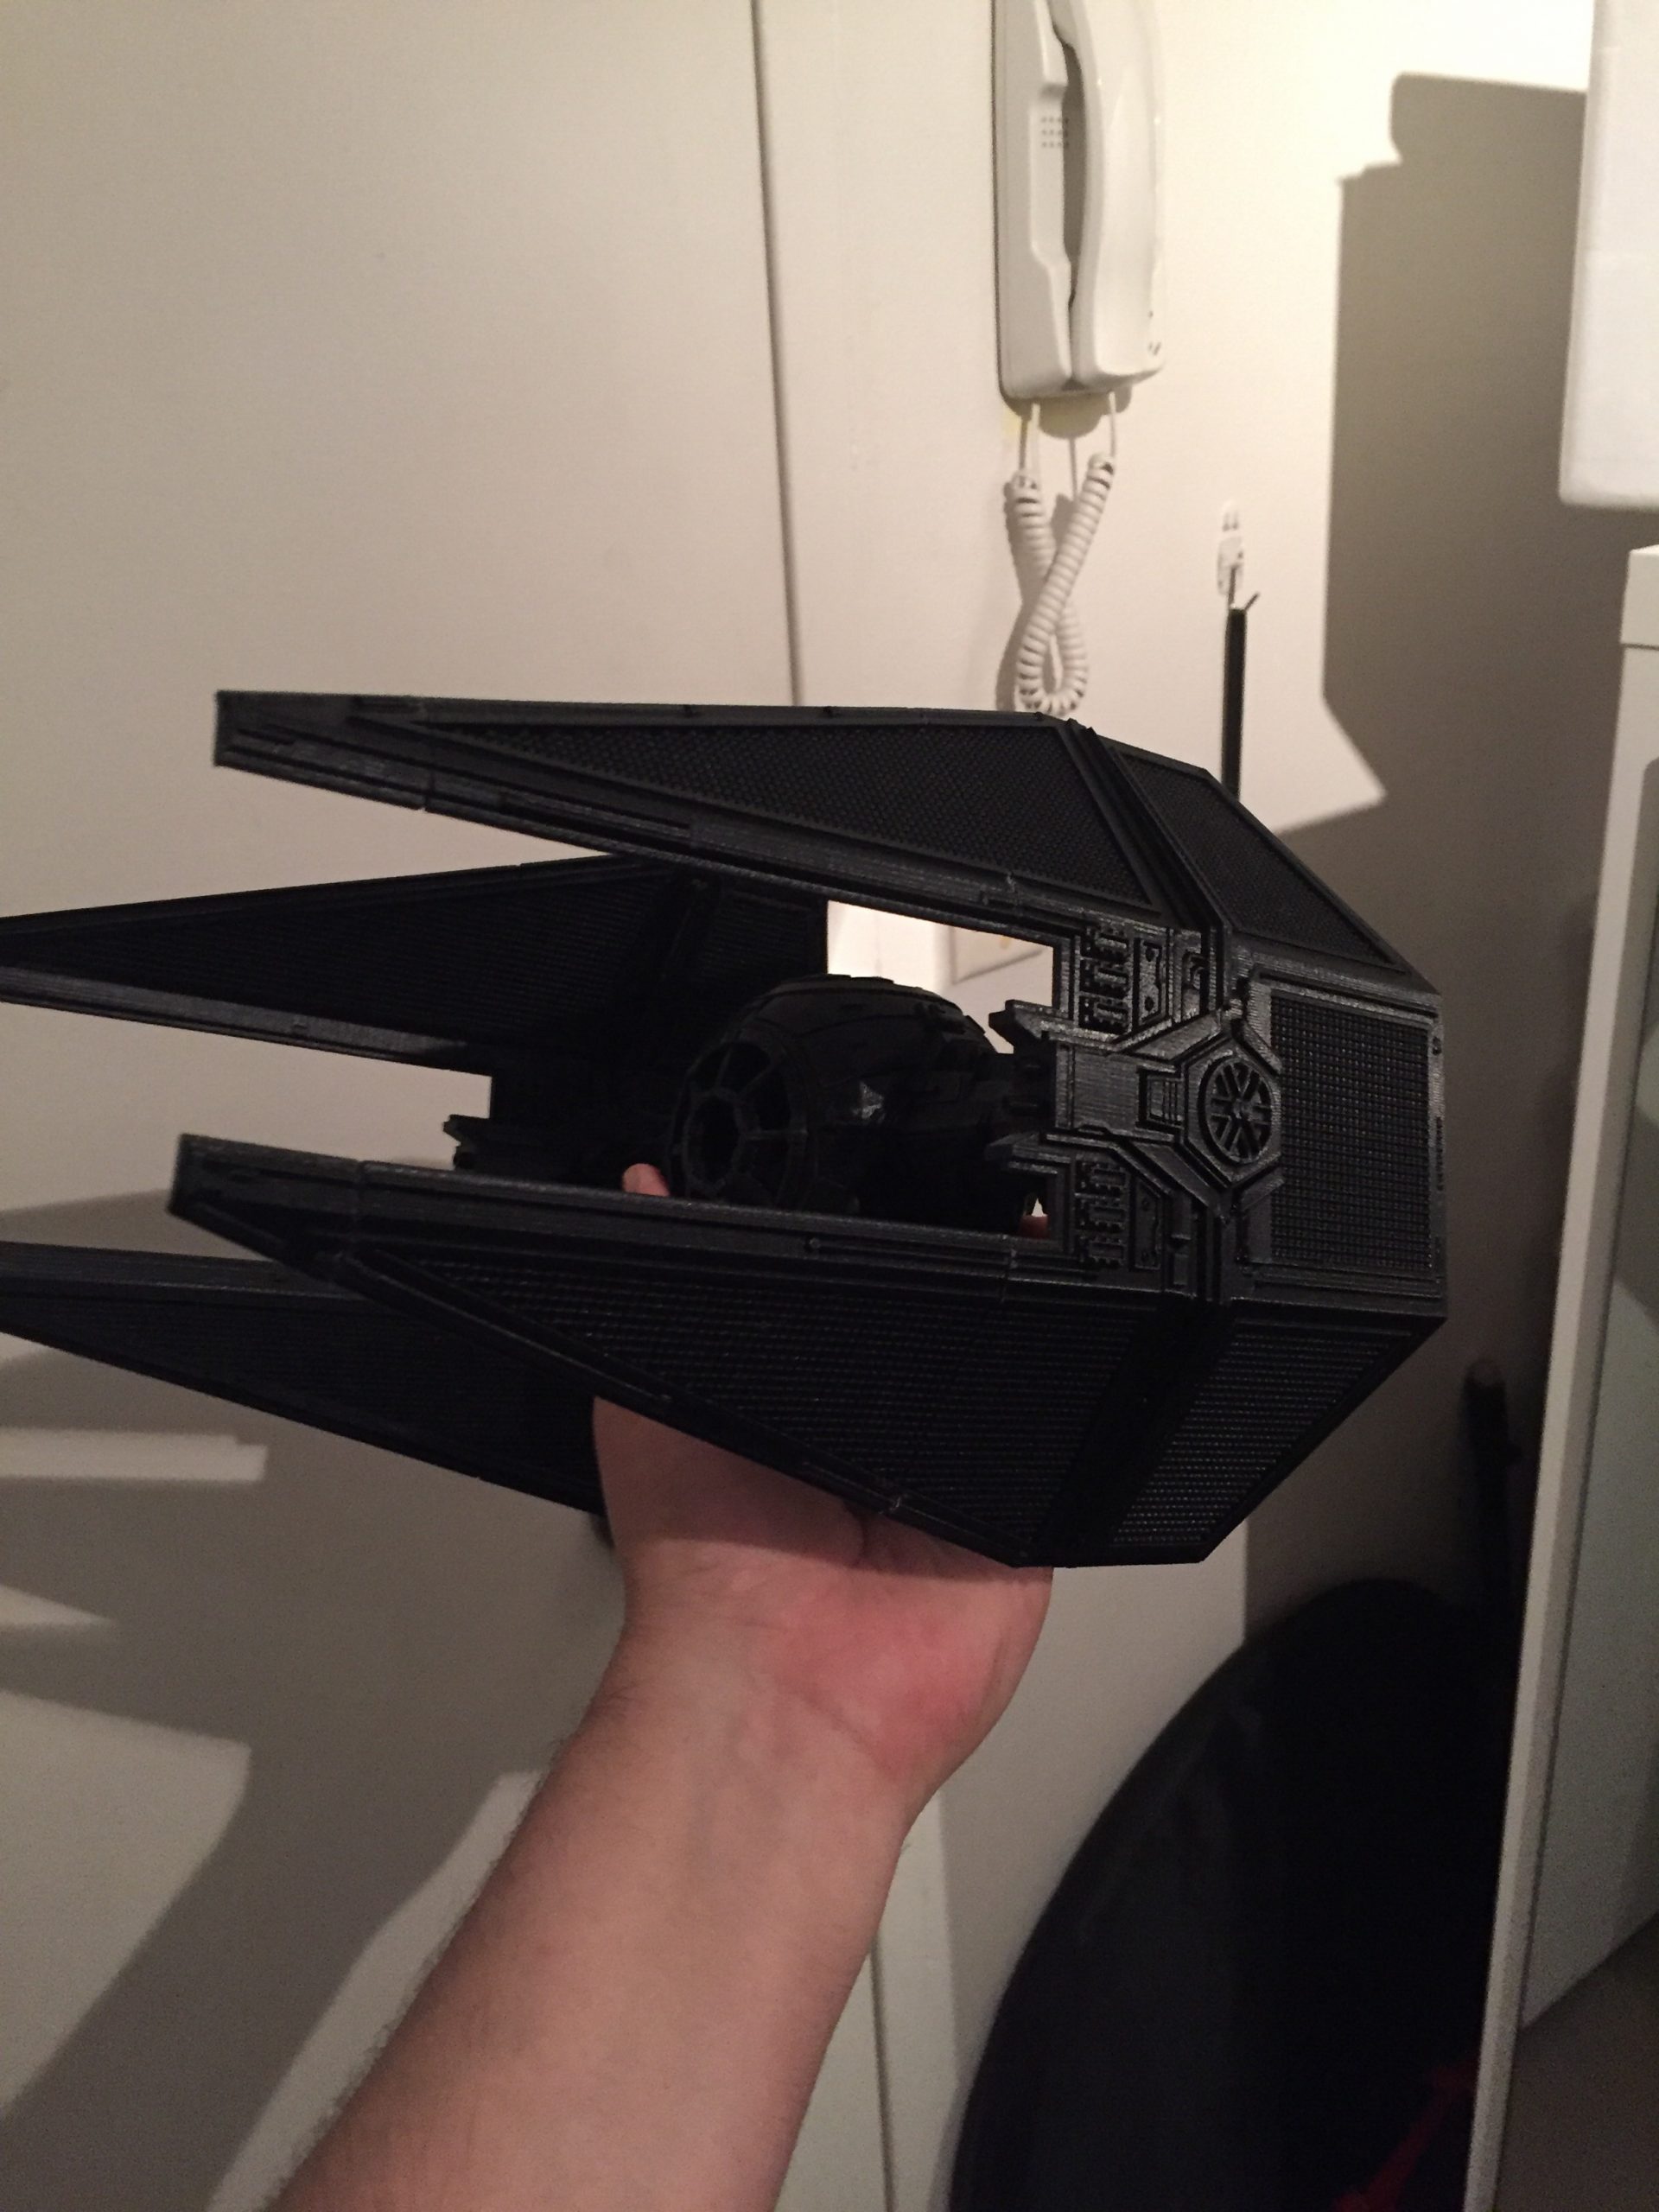
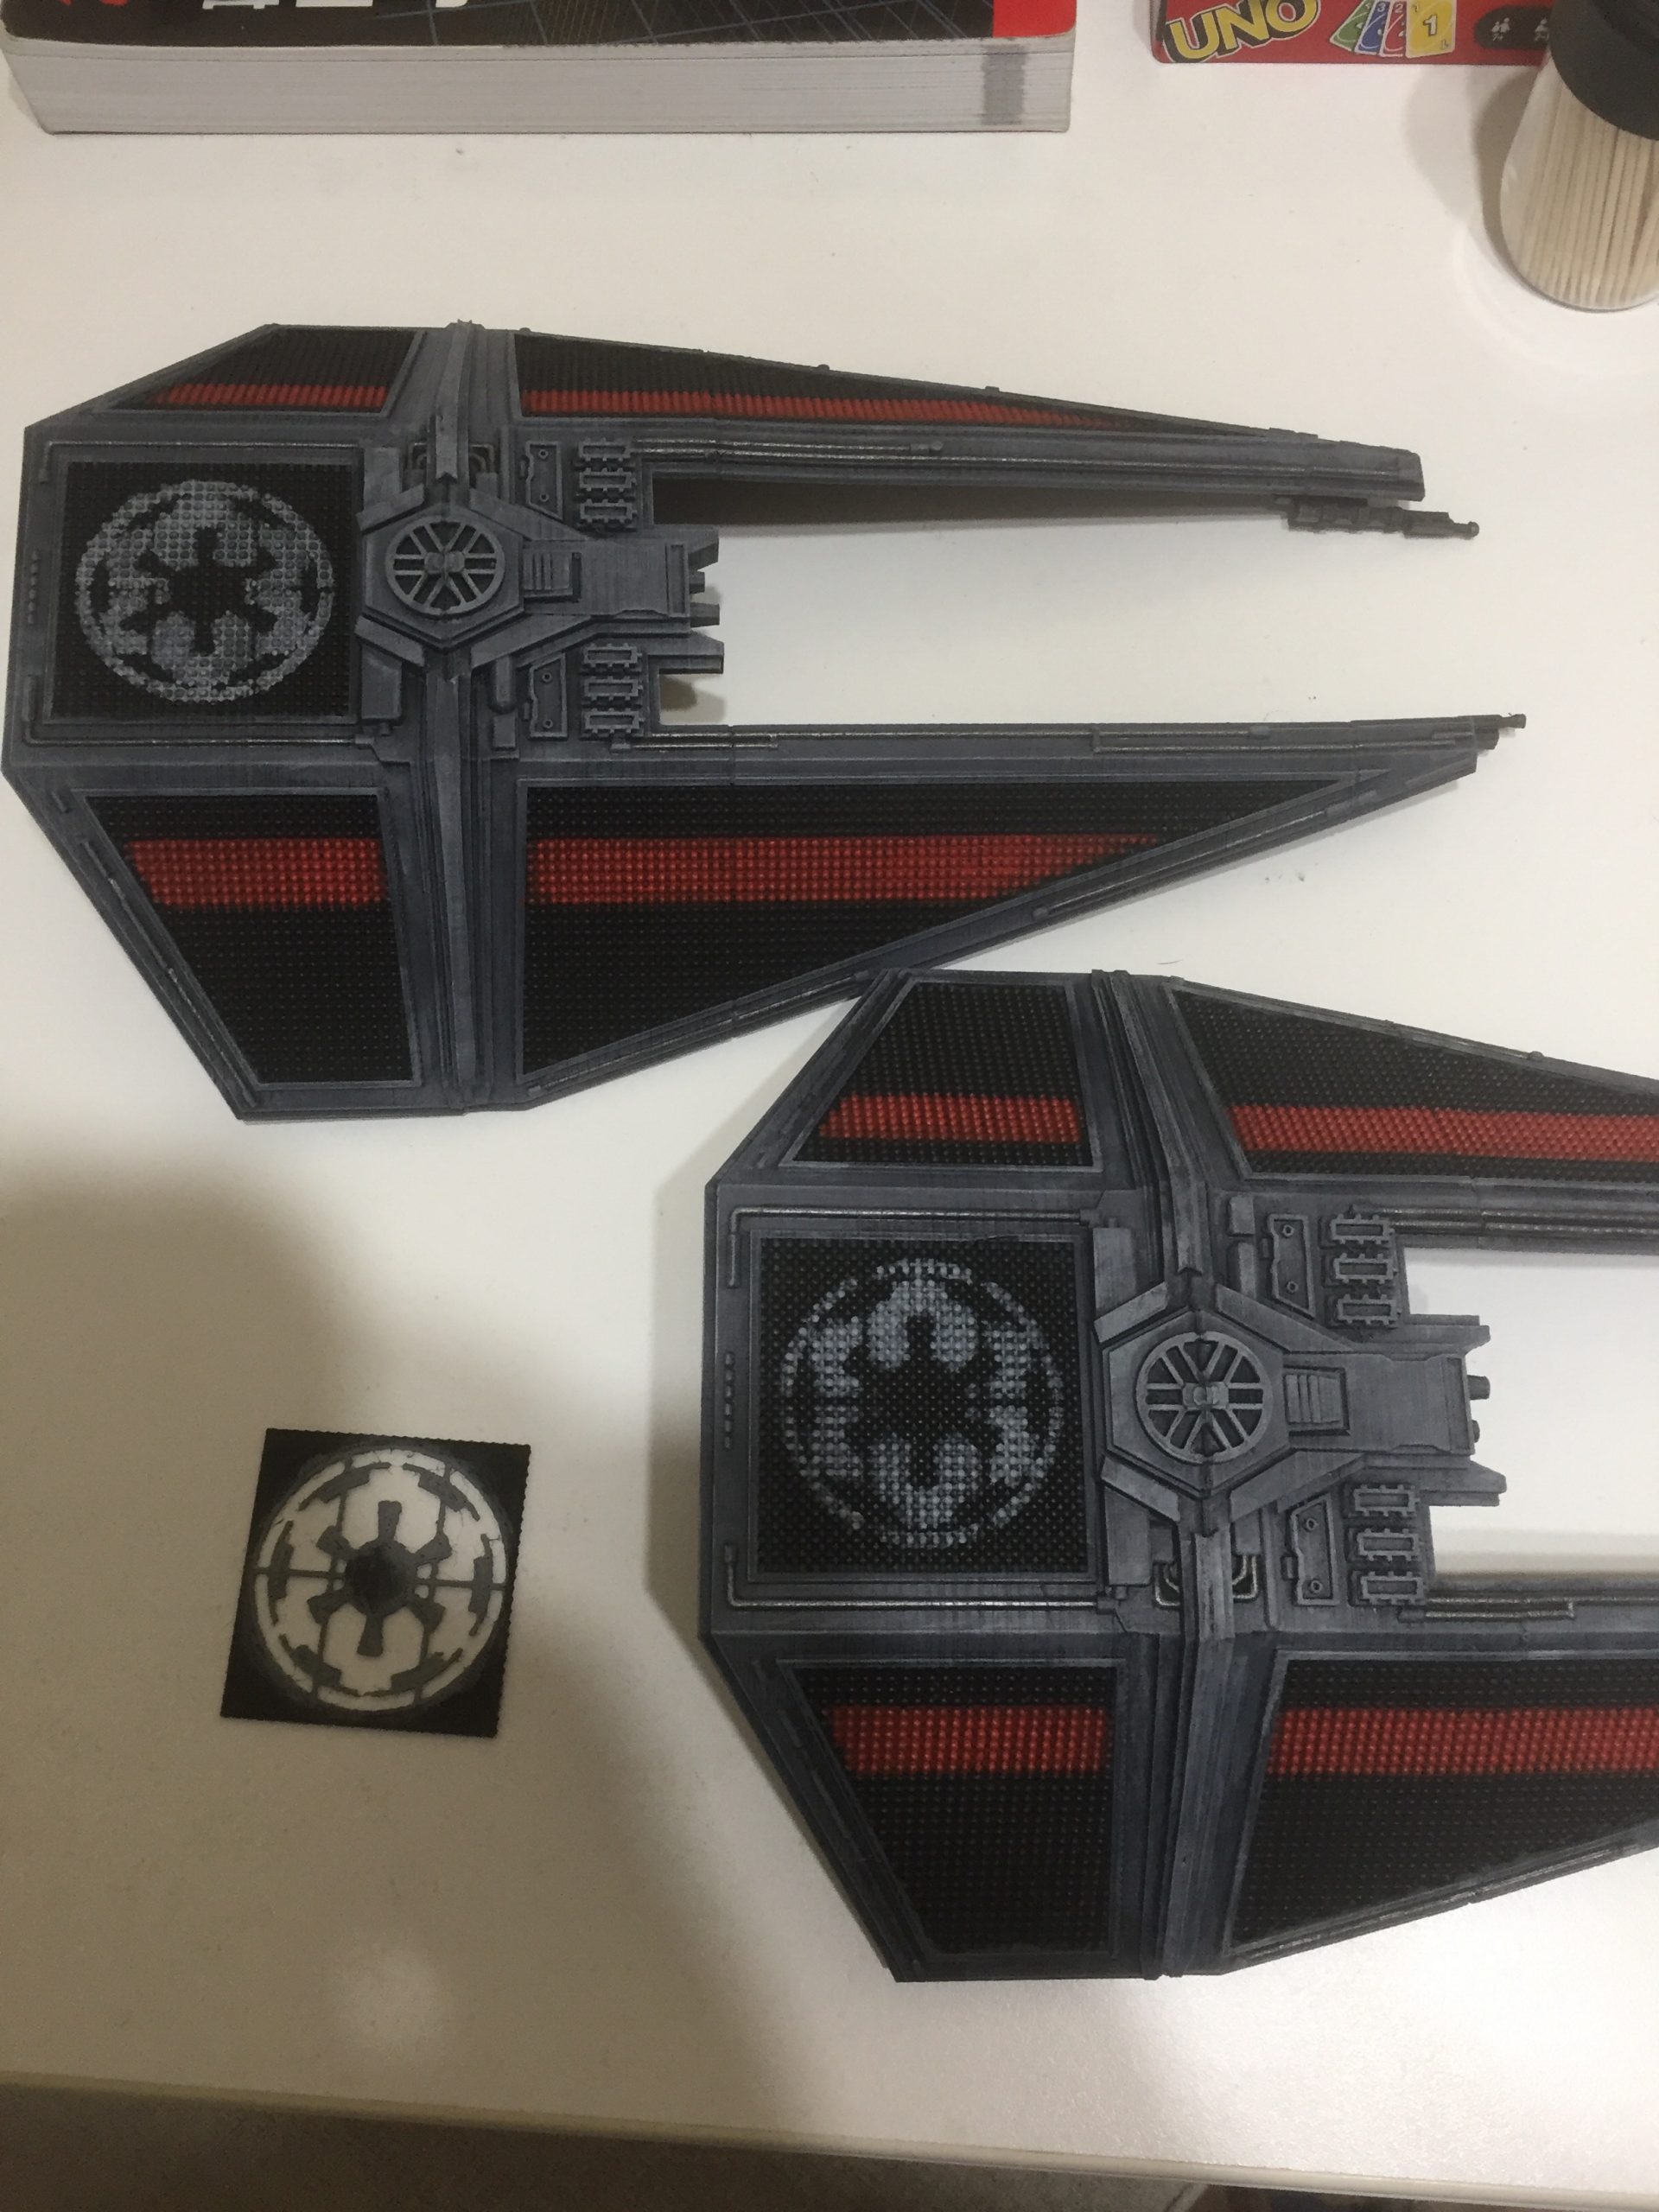
Above are the first few parts to be printed. On the canopy sections, strange black spider webs can be seen. This would be my first problem to overcome while printing – because I’m in a humid location with no air conditioning, the plastic filament is absorbing moisture from the air. I didn’t know this at the time, but when that happens, the filament doesn’t have a clean separation when being extruded. This was a real pain to clean up. I ended up buying a heat gun but this didn’t have the desired effect, and I just had to clean it all up using sandpaper, files, and a modelling scalpel.
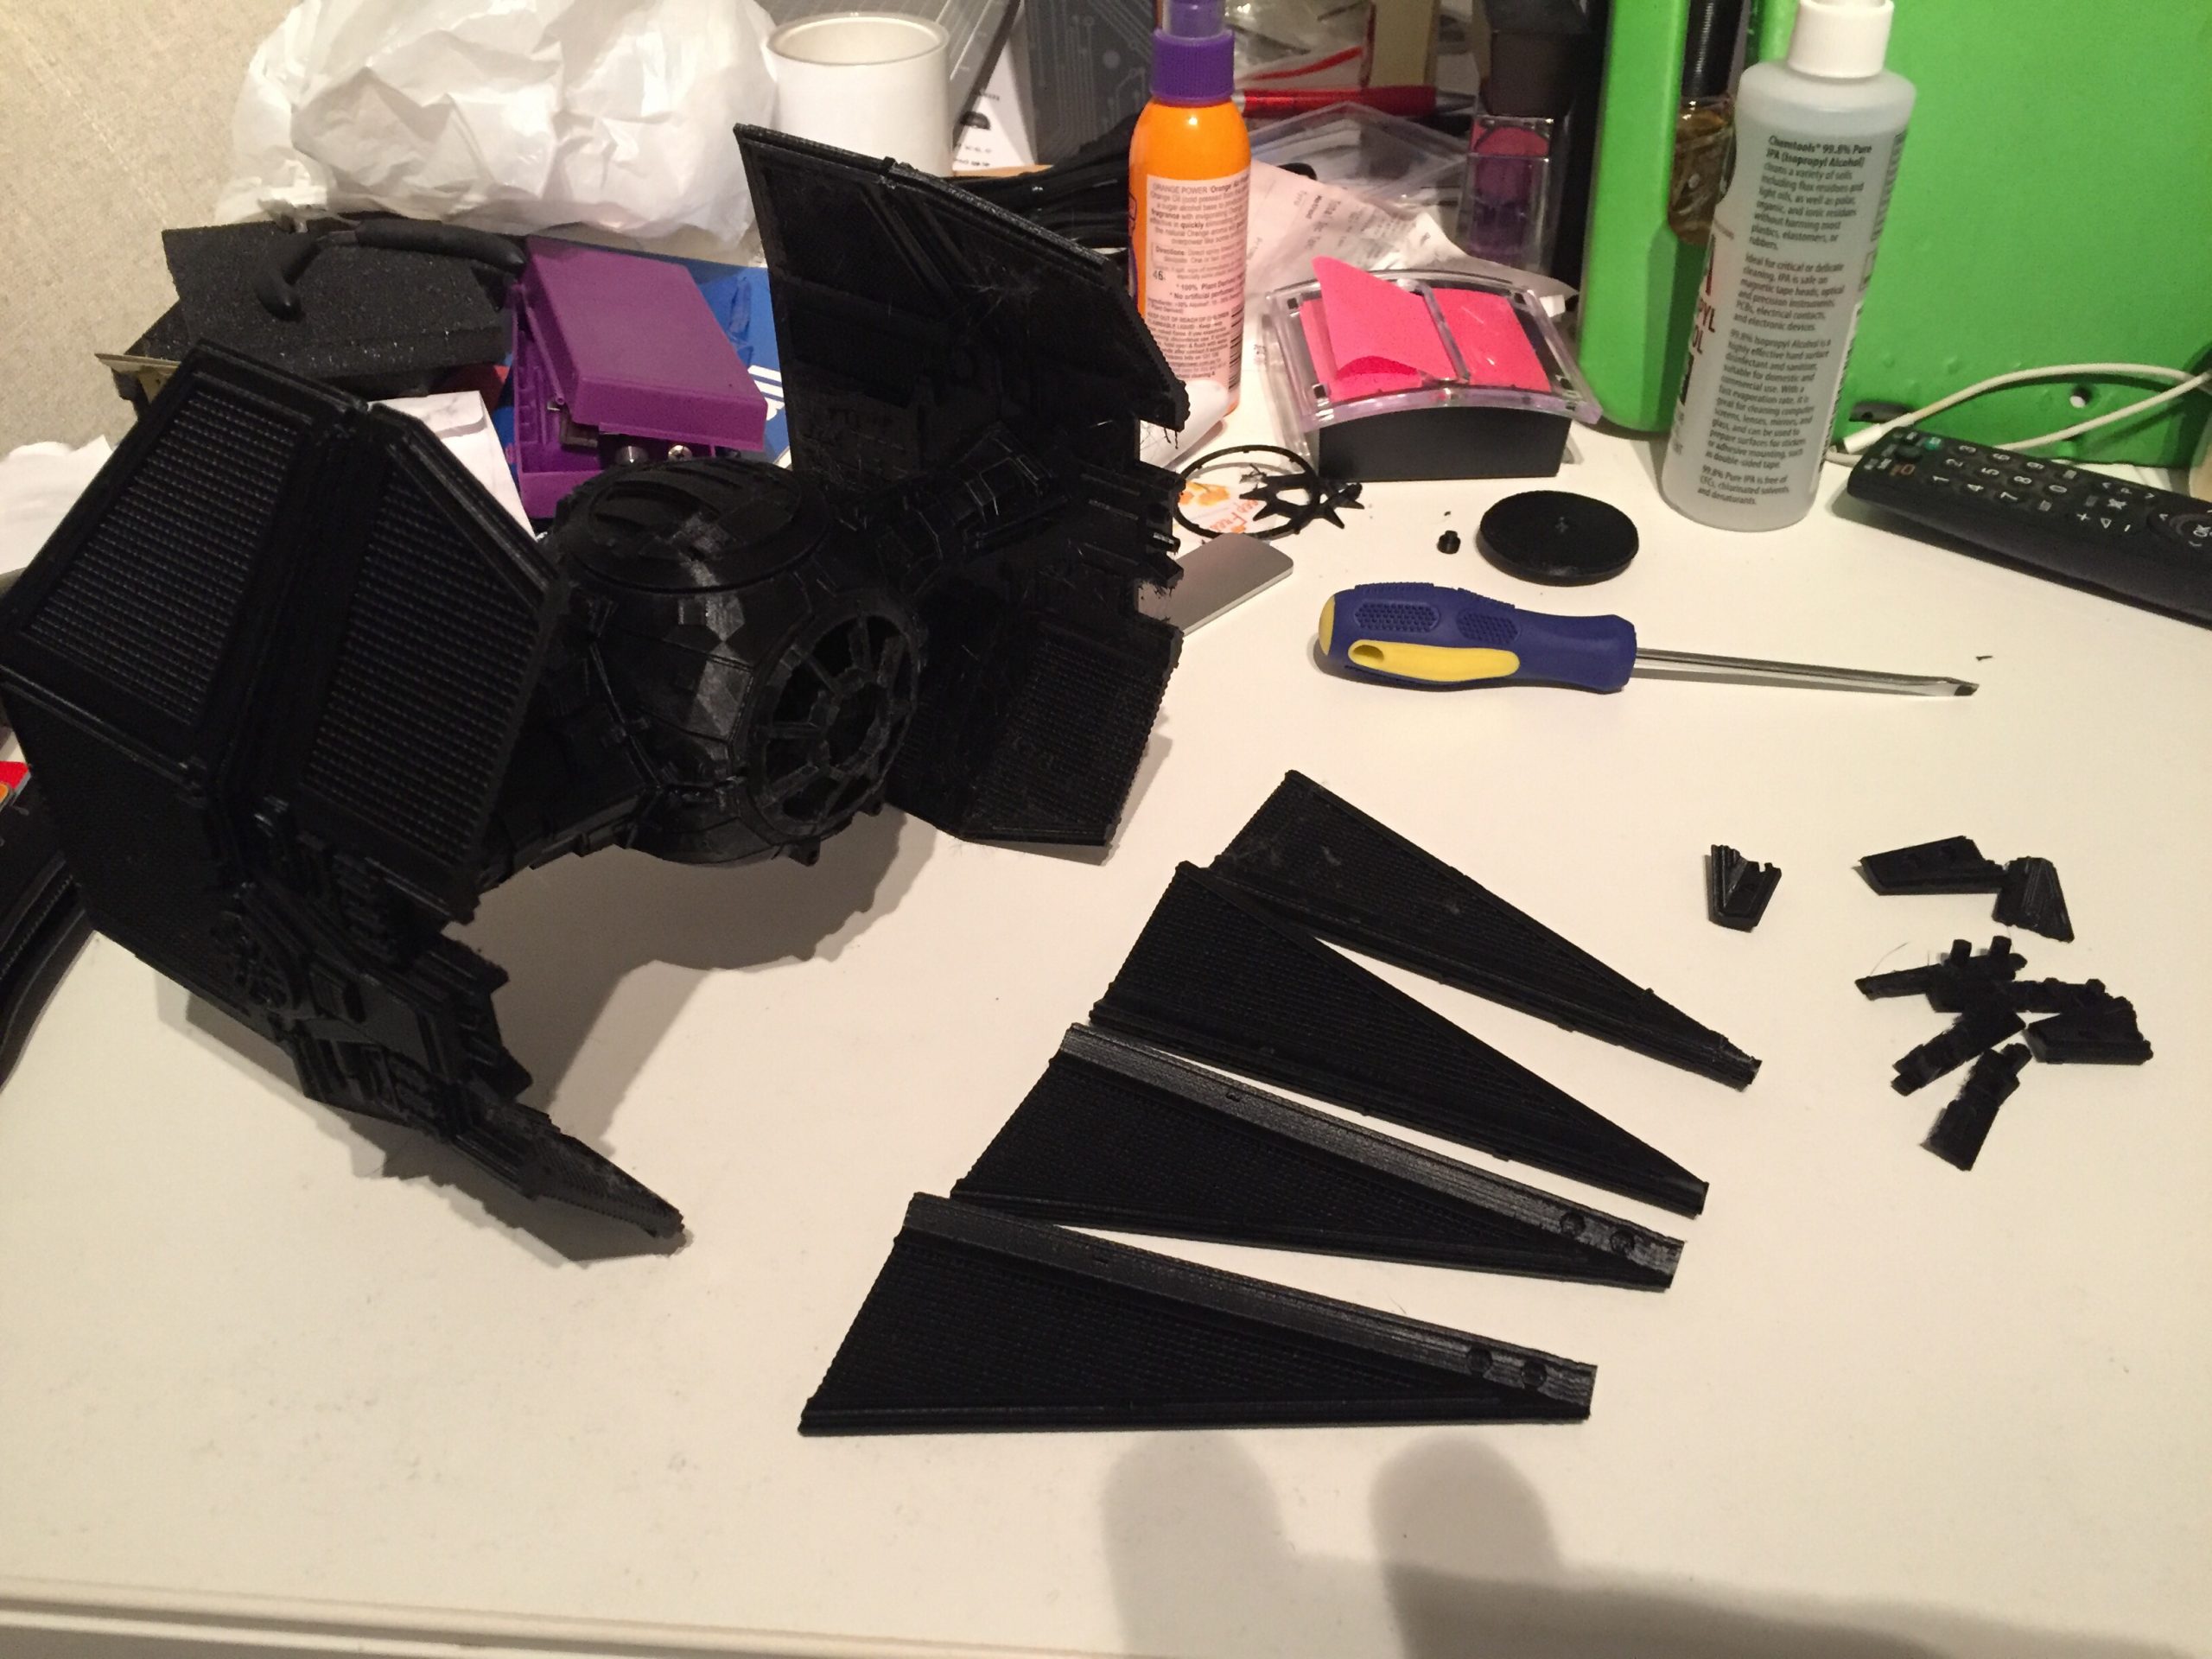
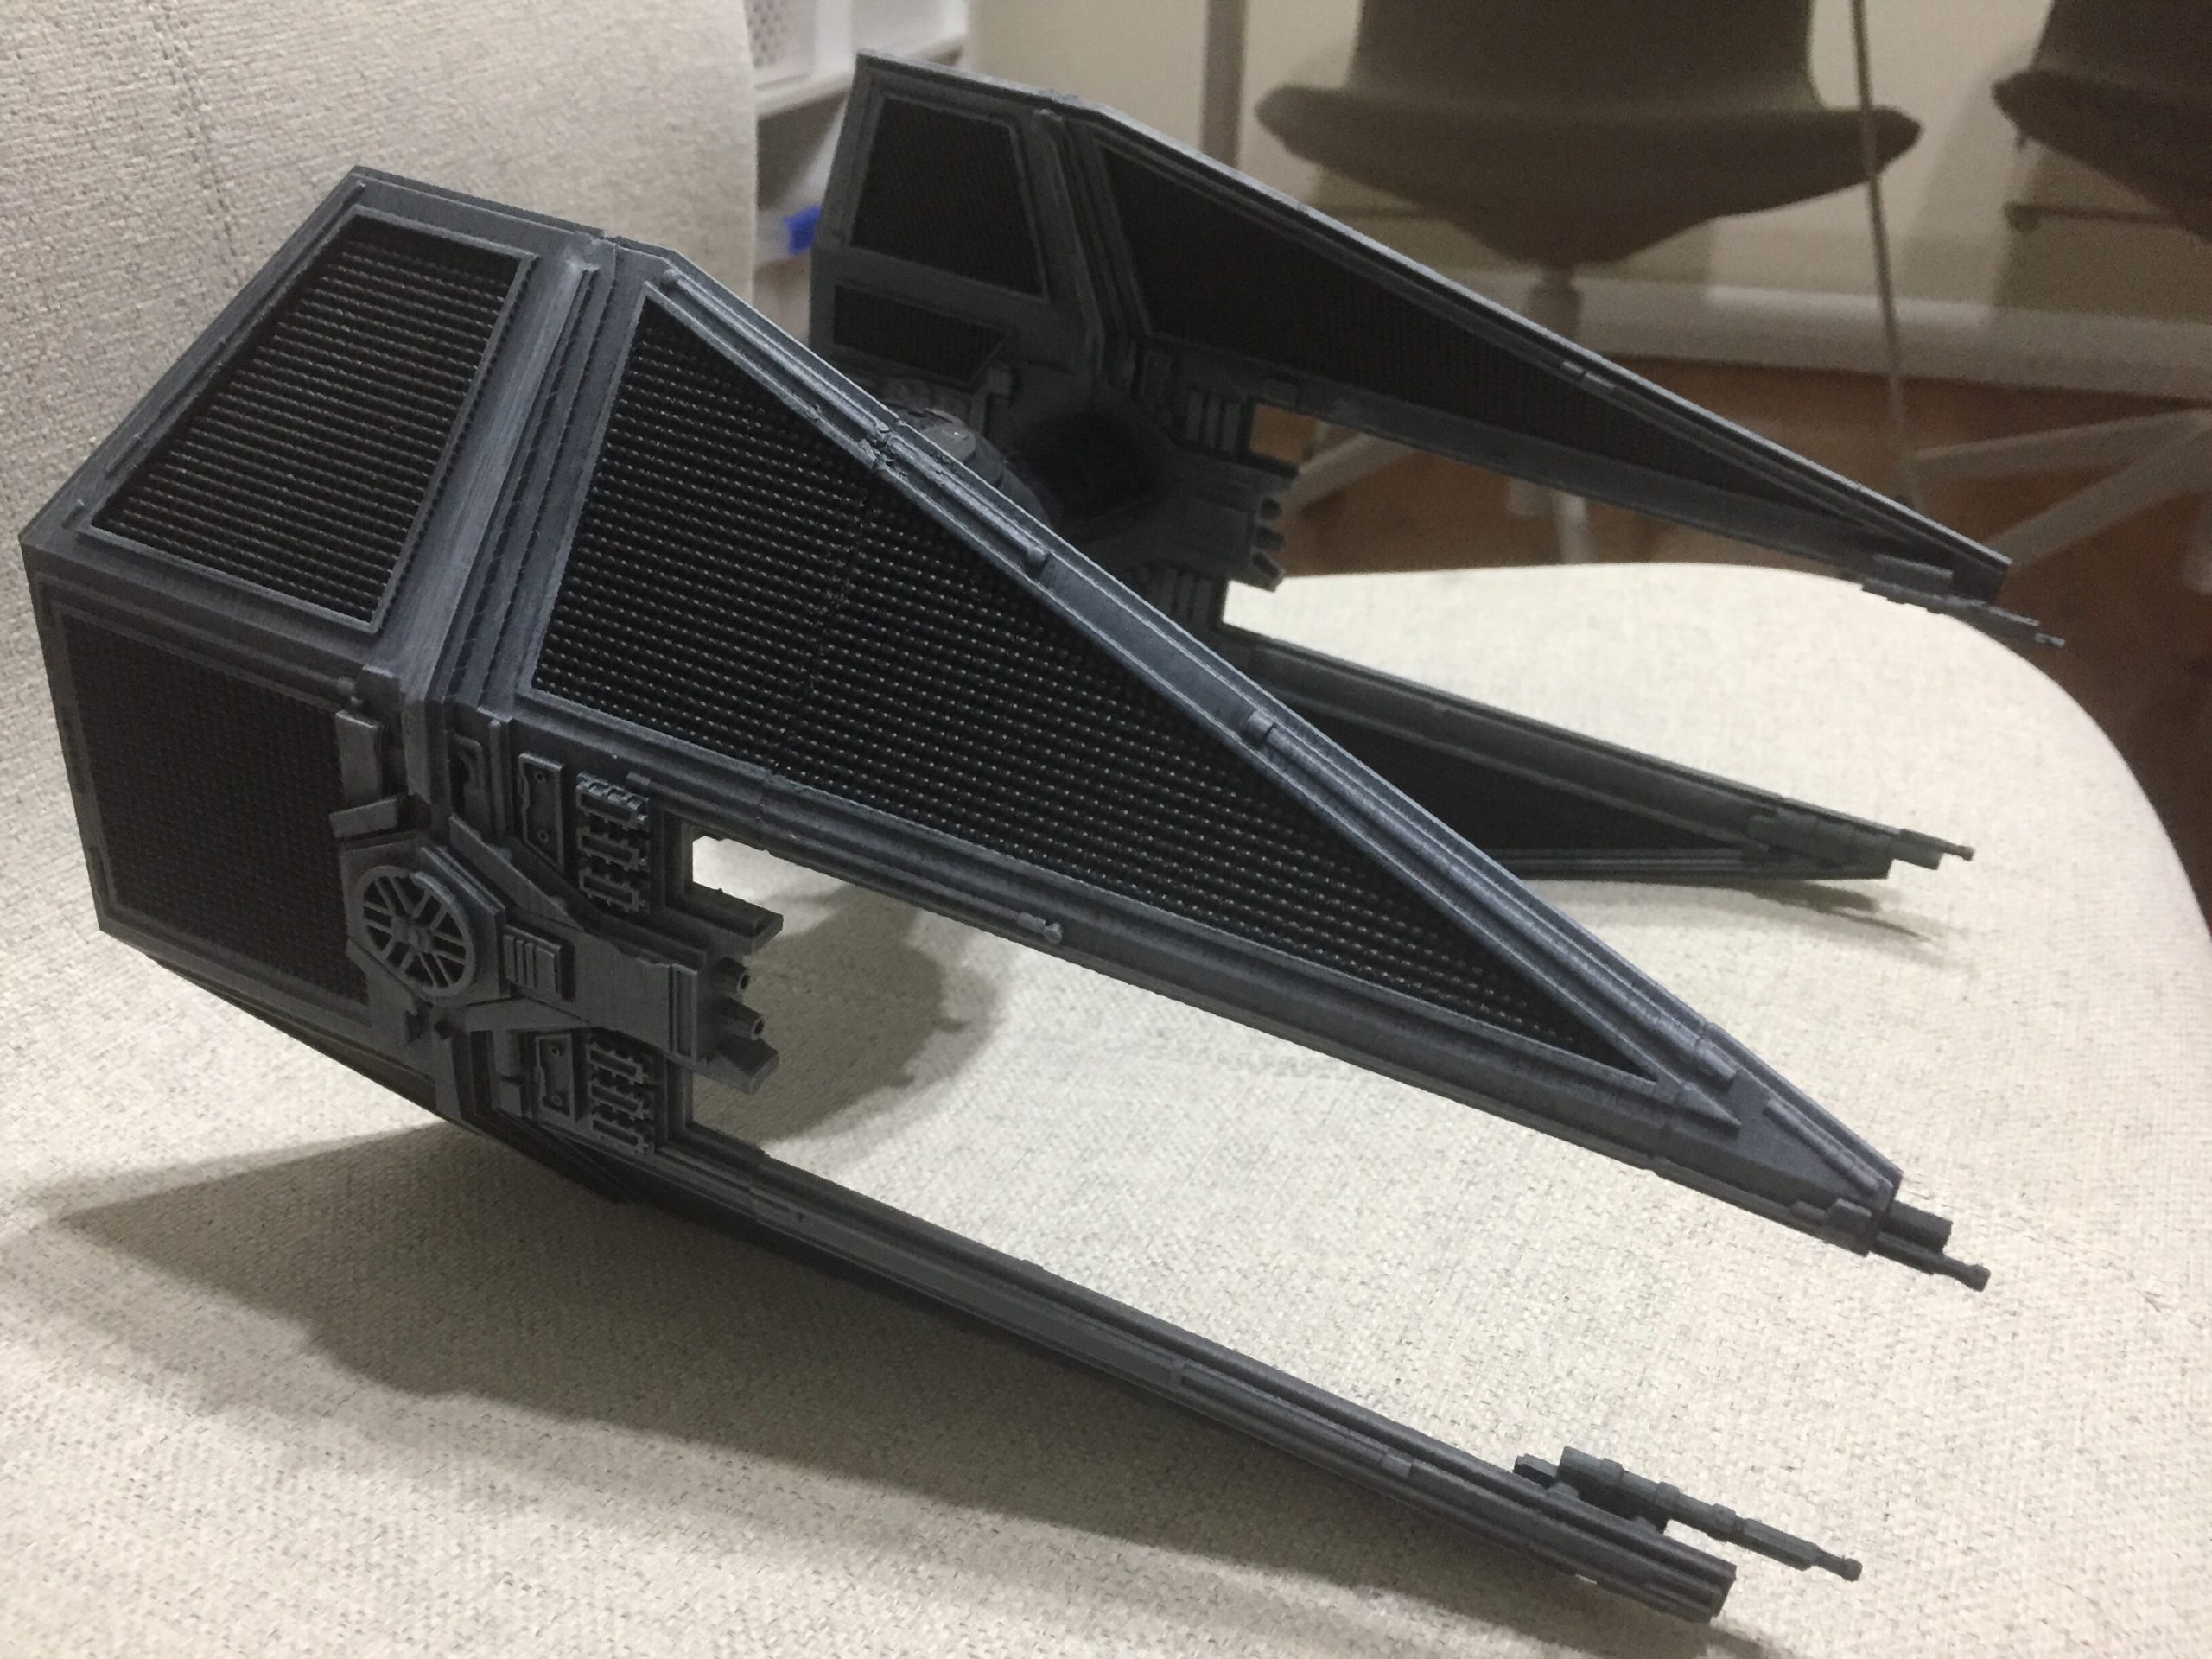
The next major issue was that the wing sections were too large to fit on the printer. I ended up cutting the wings off, as you an see below, in Blender. I reasoned that I could probably fill the gaps in with putty (this was almost correct). However, when I printed the wings by themselves, there were issues. I discovered that whatever was flat against the printer bed came out quite terribly, so I printed the wings standing up (so the smaller triangle edge was on the ground). As the printer had tiny vibrations, this resulted in the pointy ends of the wings having defects. If you look closely you can see there is warping at the smaller ends of the triangle. I ended up having to reprint just the wingtips, cutting the existing wingtips off with a hacksaw, and then gluing the replacement parts in.
The wings weren’t stable with just glue. I ended up drilling holes and pinning the wing components together with paper clips.
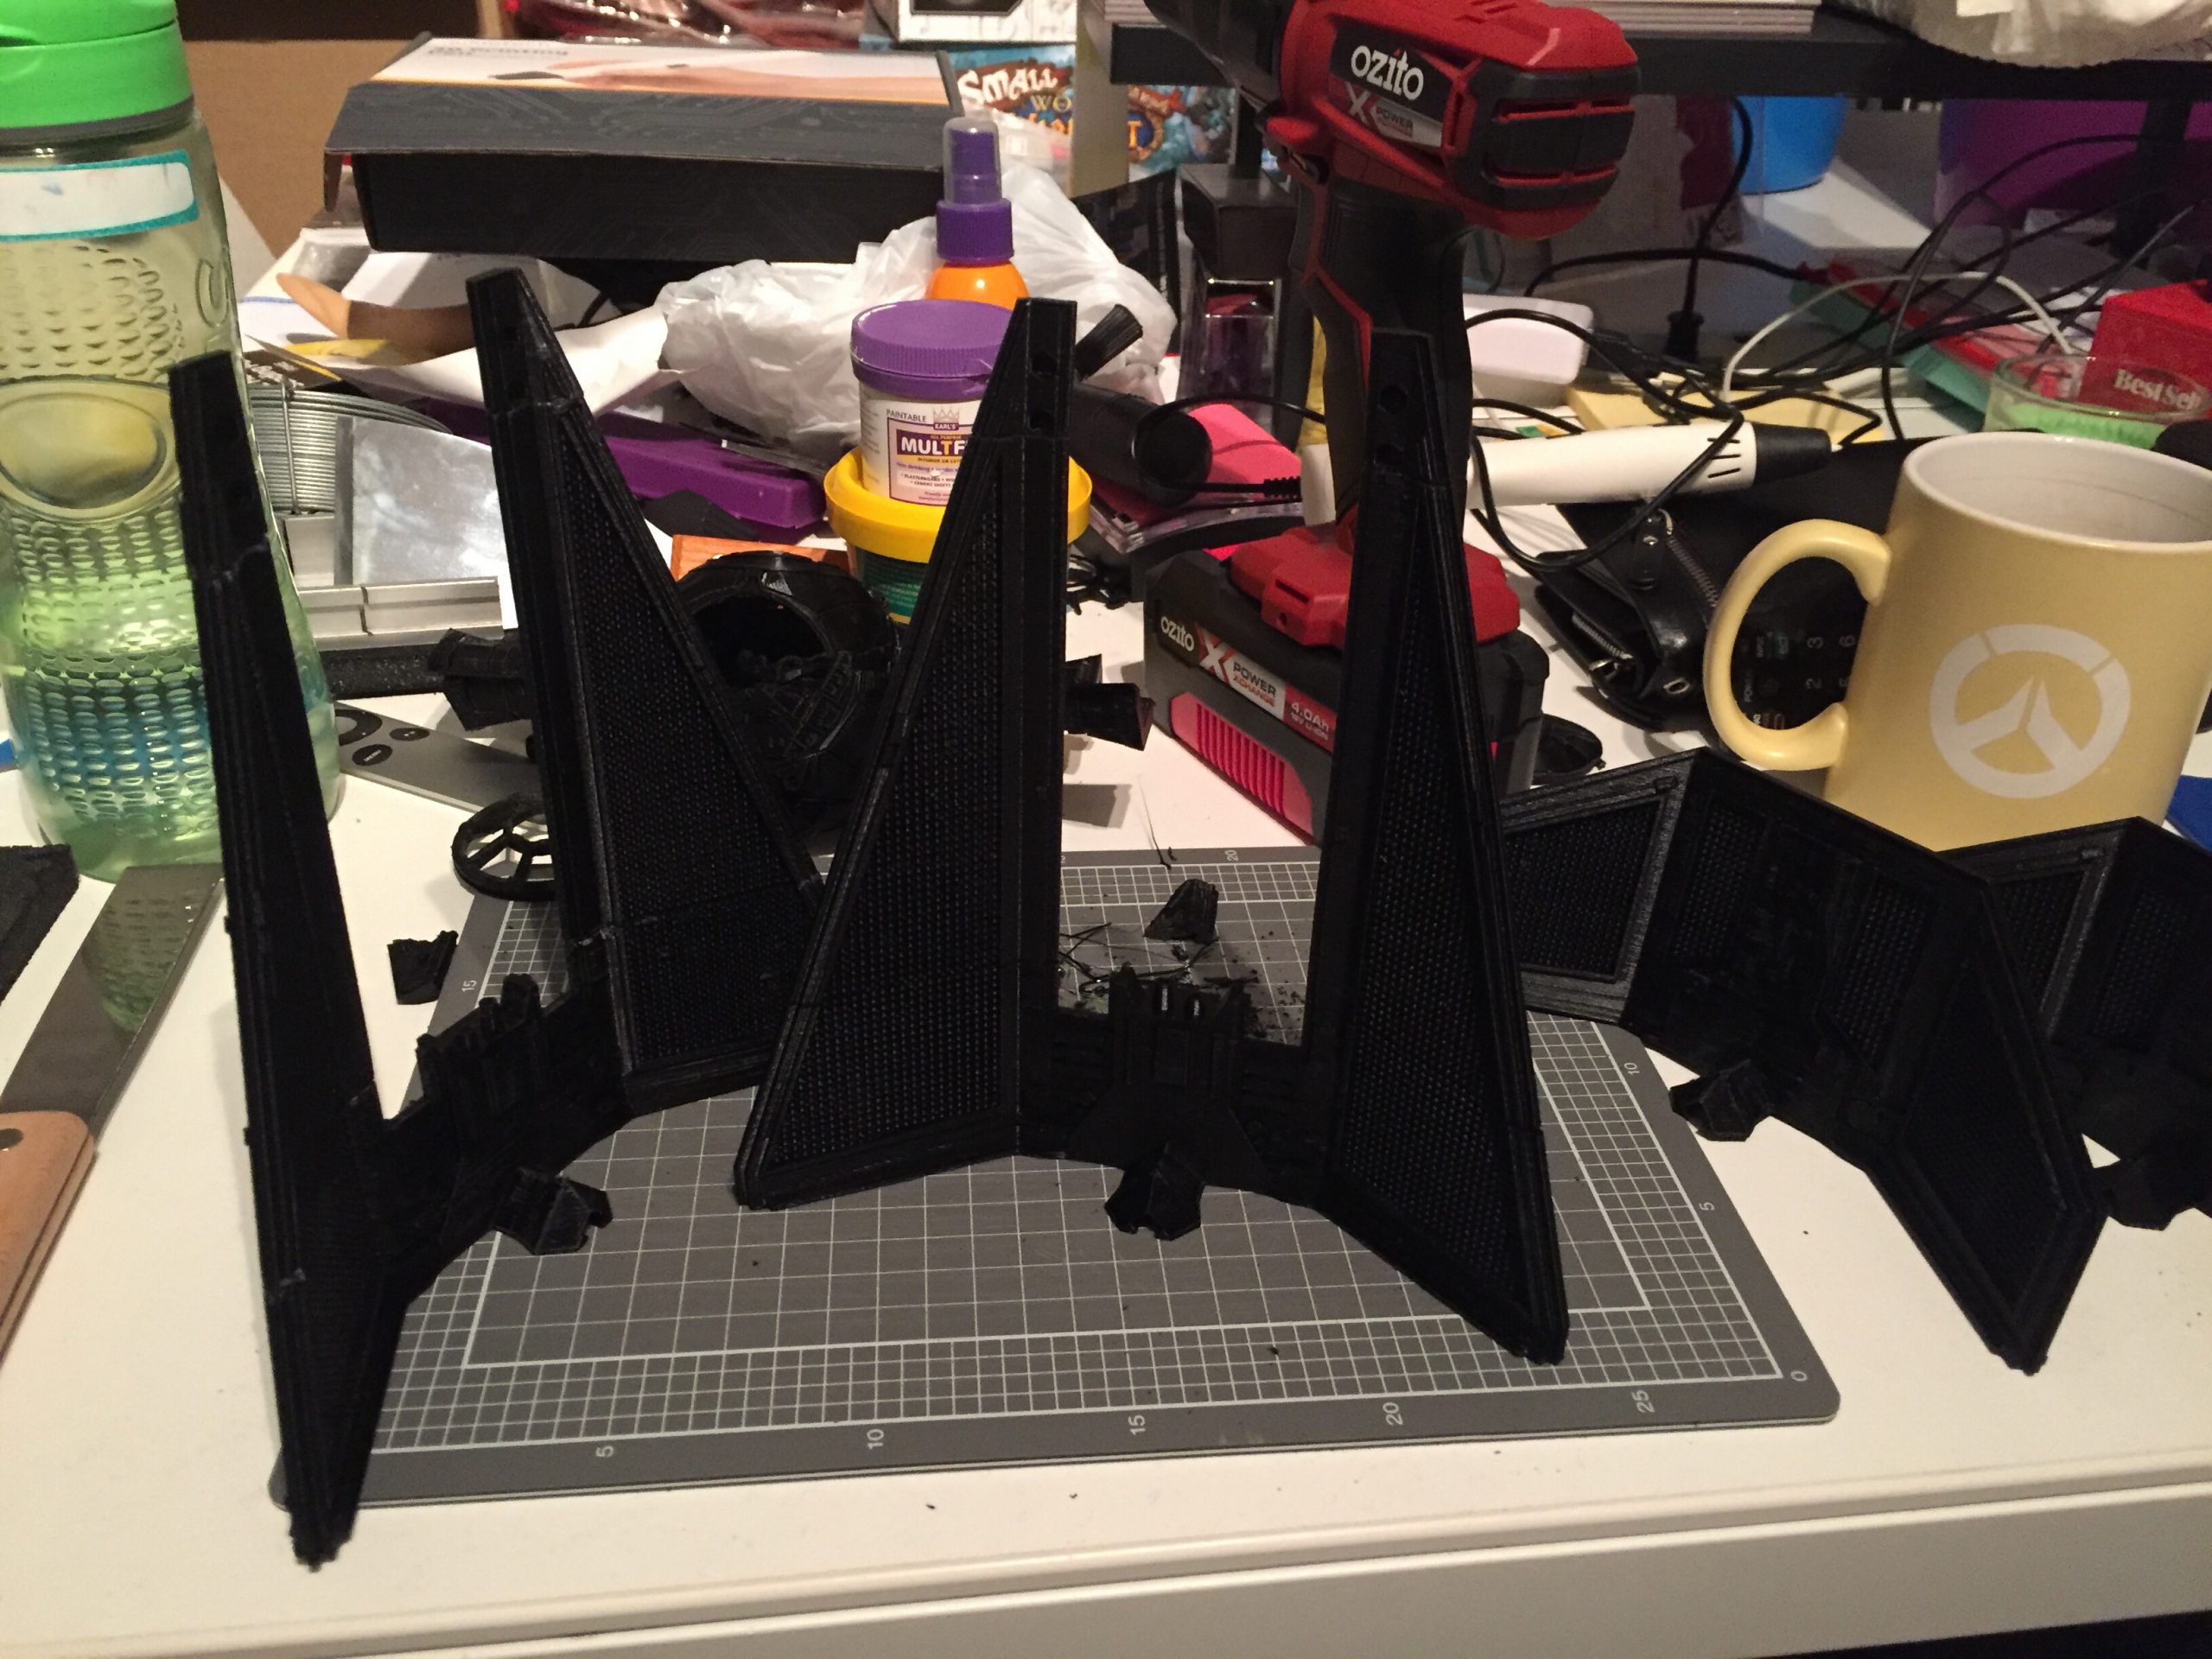
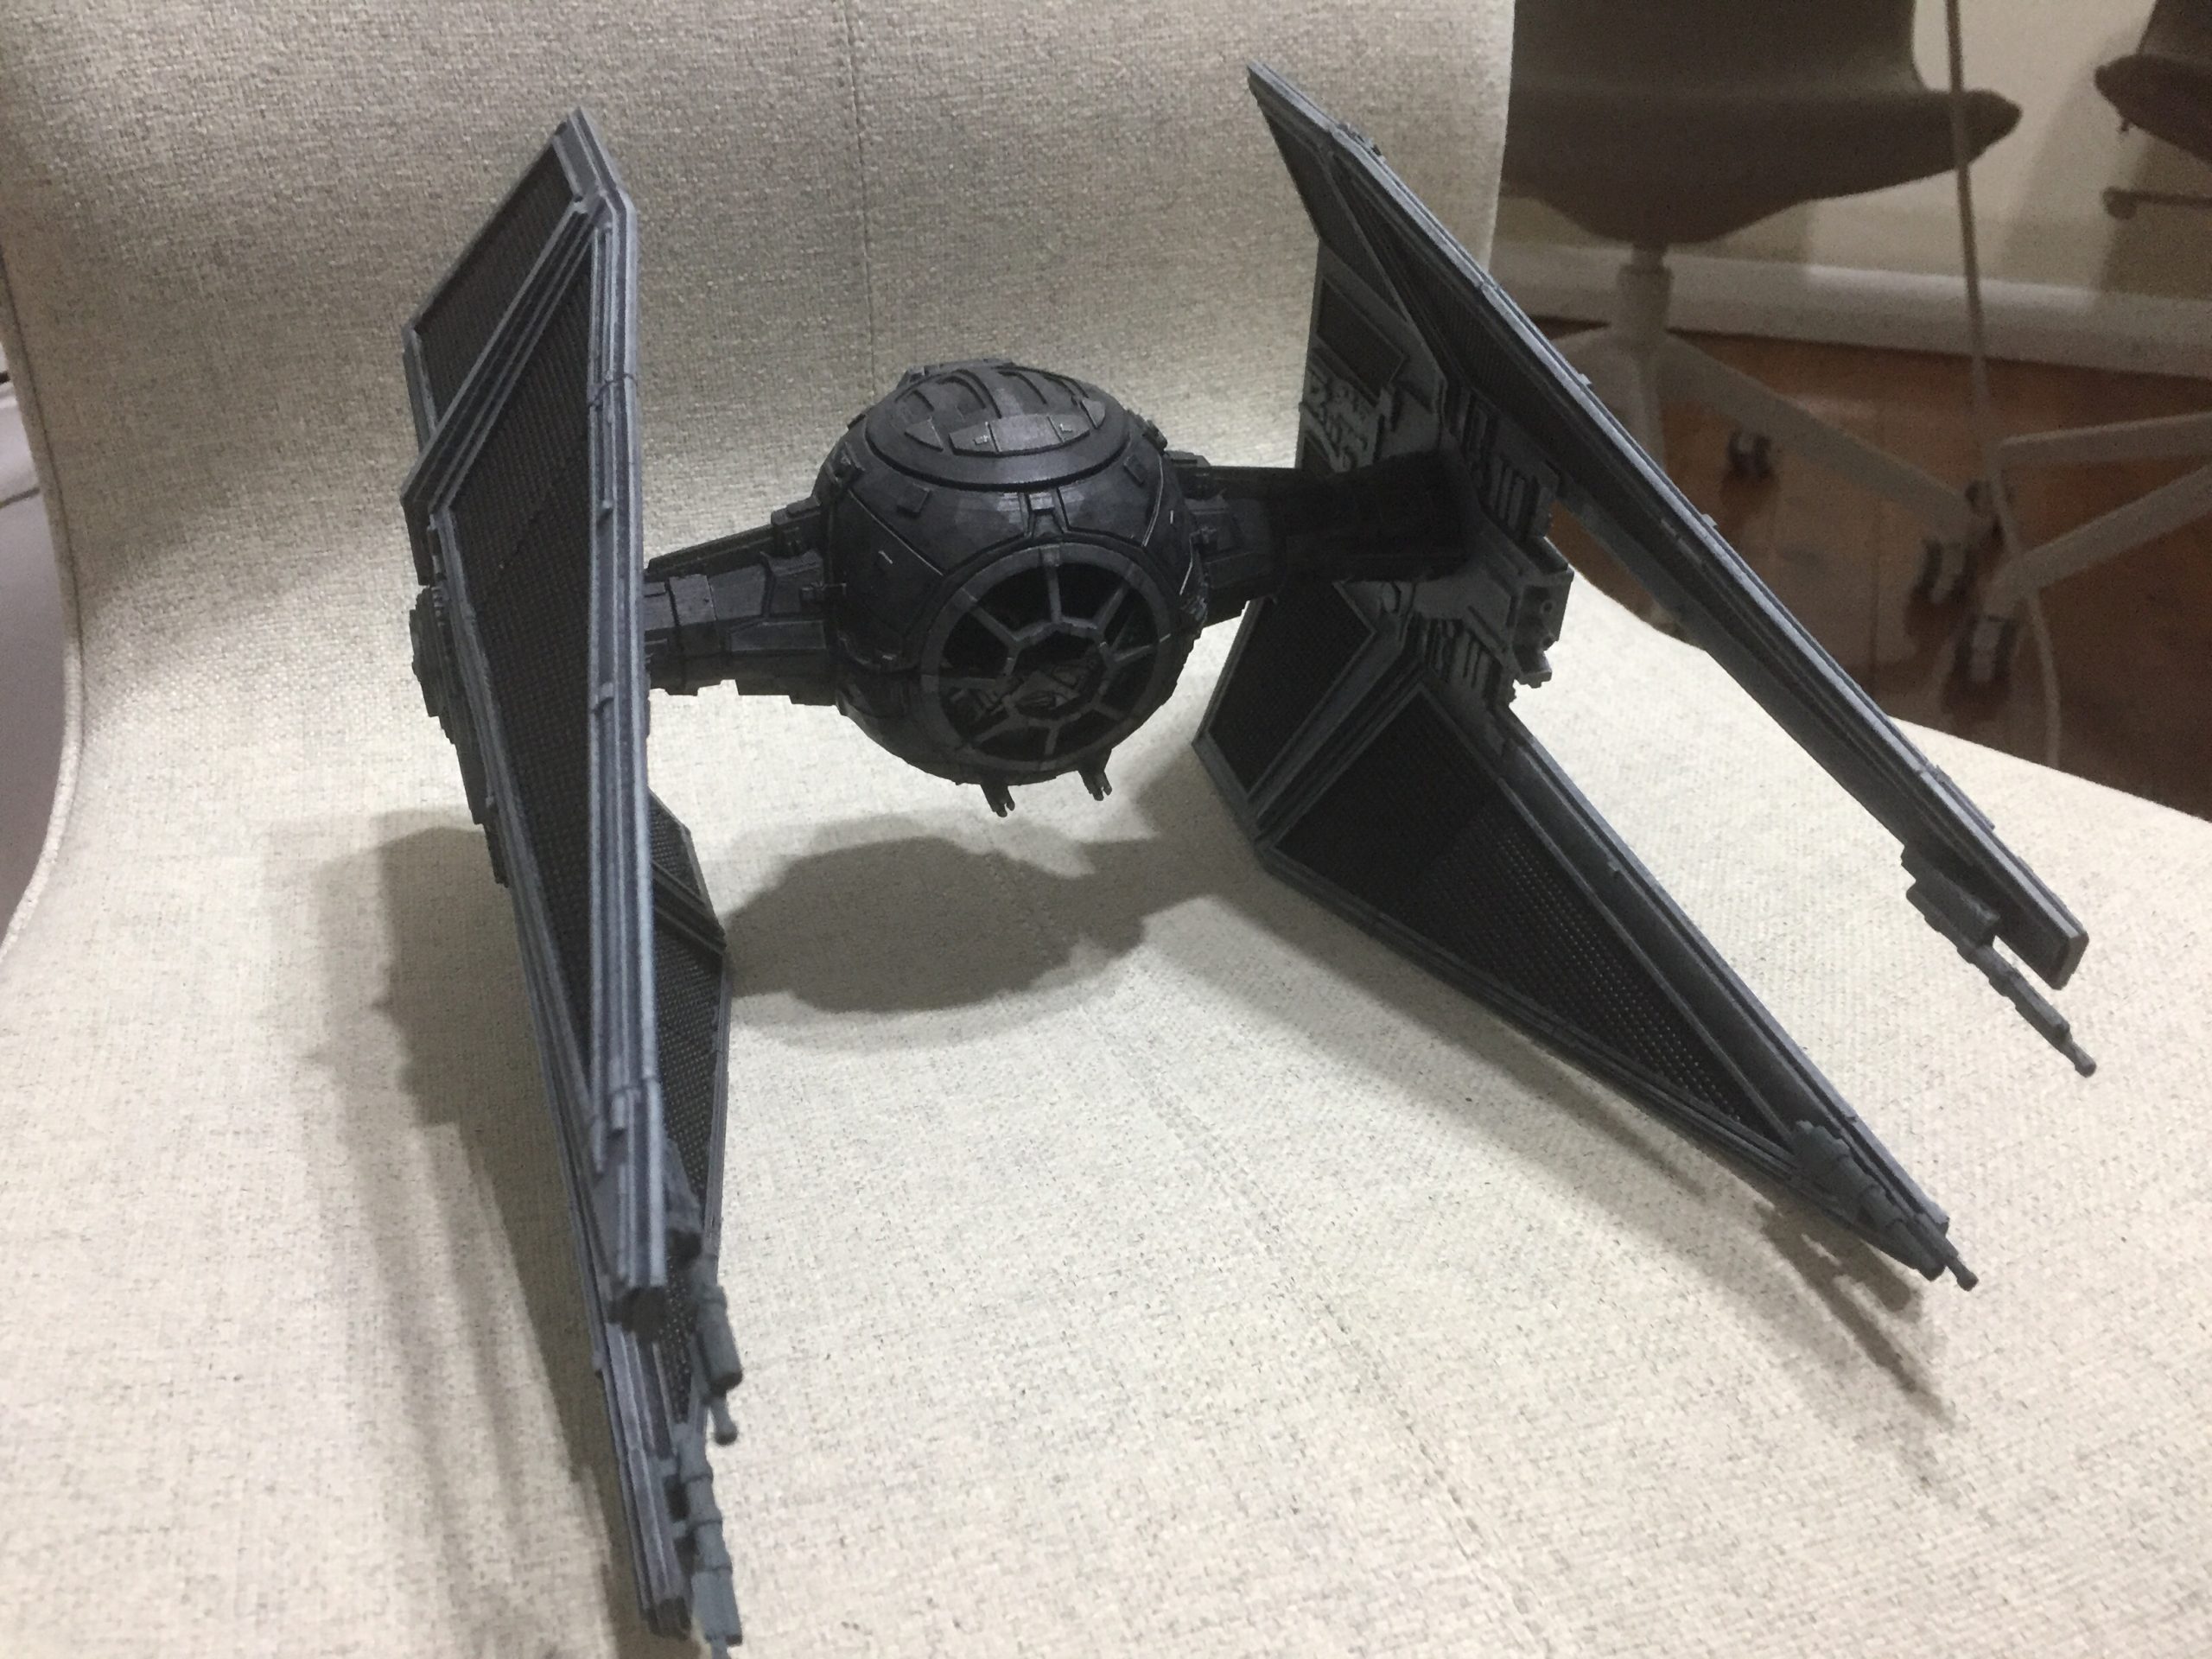
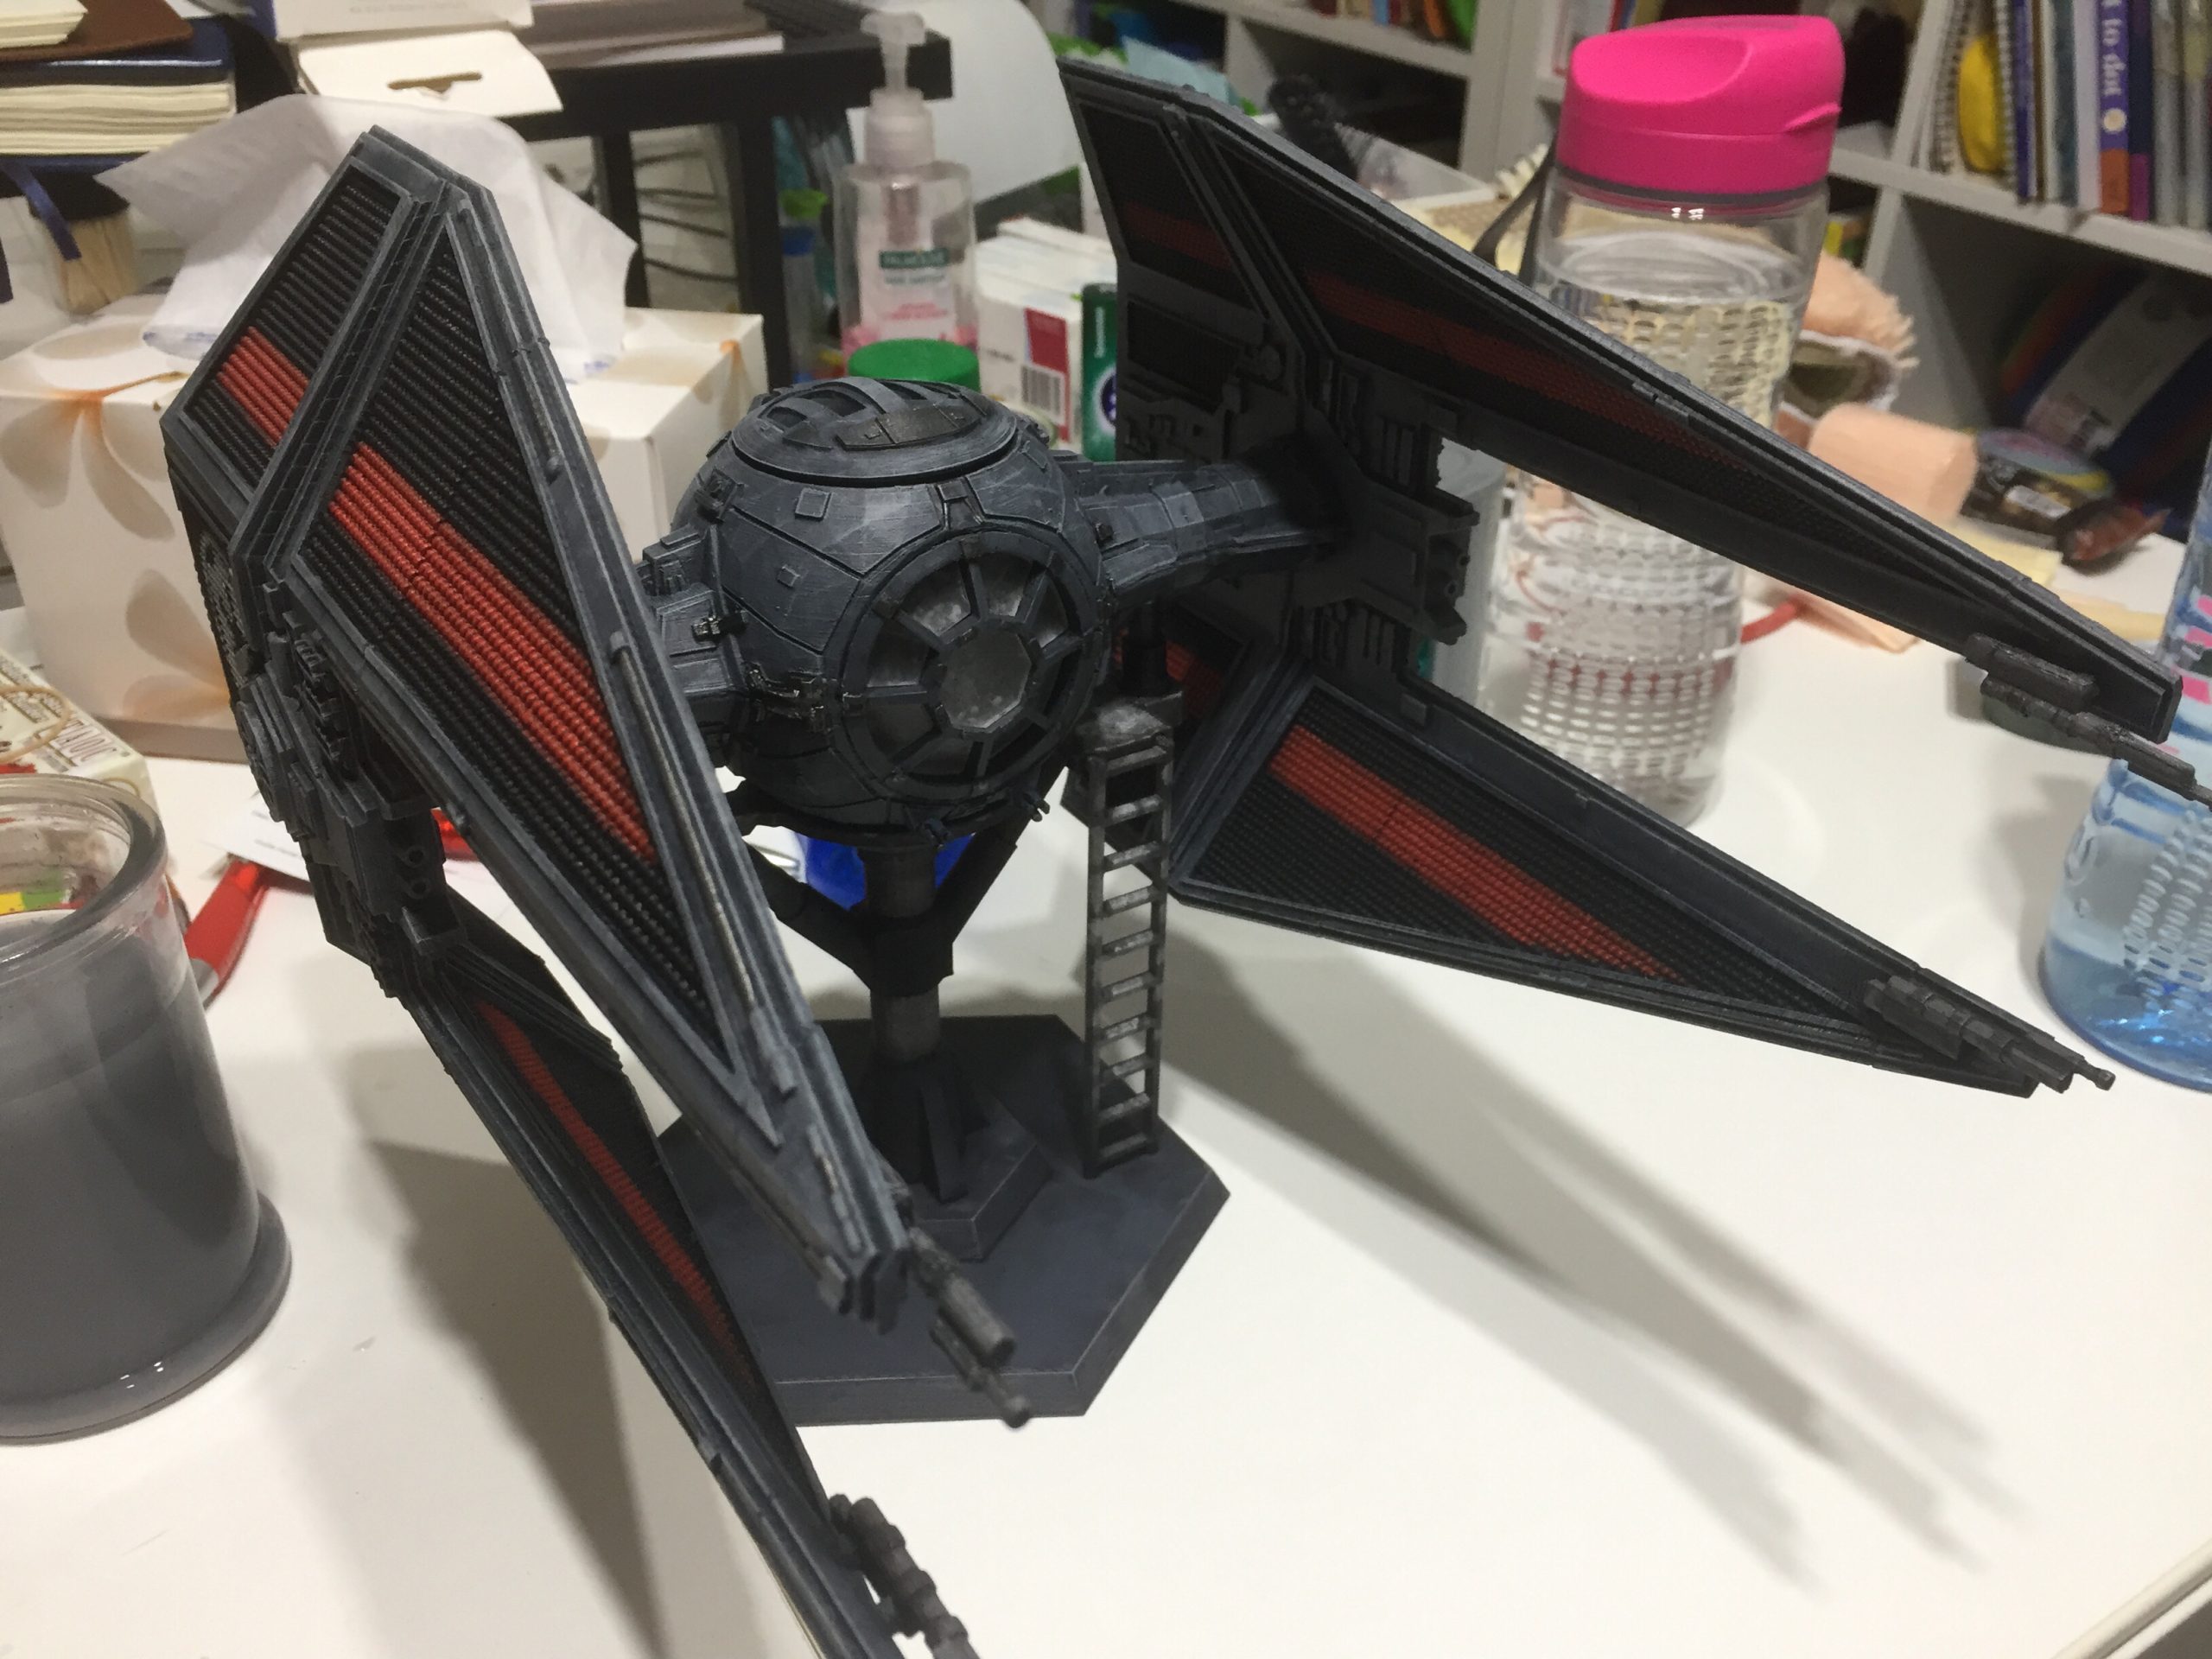
Now it is starting to look like a TIE Interceptor!
I started trying out different paint techniques to get the desired Empire colour scheme. Here’s what I ultimately went with: GW Grey spray undercoat, Mechanicus Standard Grey with 50% nuln oil wash, Mechanicus Standard Grey drybrush, Dawnstone drybrush, Administratum Grey. You can also see one of the discarded Tifa heads nearby that I ended up having to abandon because of issues with the hair.
The ship with just the grey spray undercoat and the black panels coloured.
Probably this would have been good enough for a practice piece. However, about now I was starting to wonder, what was I going to do with the finished product? I decided to donate it to Geoff Sanders’ Per Ardua Ad Astrum event, that was fundraising for children who needed organ replacements. The quality of the ship would therefore need to be much higher.
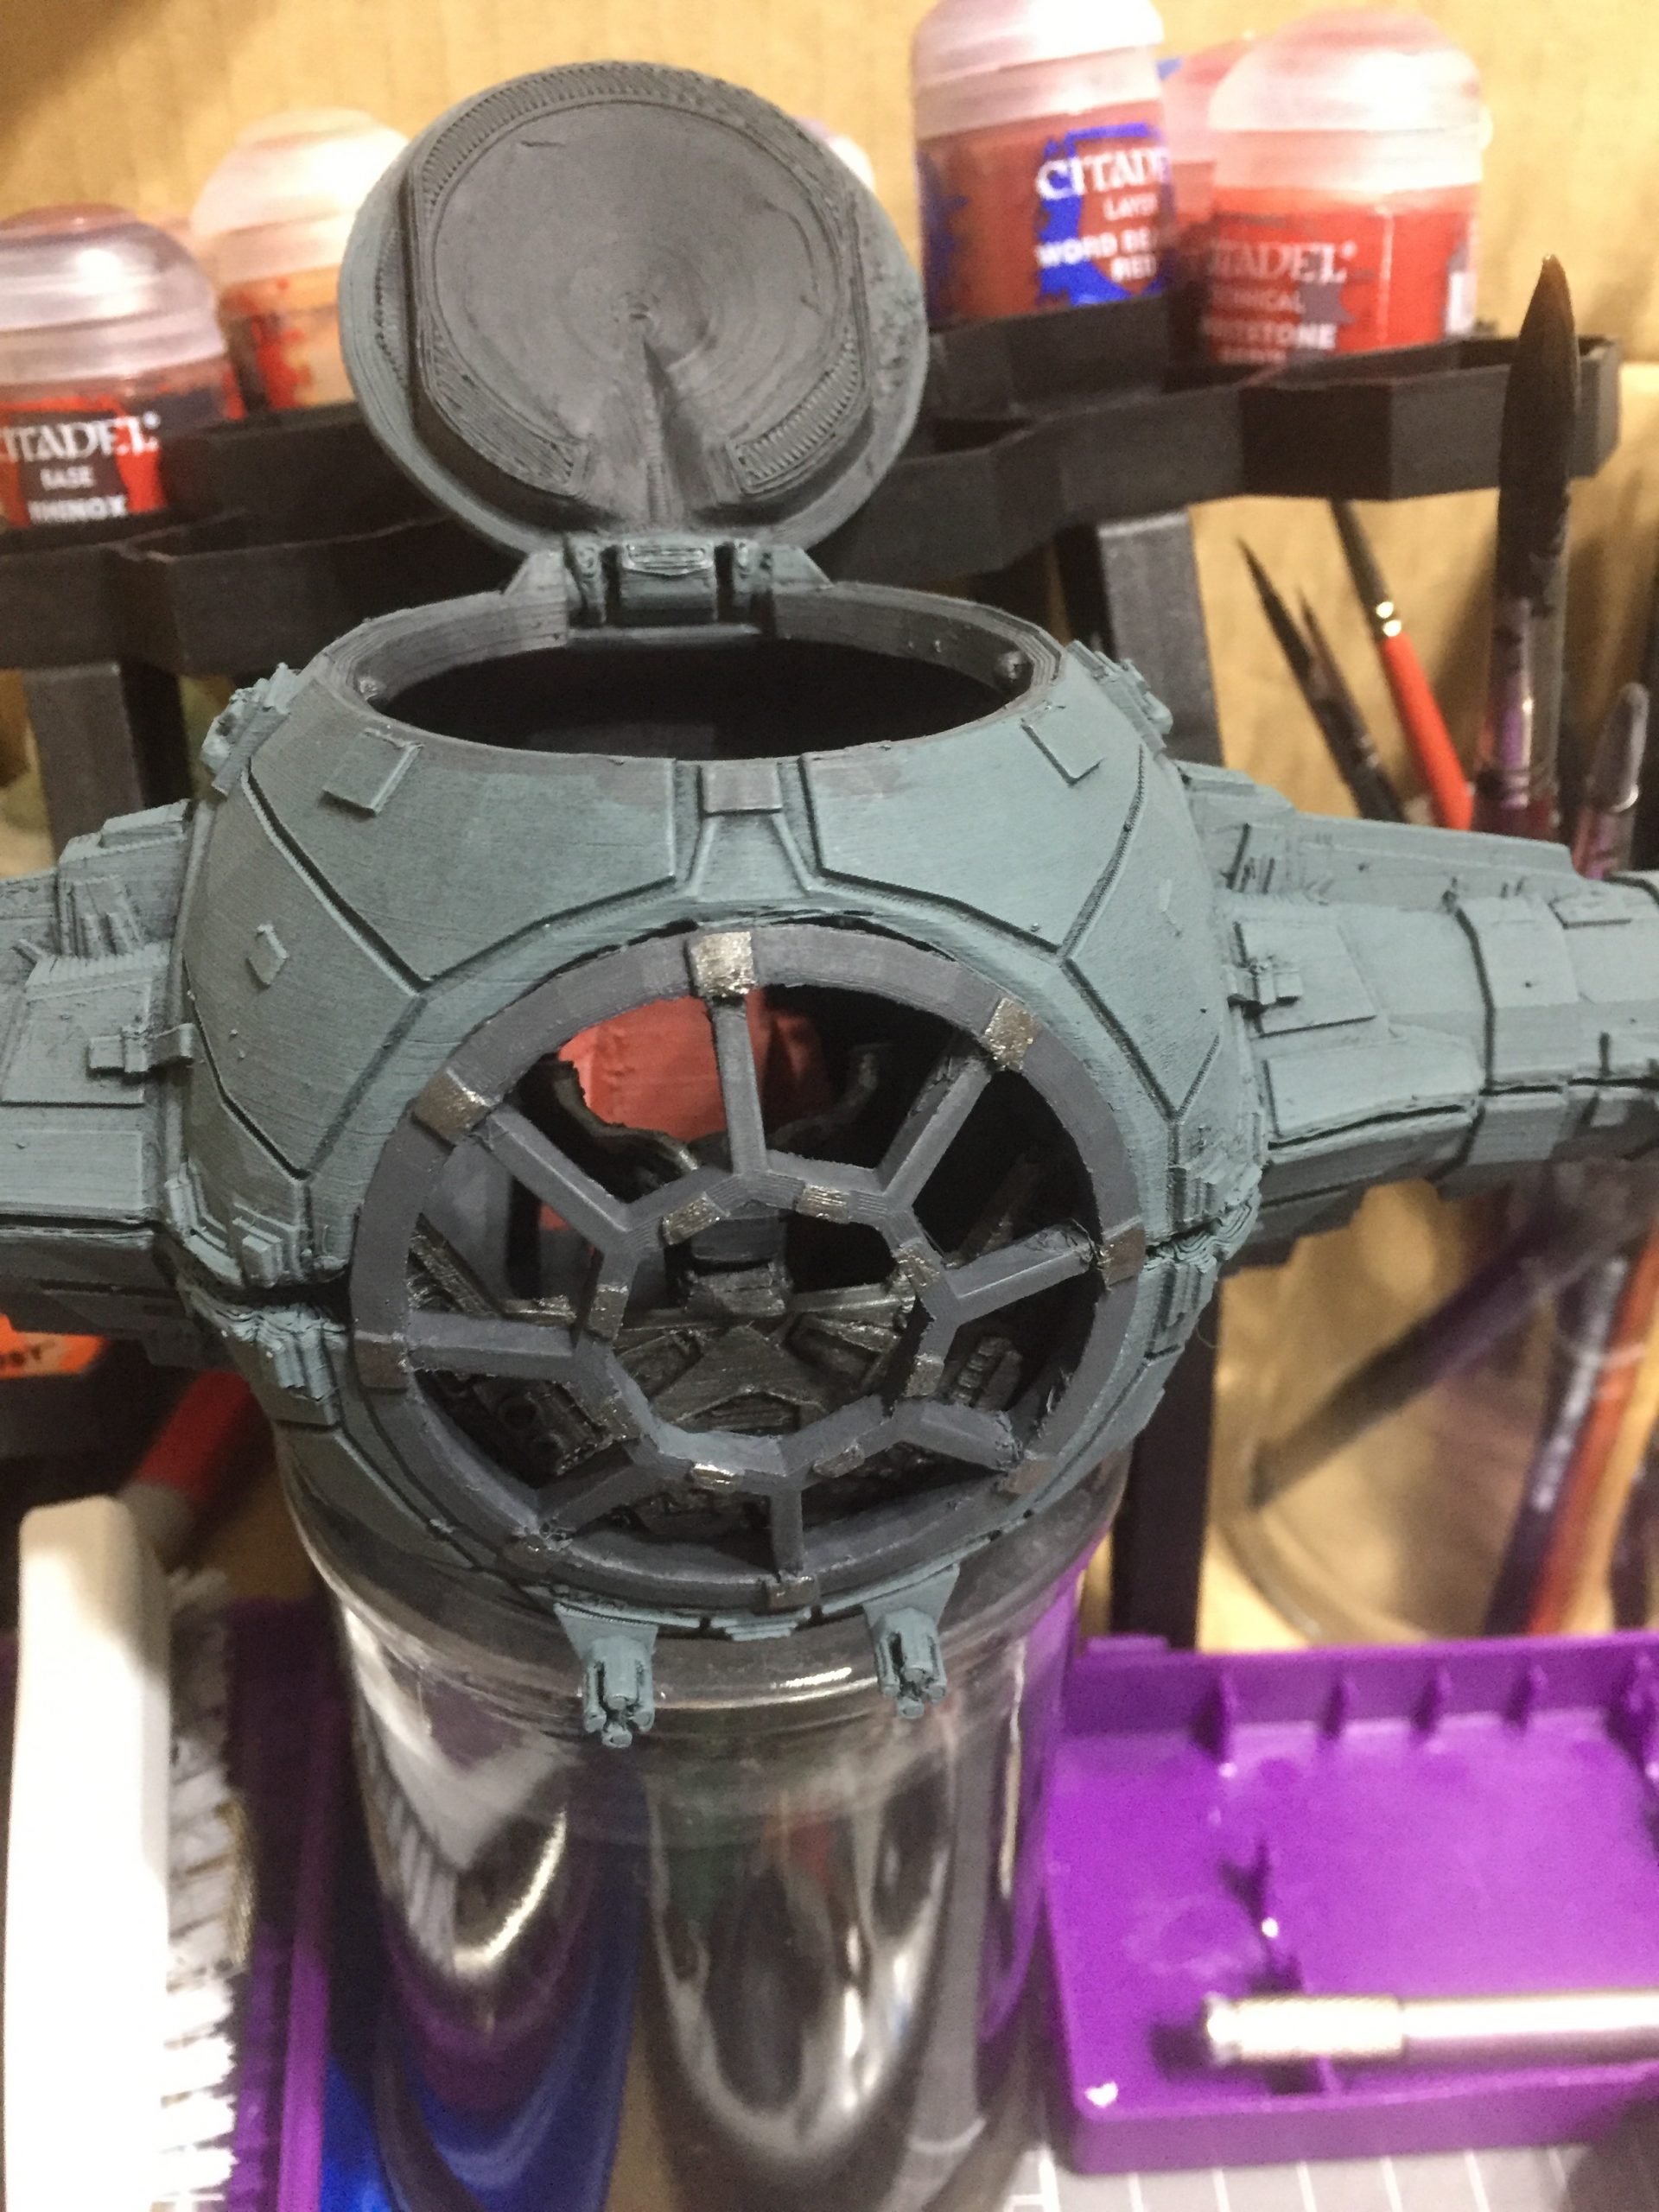
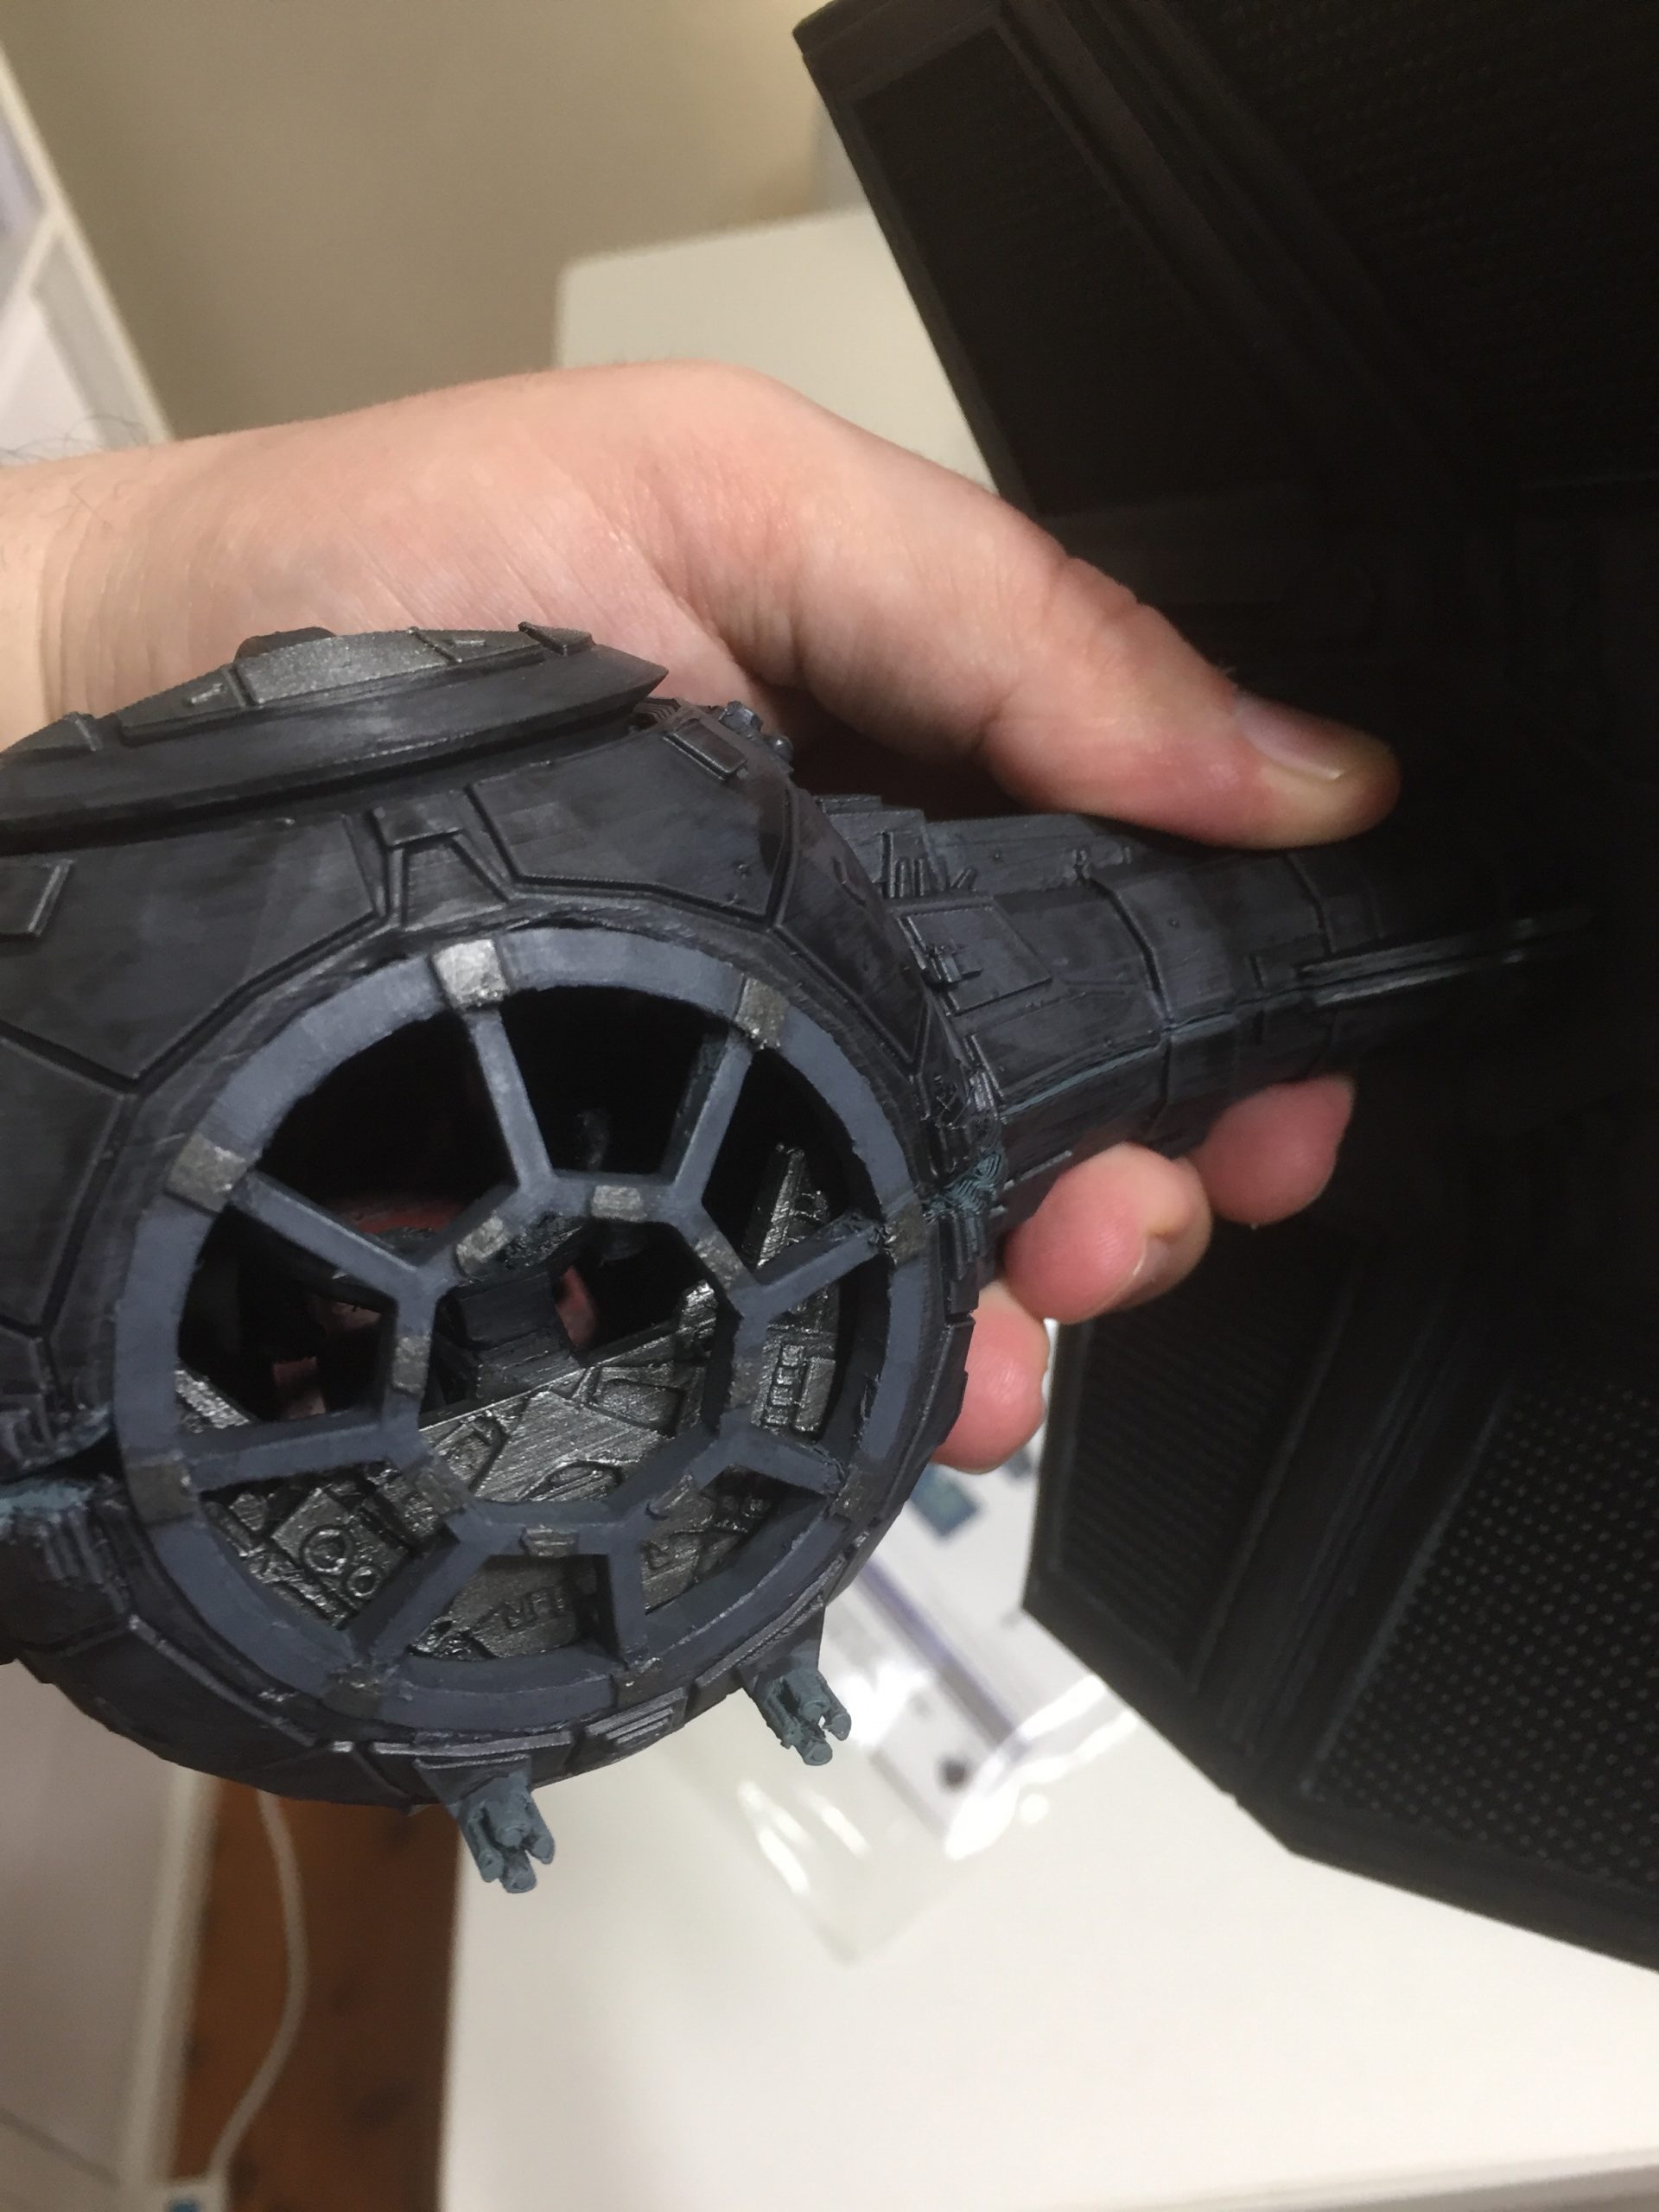
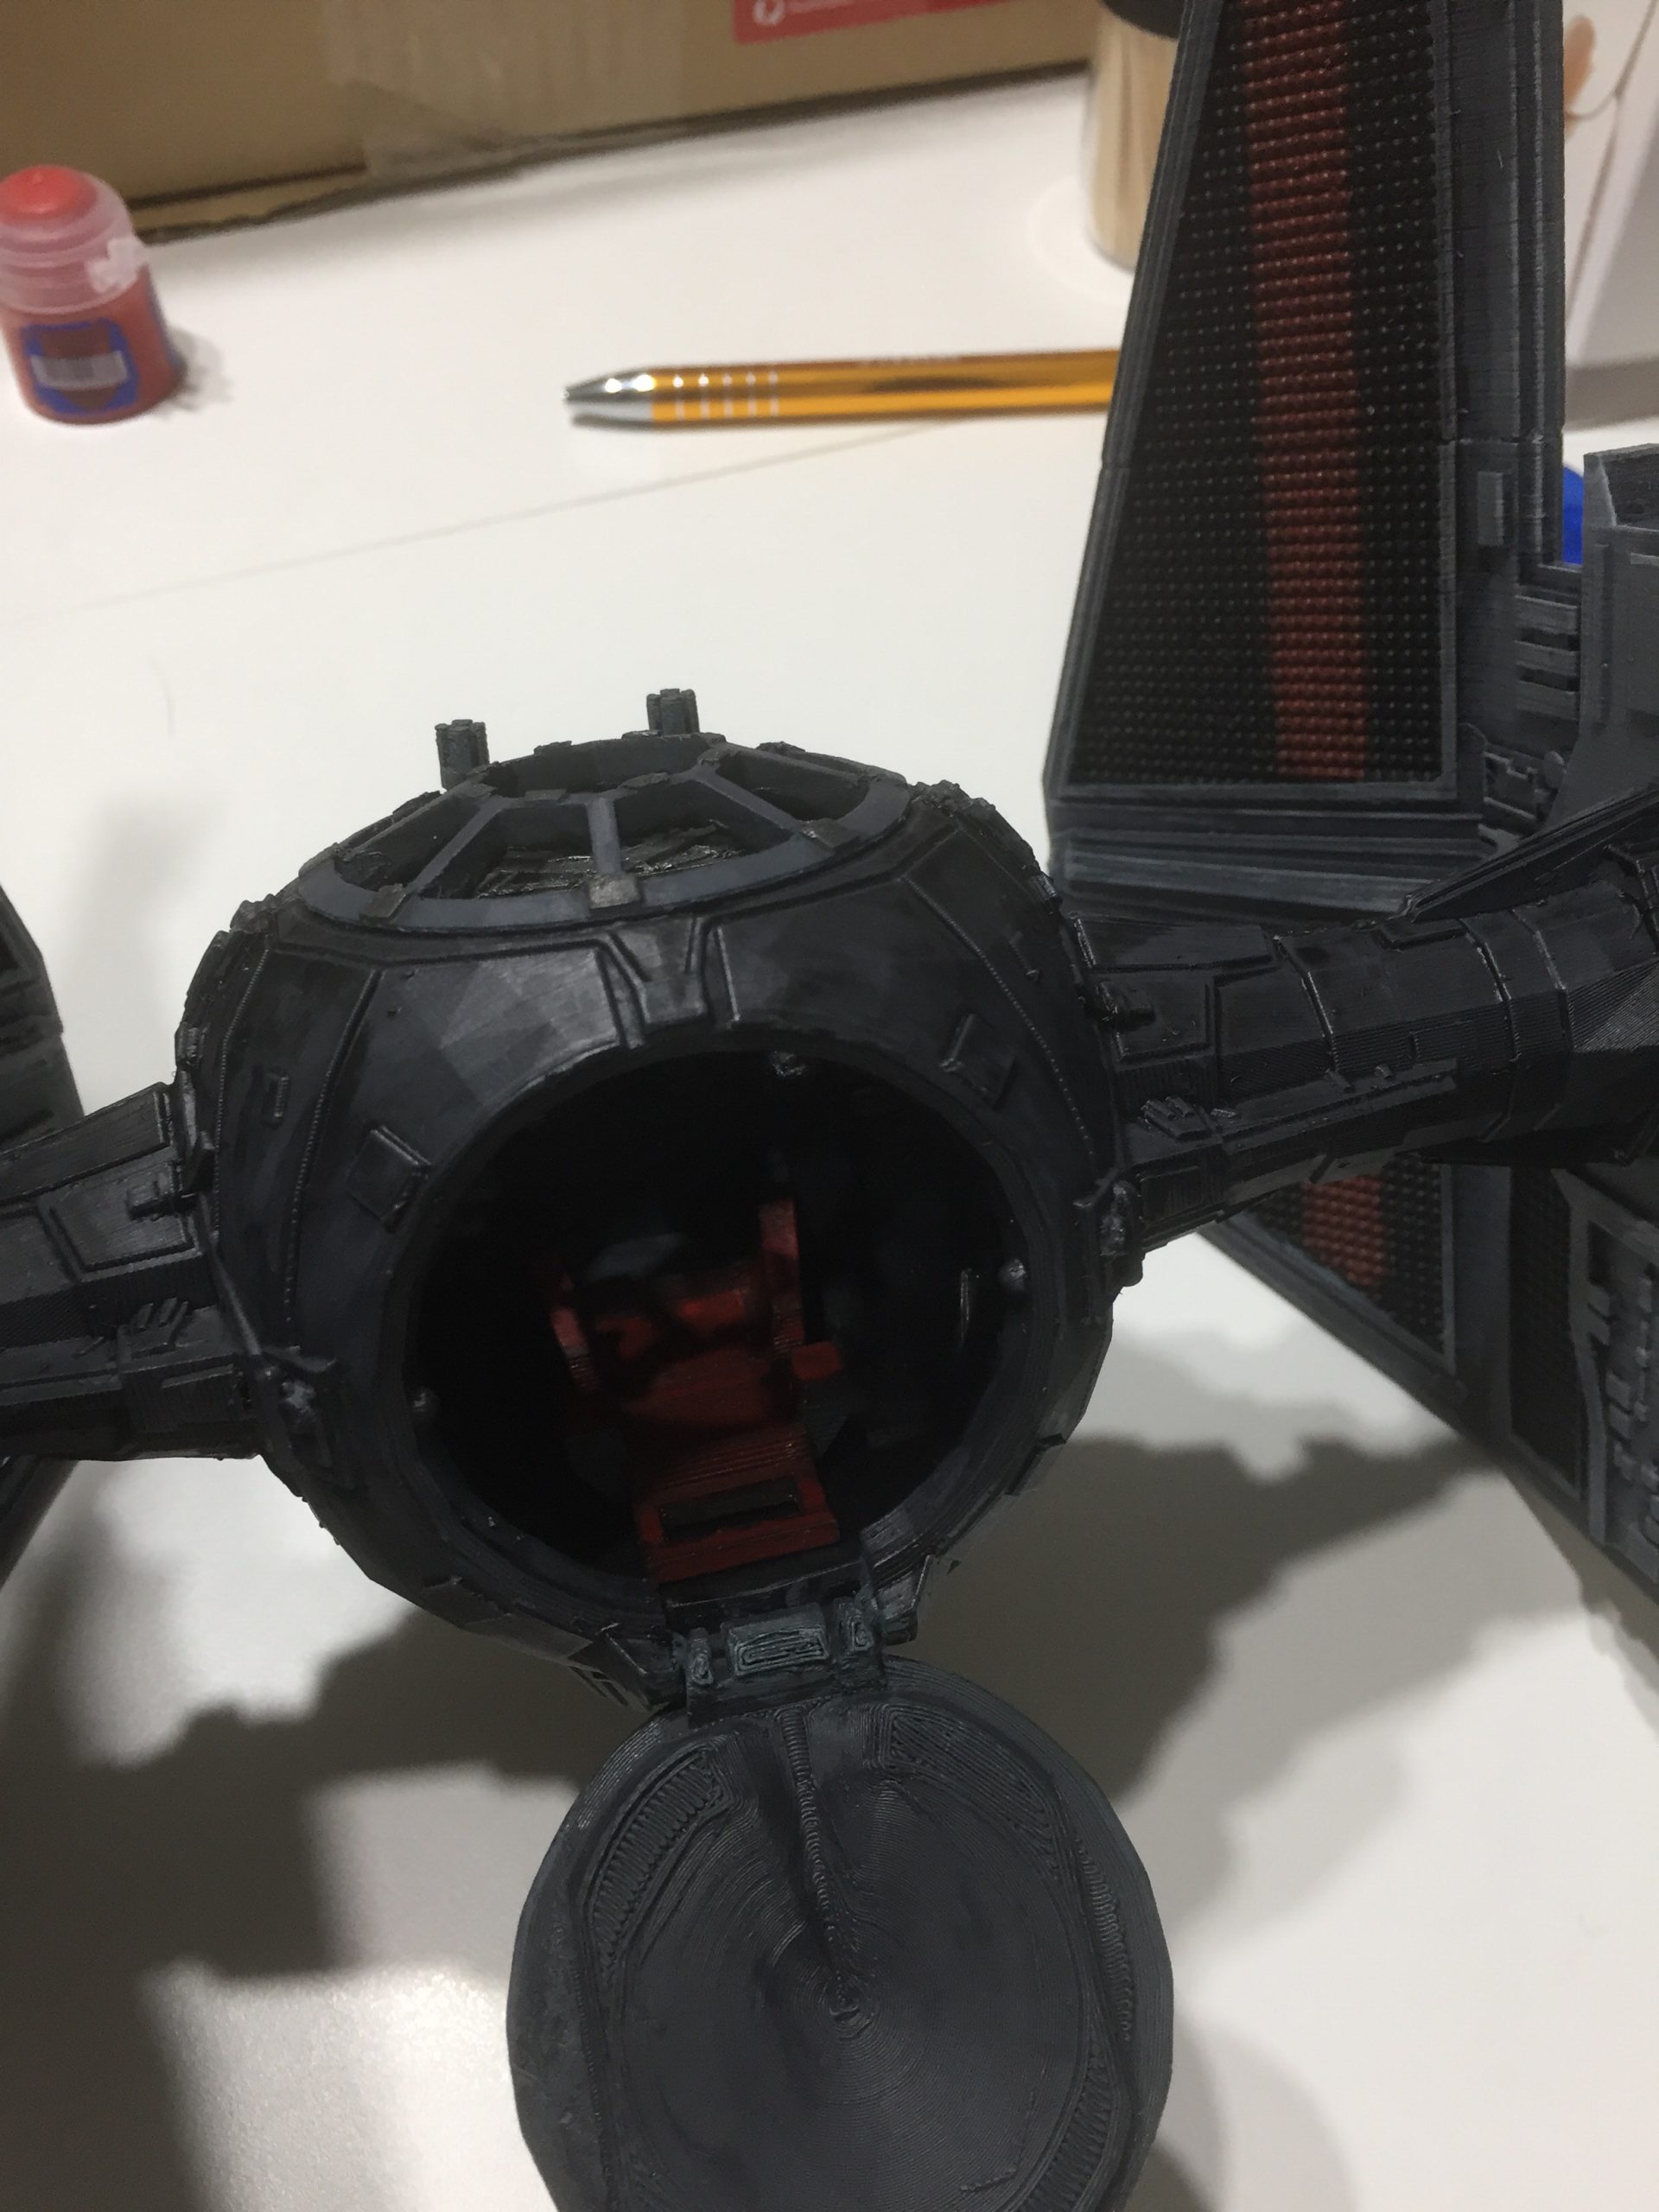
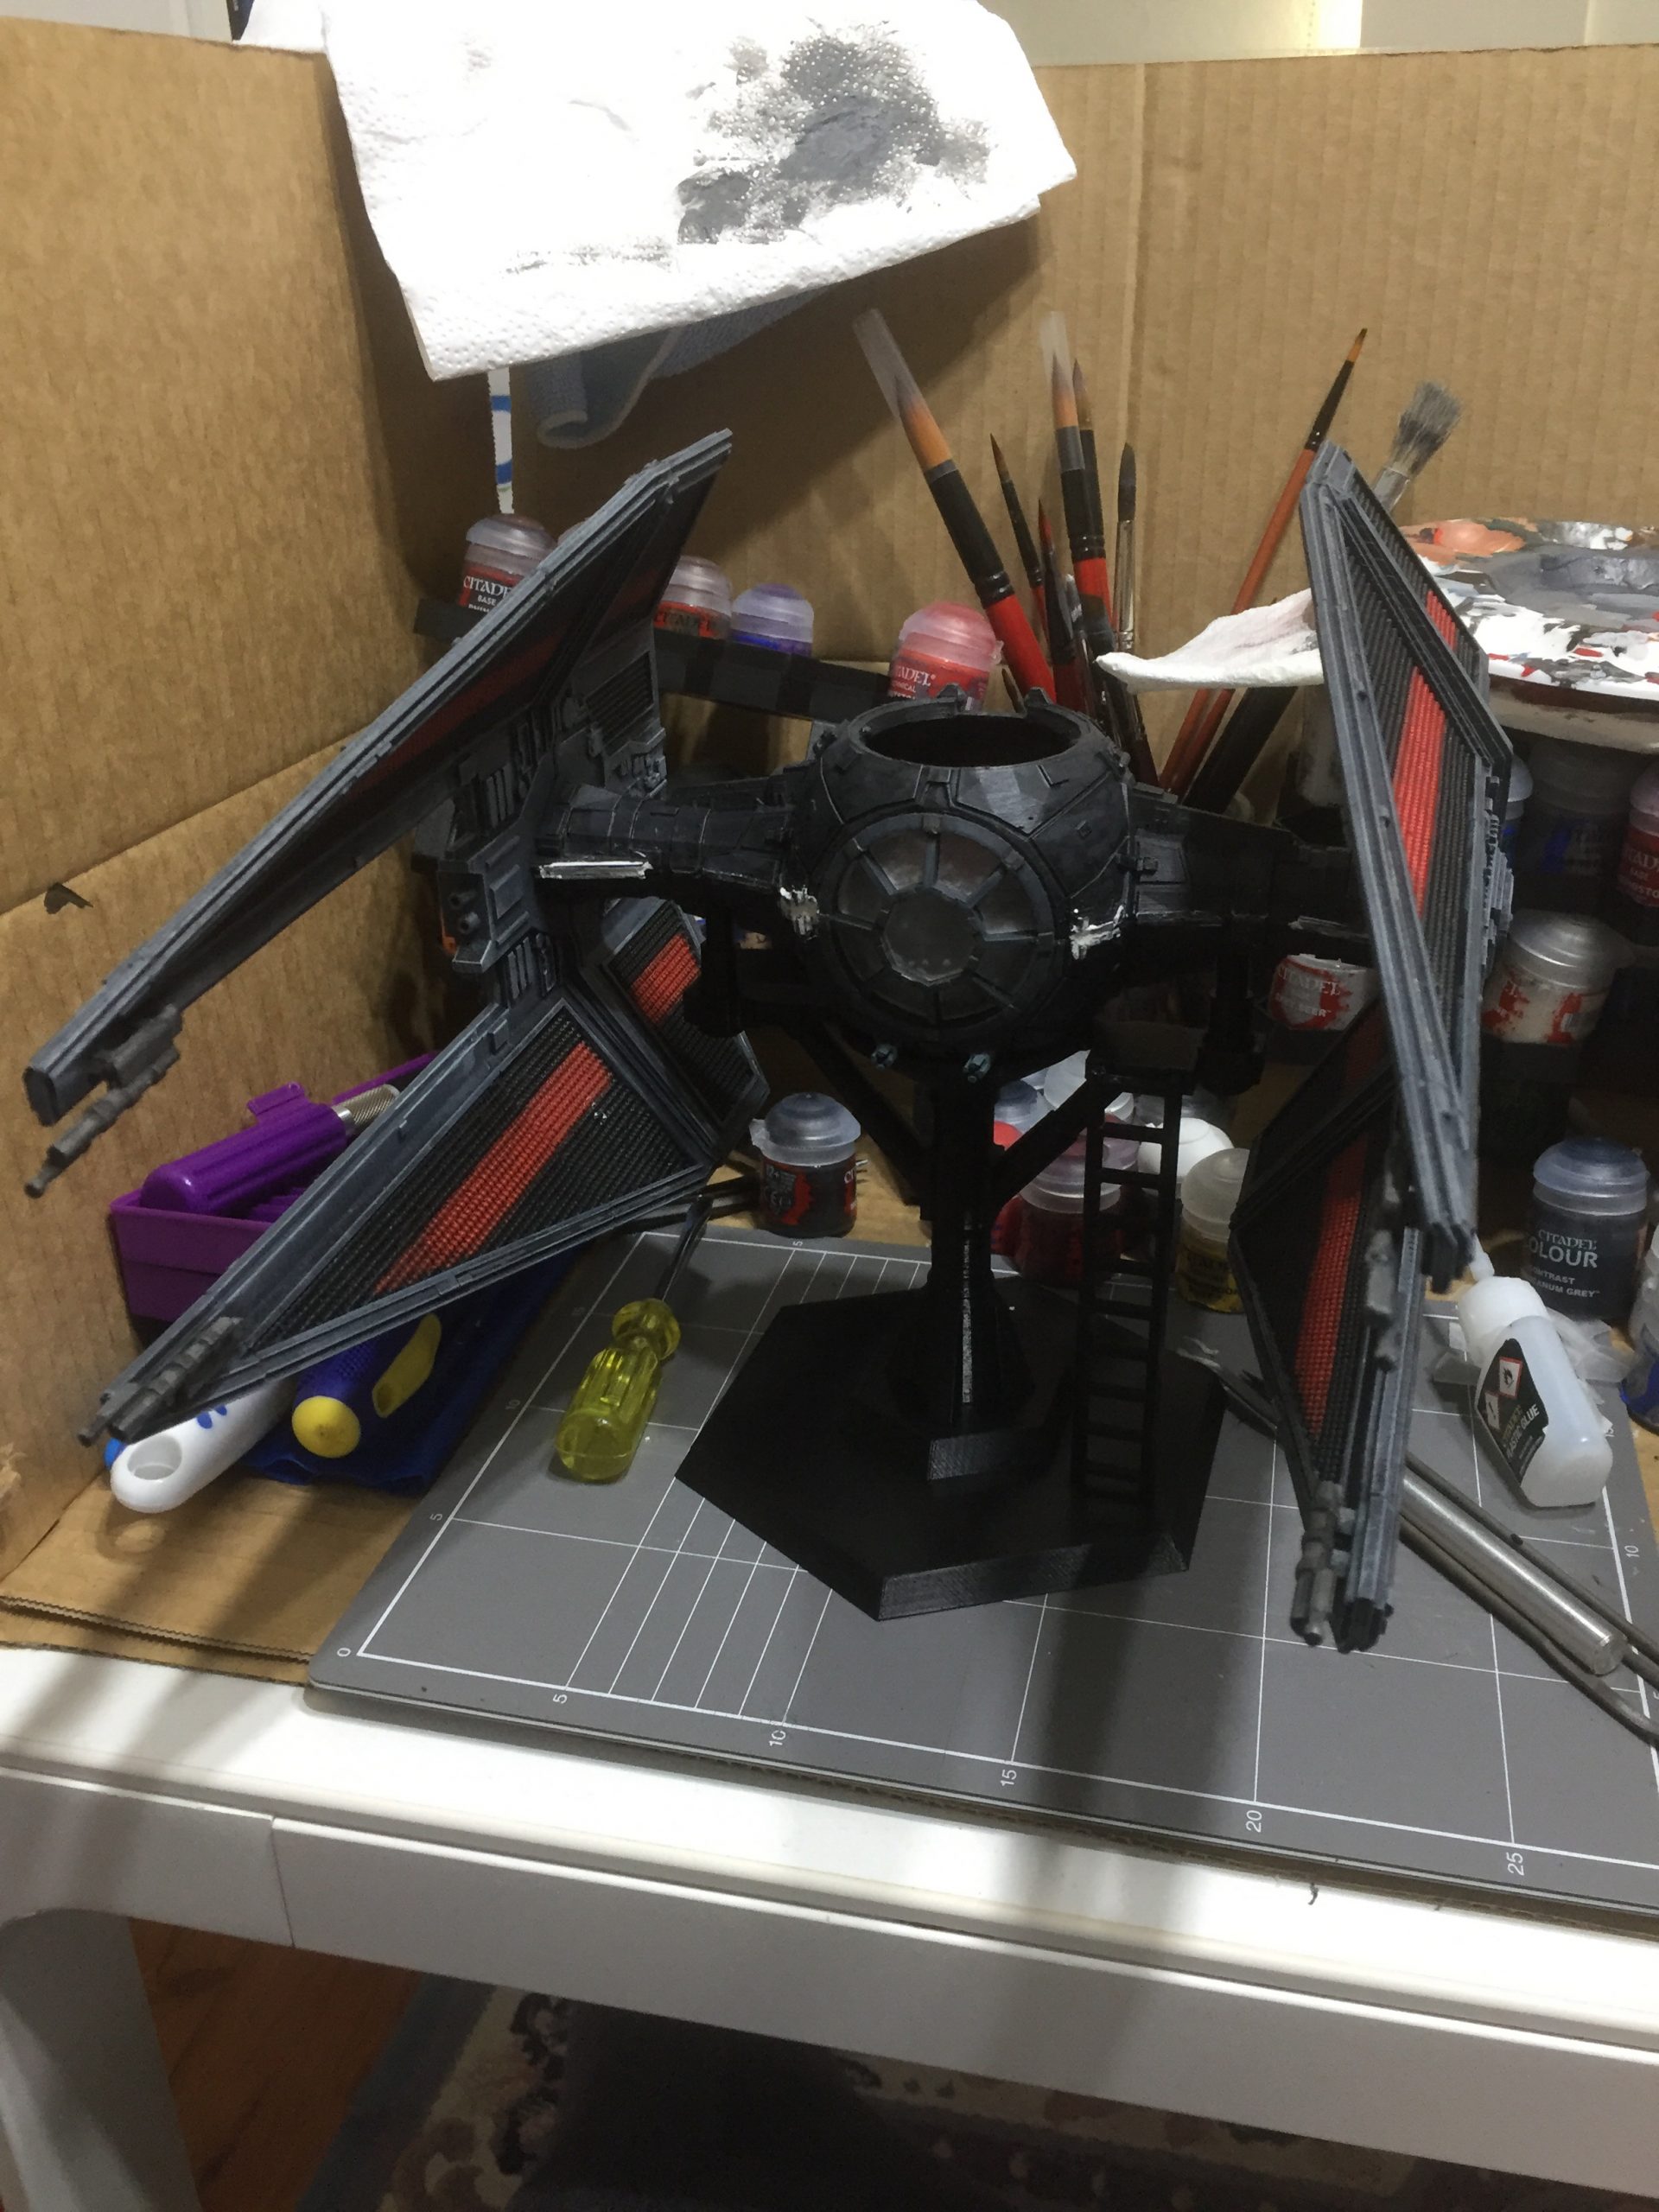
I now painted the inside of the Interceptor. At this time, the top and bottom halves of the canopy were not glued together. You can see chunks missing at the 3 o’clock and 9 o’clock sections of the canopy. When I was printing, I didn’t notice this problems. I would have to fill these in with putty before I could paint, but before I could paint the inside, I needed to glue the canopy closed. But to glue the canopy closed, the wings had to go in first. This meant I would have problems!
Internal painting complete and canopy hit with 50/50 nuln and grey wash. This turned out to be nearly exactly the same as the grey Basilicum Contrast paint so I just used that for the wings instead.
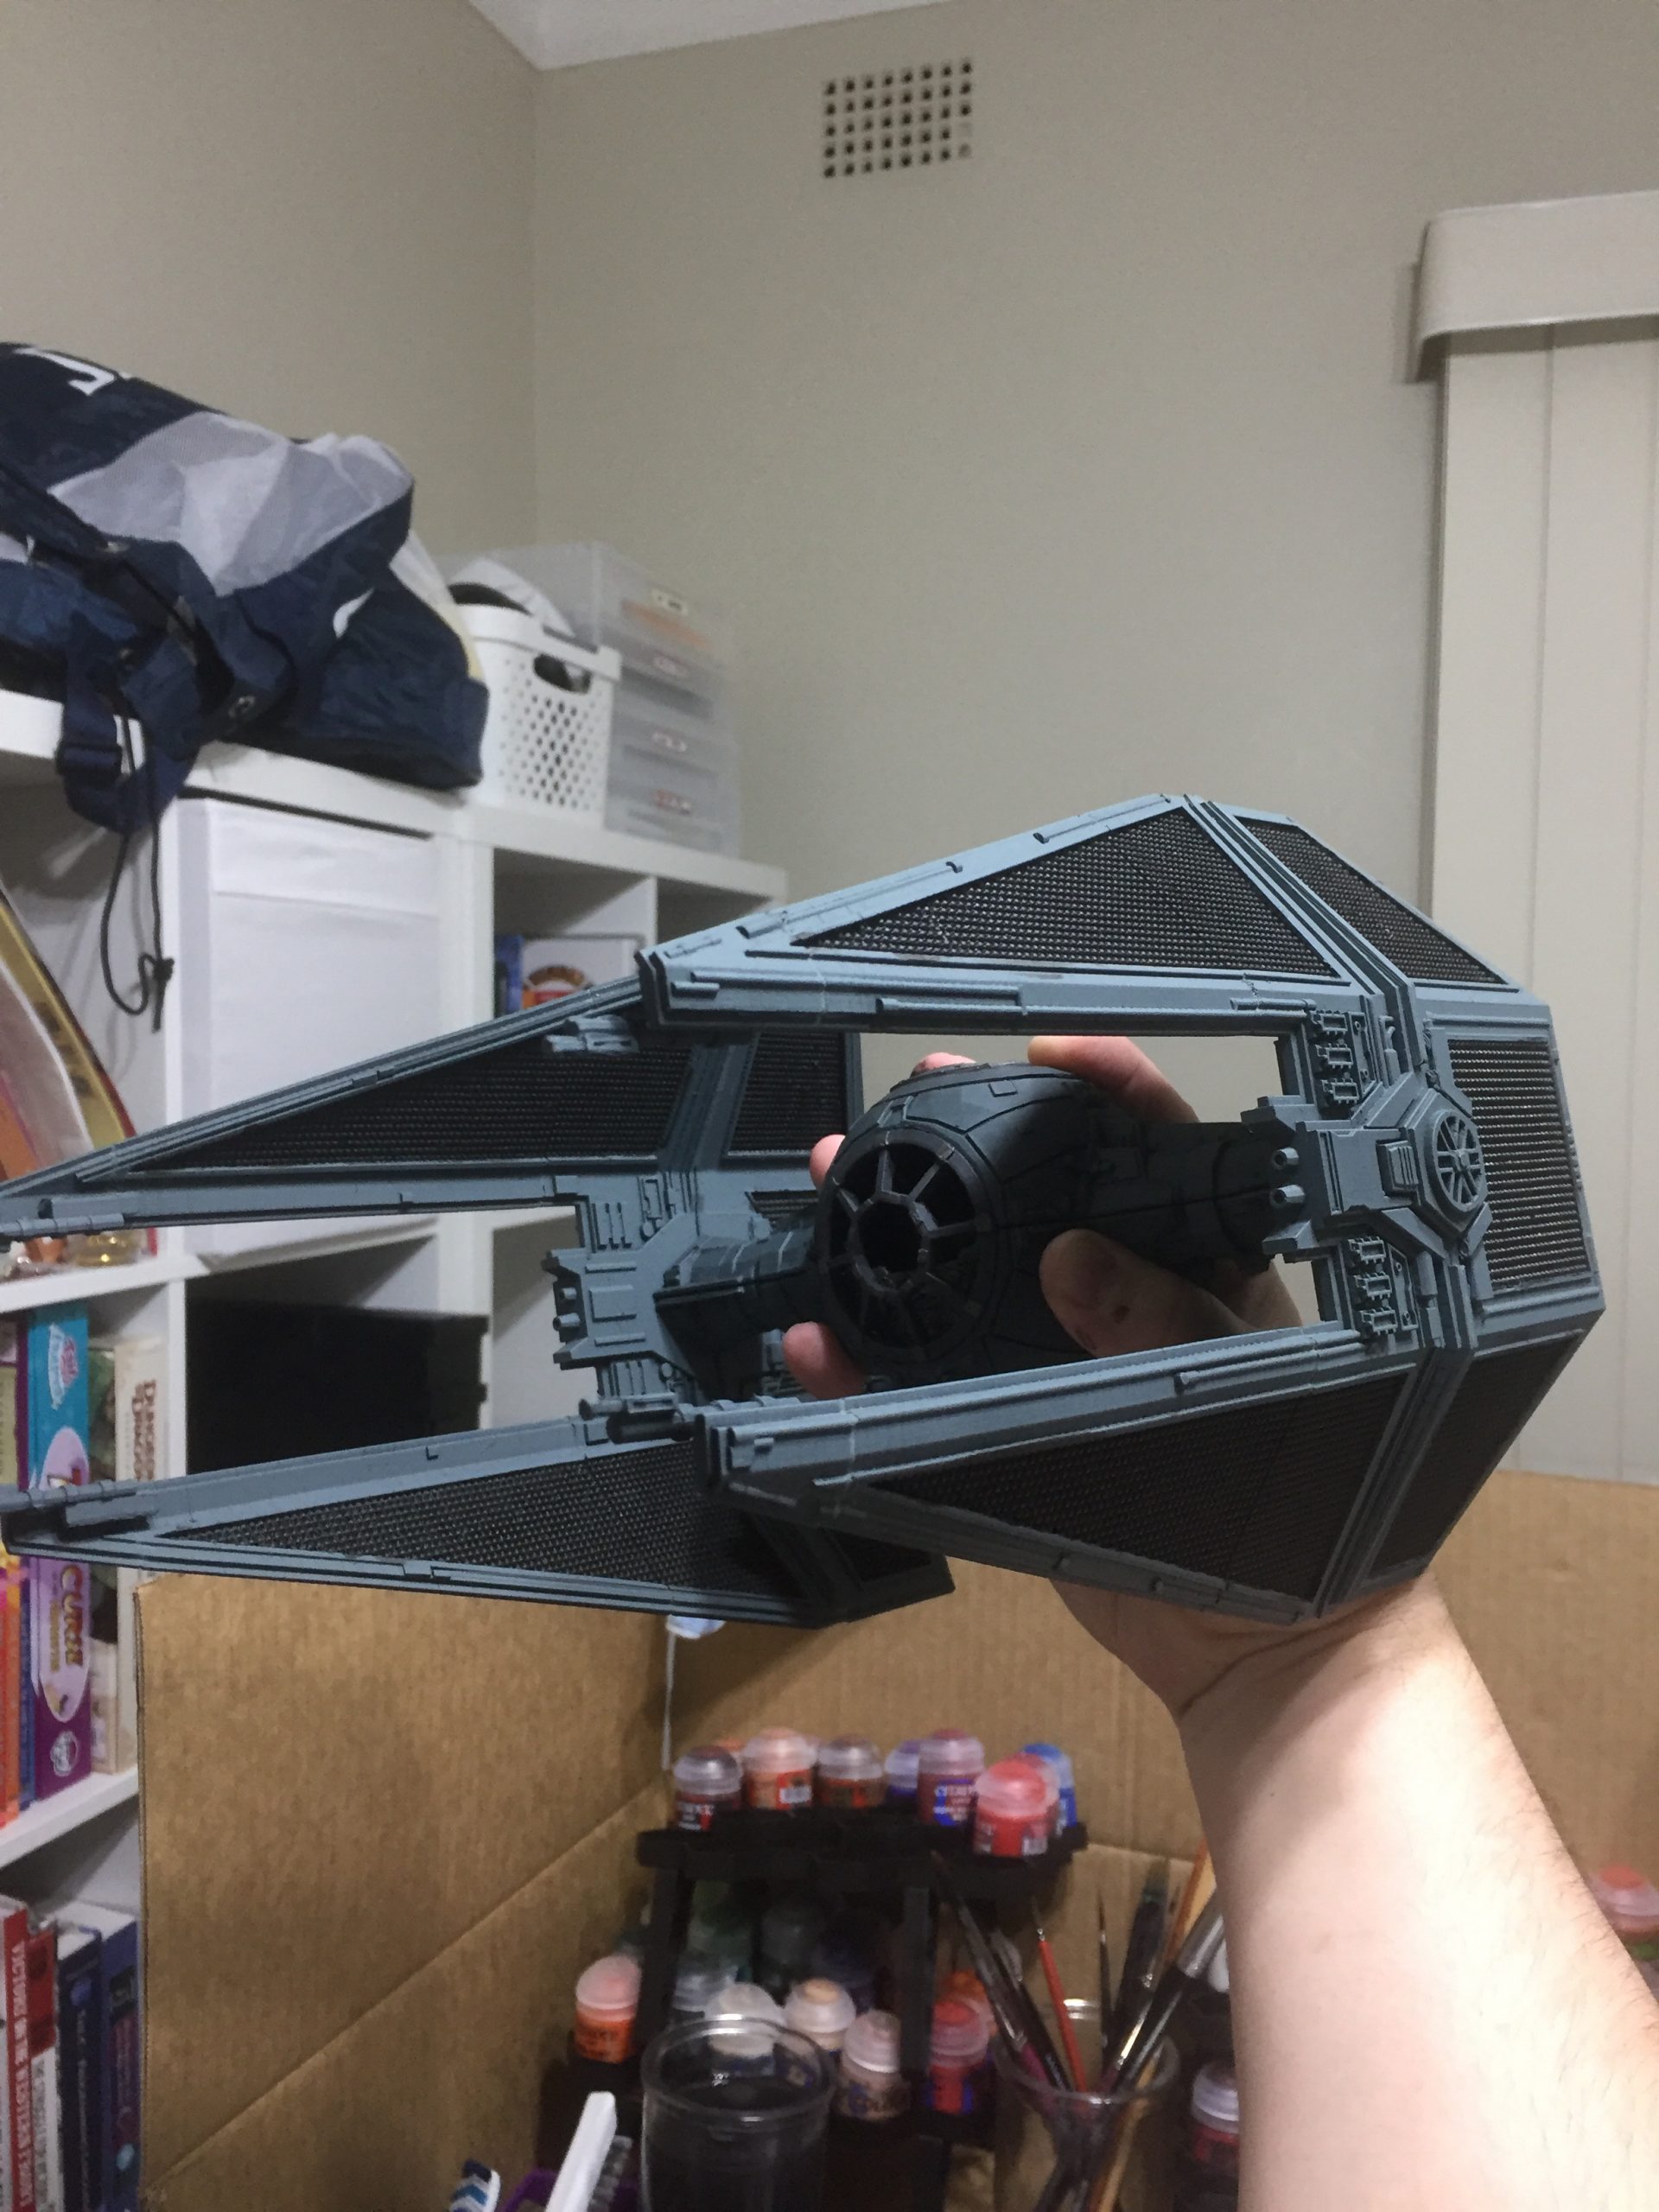
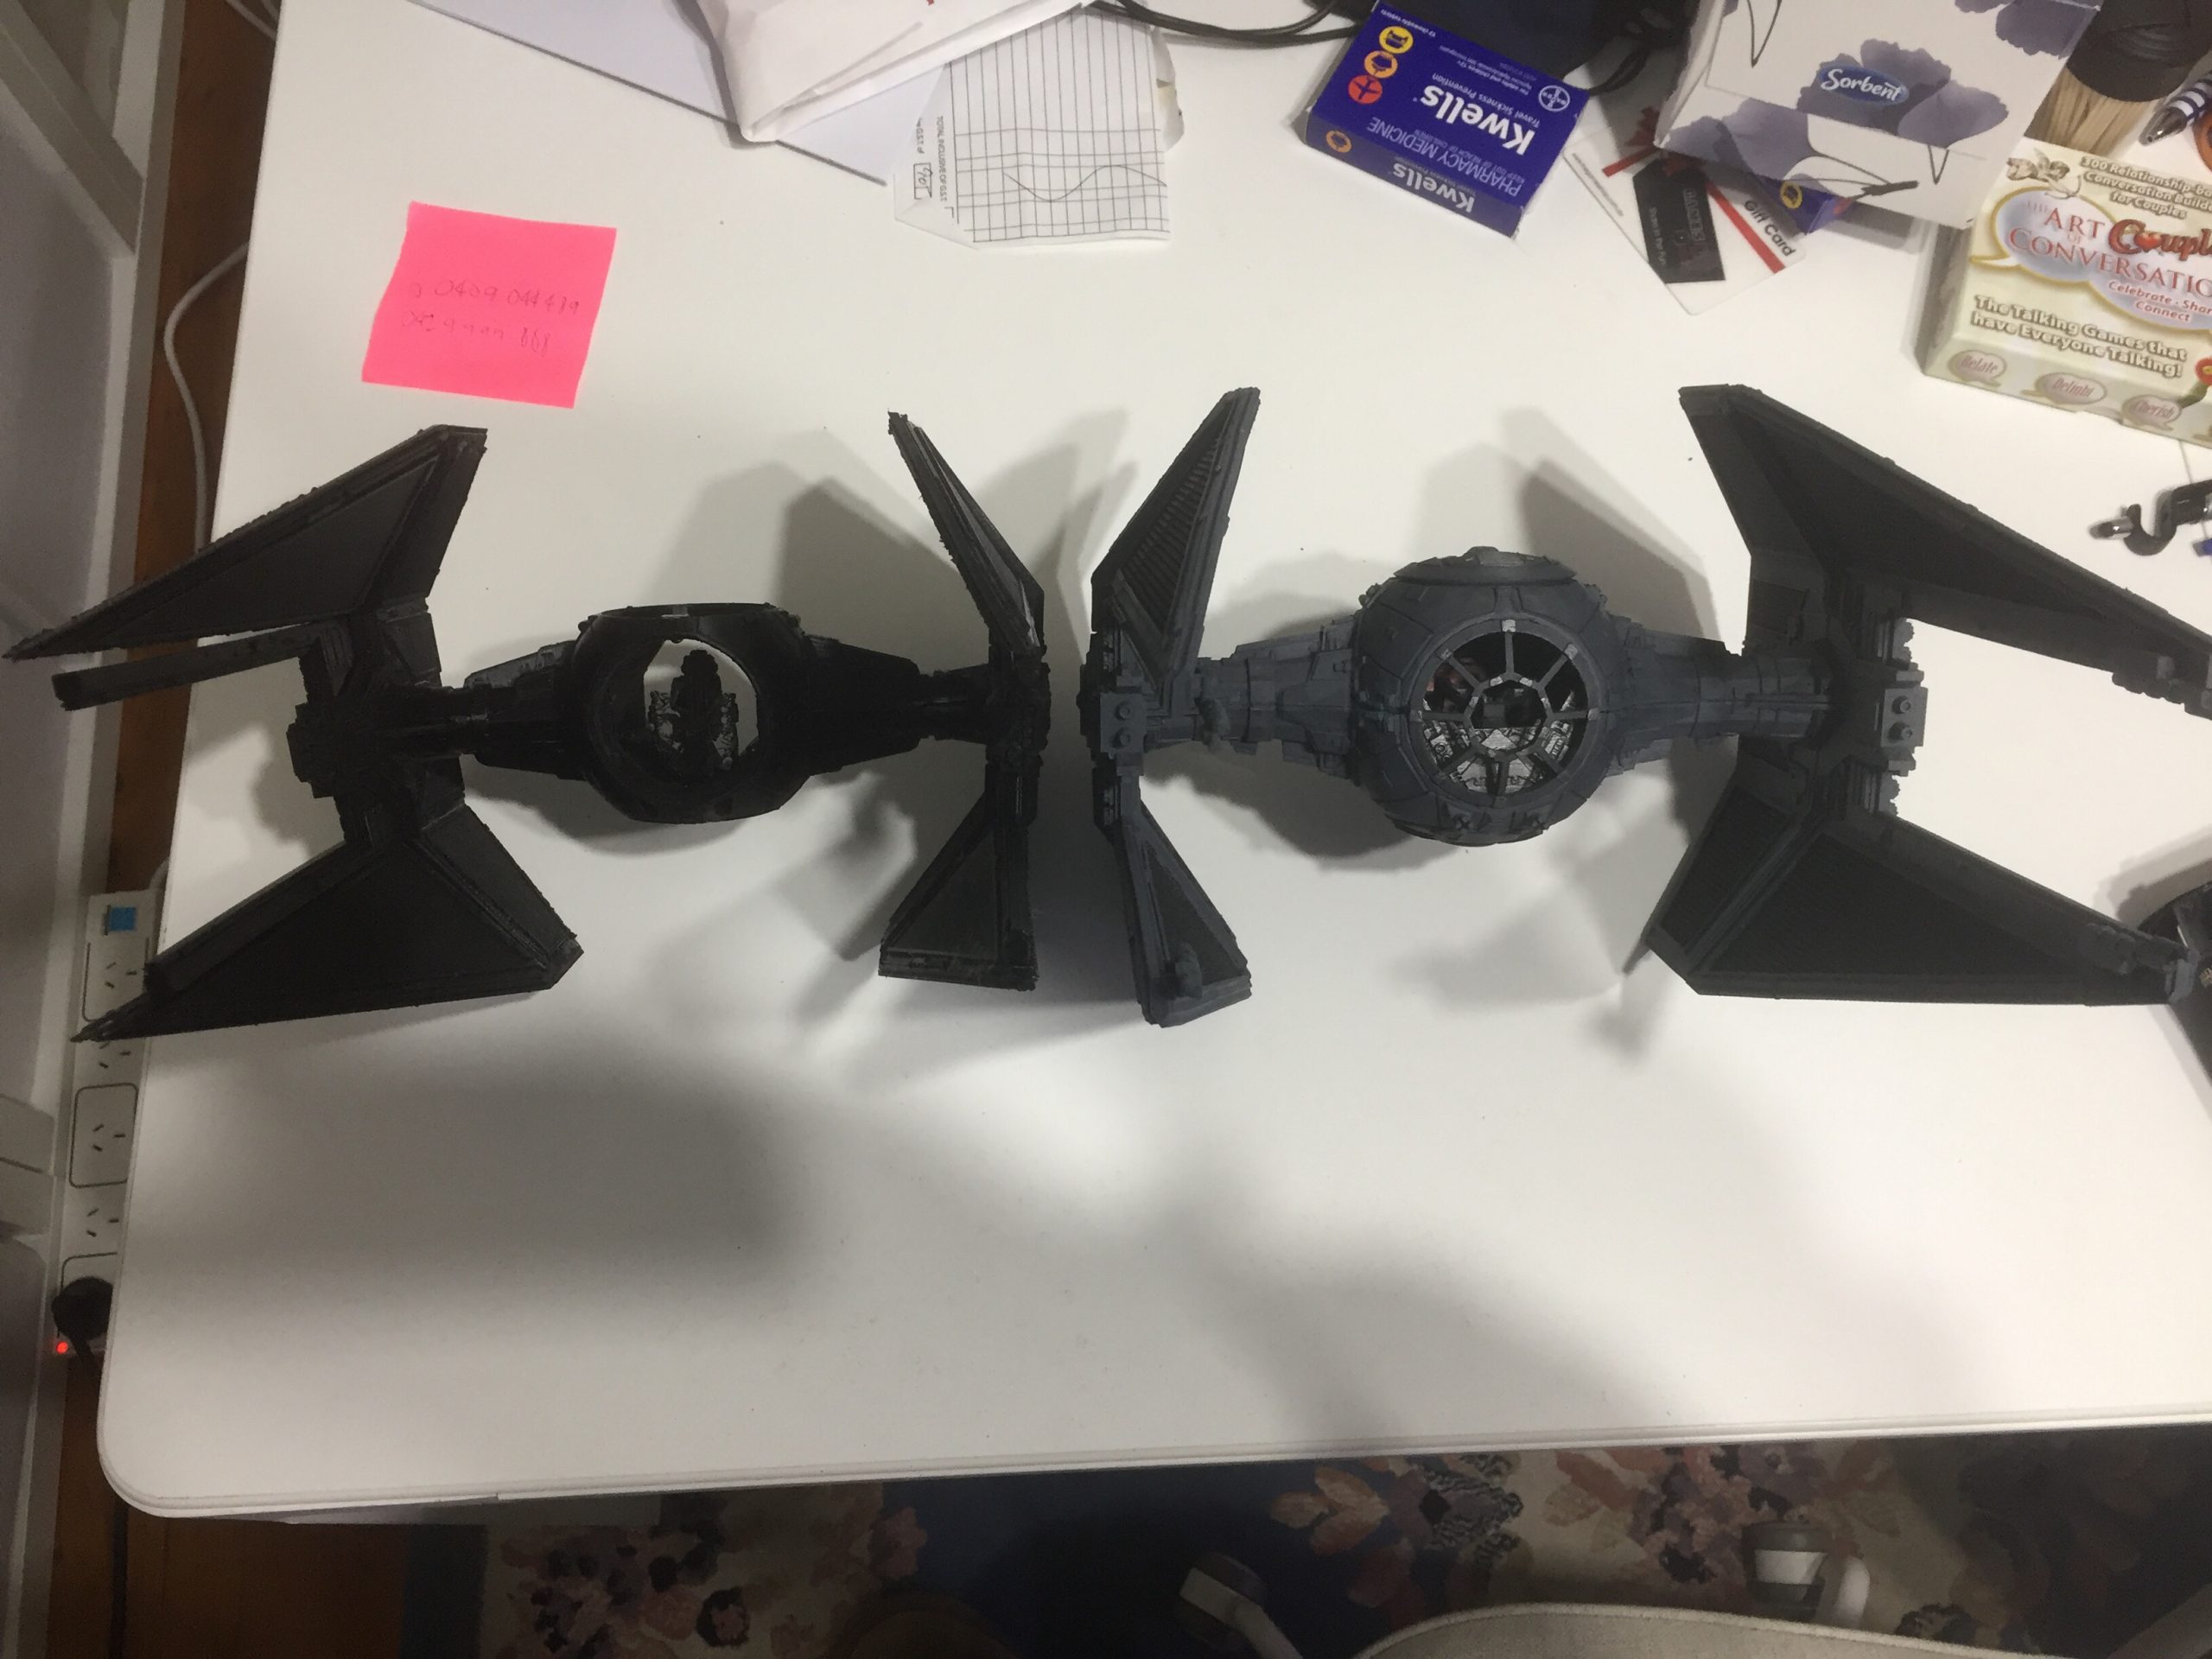
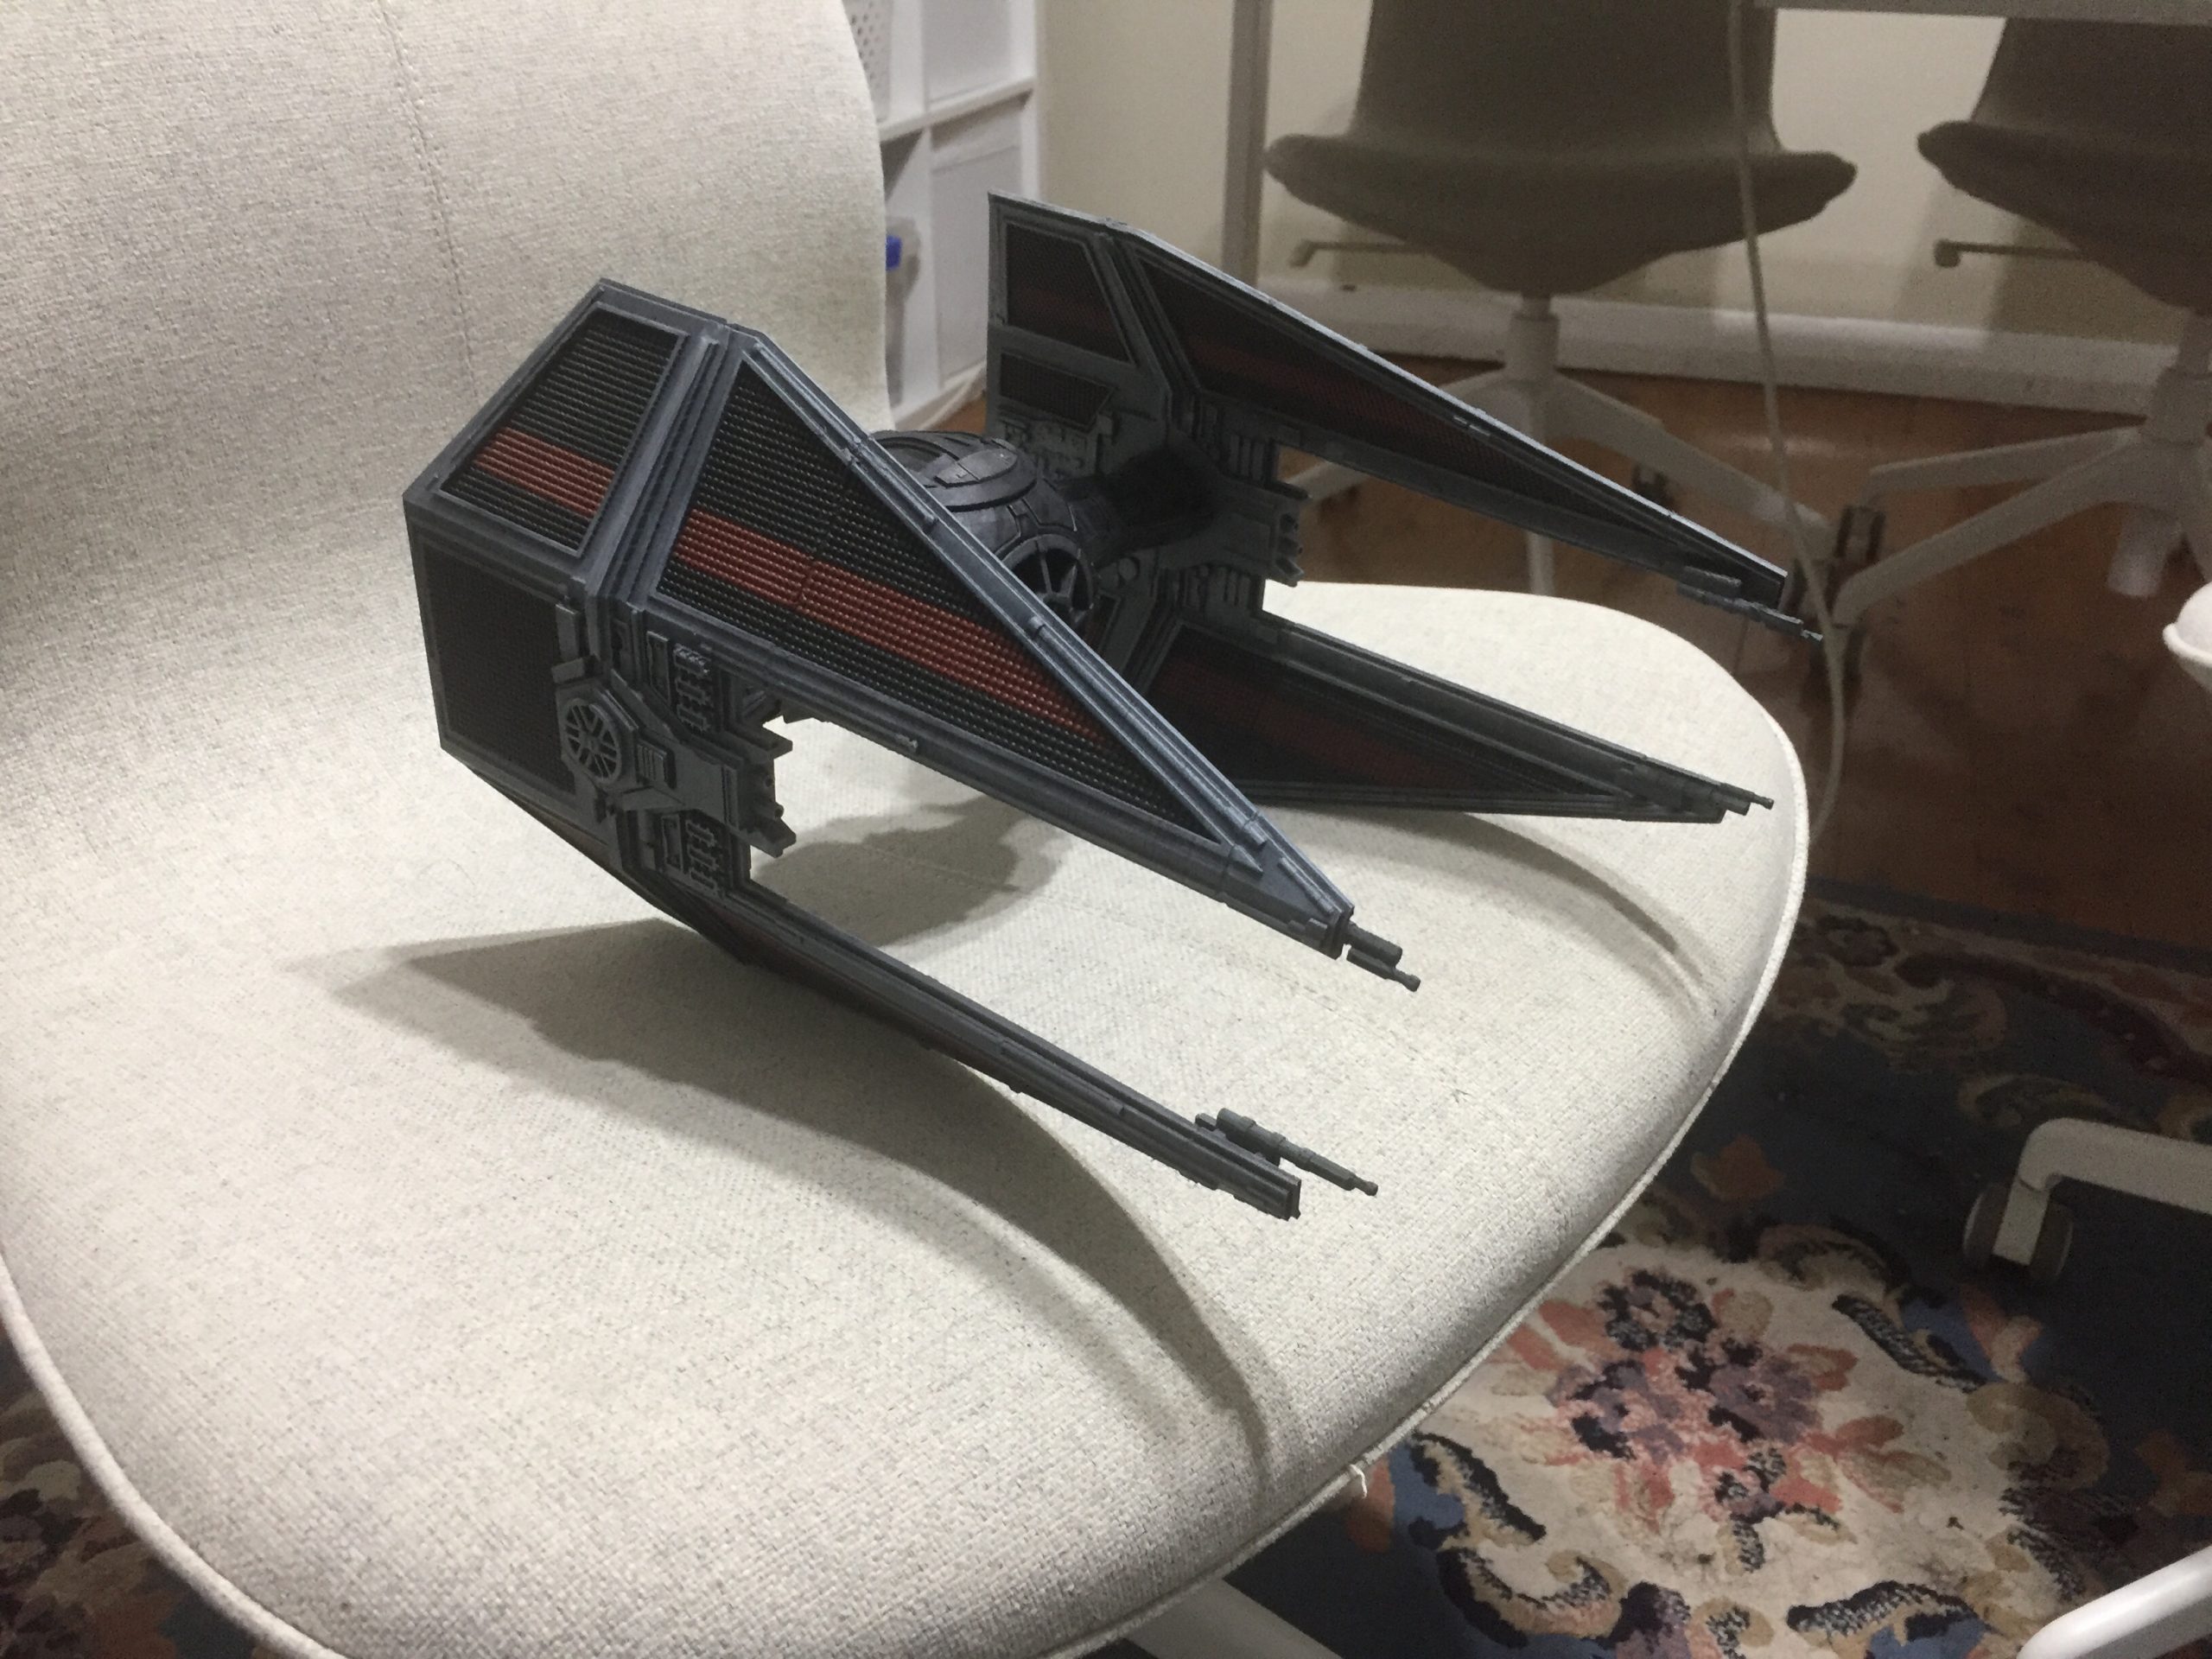
Now with Mechanicus Grey drybrush. You can also see the mk2 Interceptor on the left.
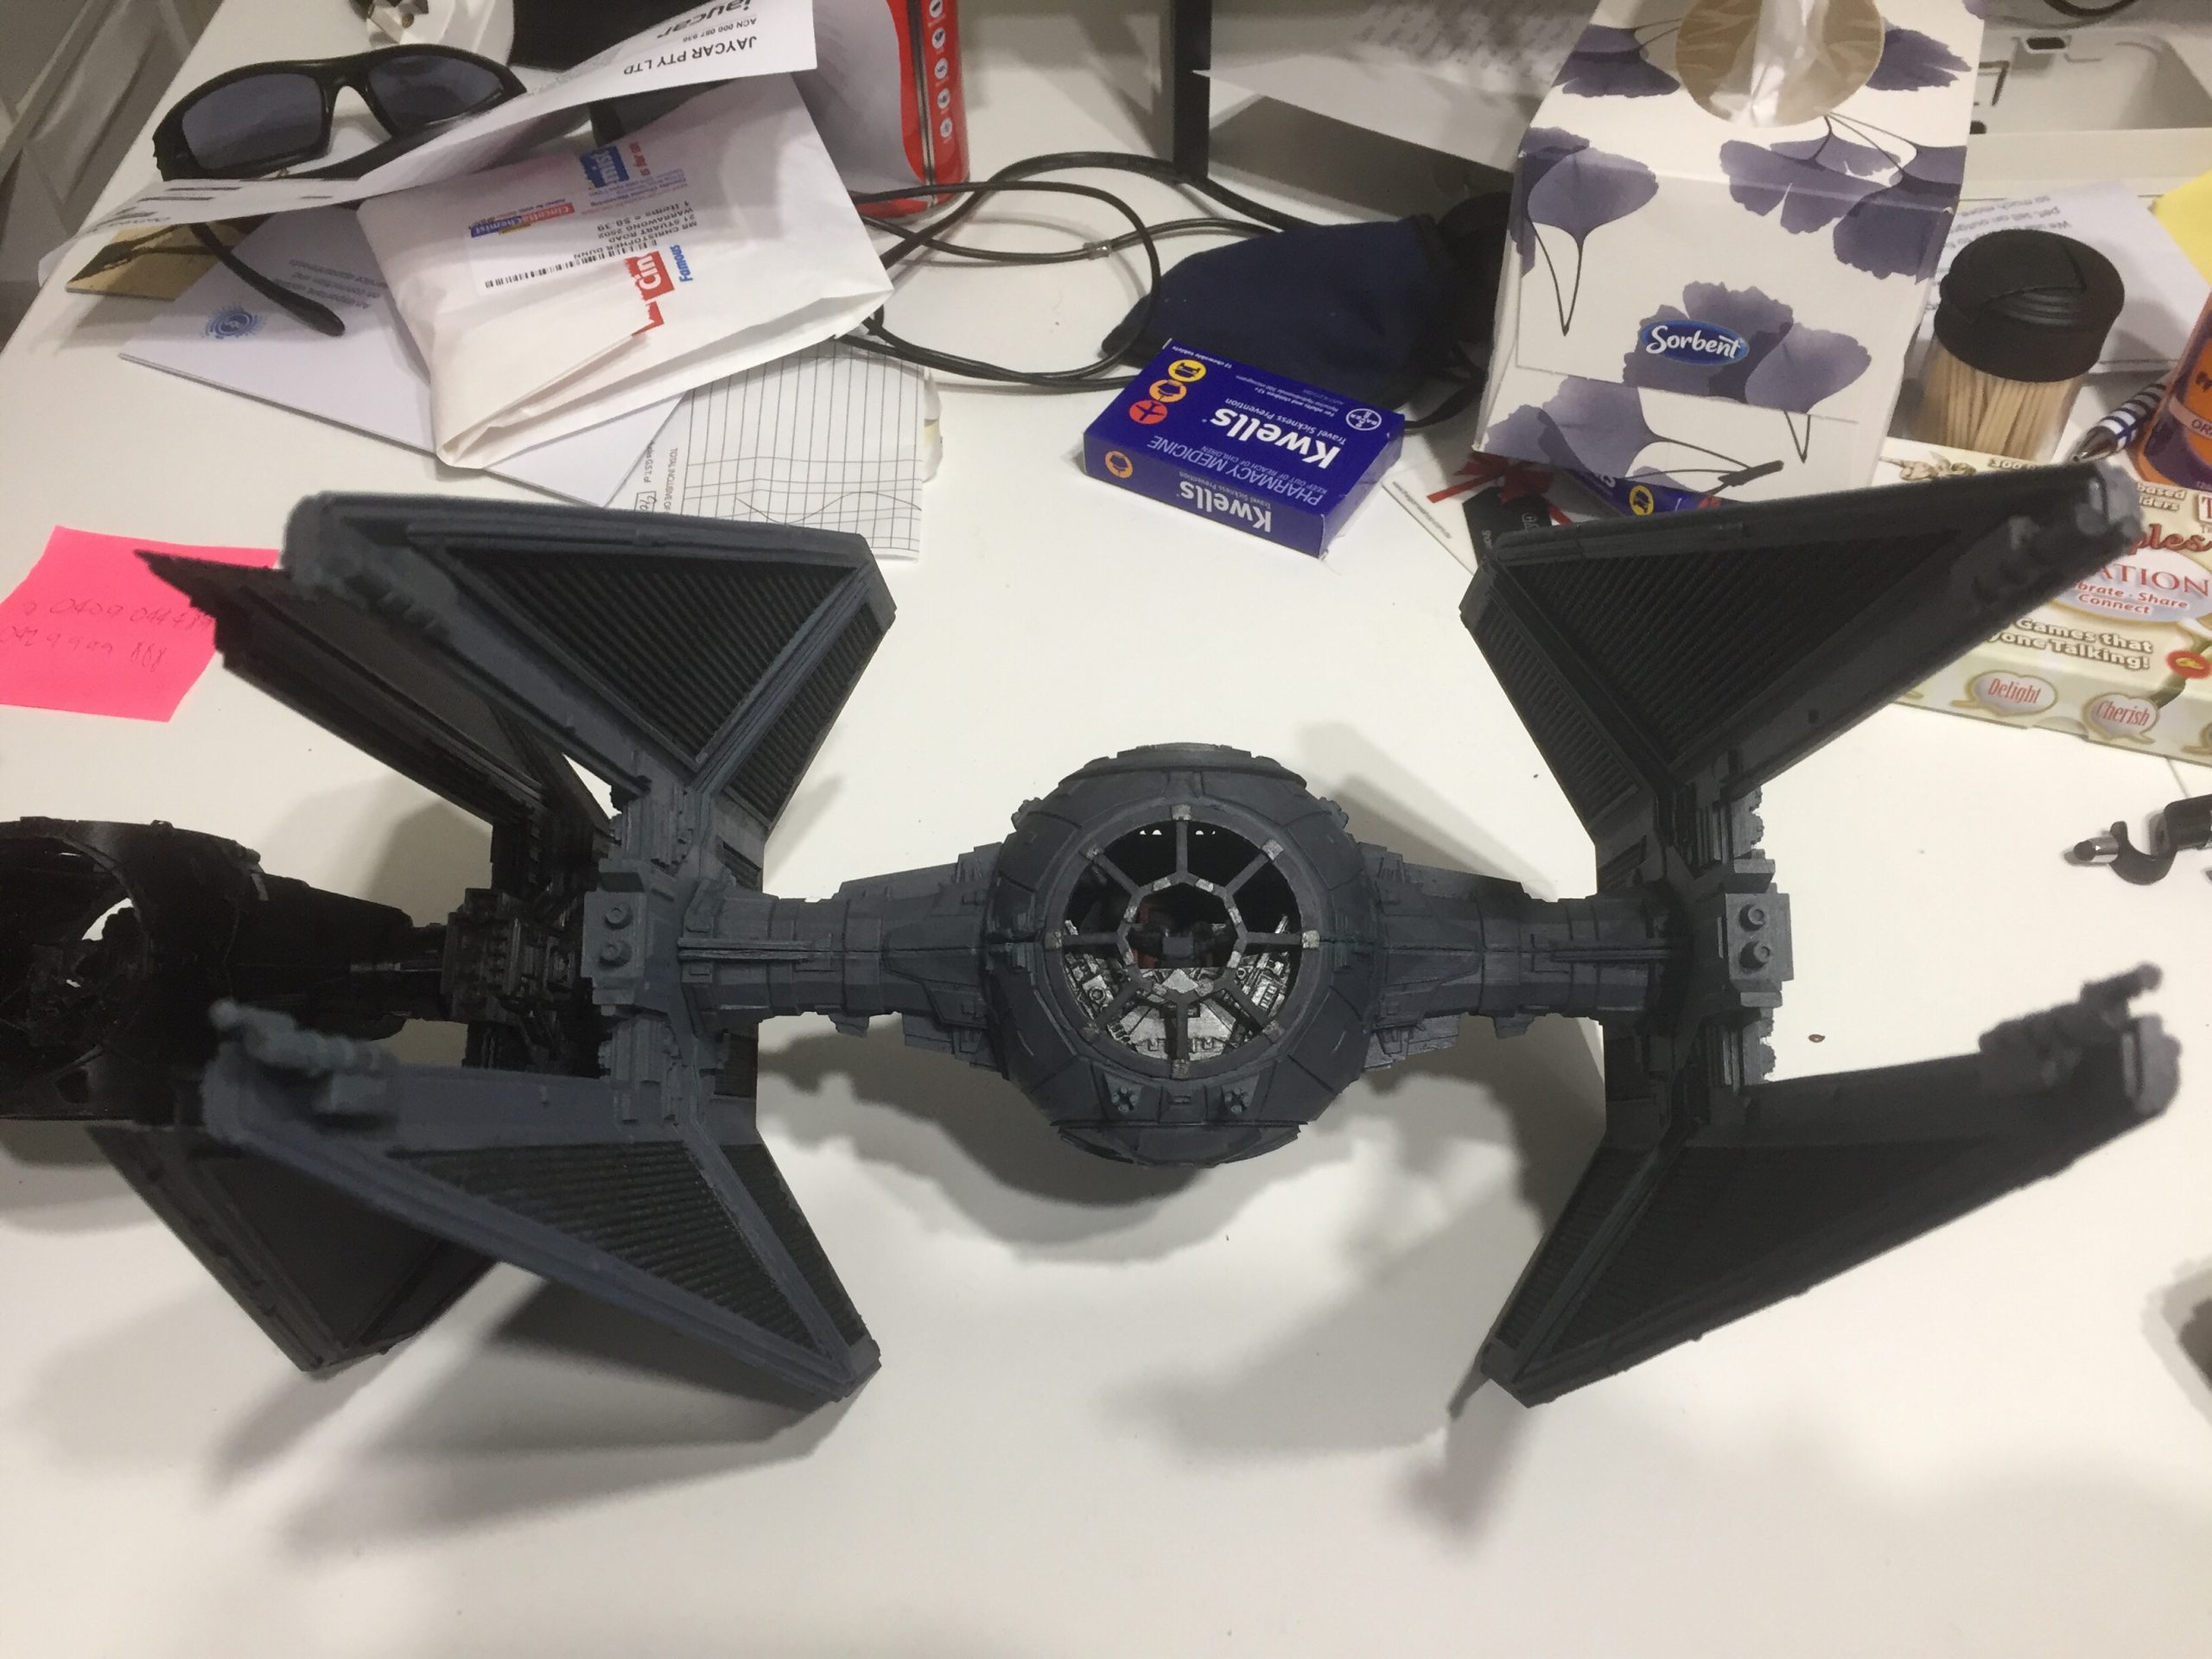
The mk2 is Gambody’s TIE Interceptor (https://www.gambody.com/3d-models/tie-interceptor), which unfortunately is not free. It’s a little bit smaller than the mk1, but the quality is significantly superior, in particular all of the joins are very carefully hidden. However, I have had some problems printing it with the prusa mini which I’ll cover in it’s own post when I paint the mk2 some day.
Now with dawnstone drybrush. The dawnstone is very subtle and difficult to drybrush with in the weather we had at the time – I ended up messing up on the canopy and had to redo the dark grey.
About now I decided the best way to do this would be to finish the wings completely, figure out what I was going to do with the canopy (resin or plastic sheet), glue the model together, and then paint the hull.
First the wings. This is 1000 sons red hand painted.
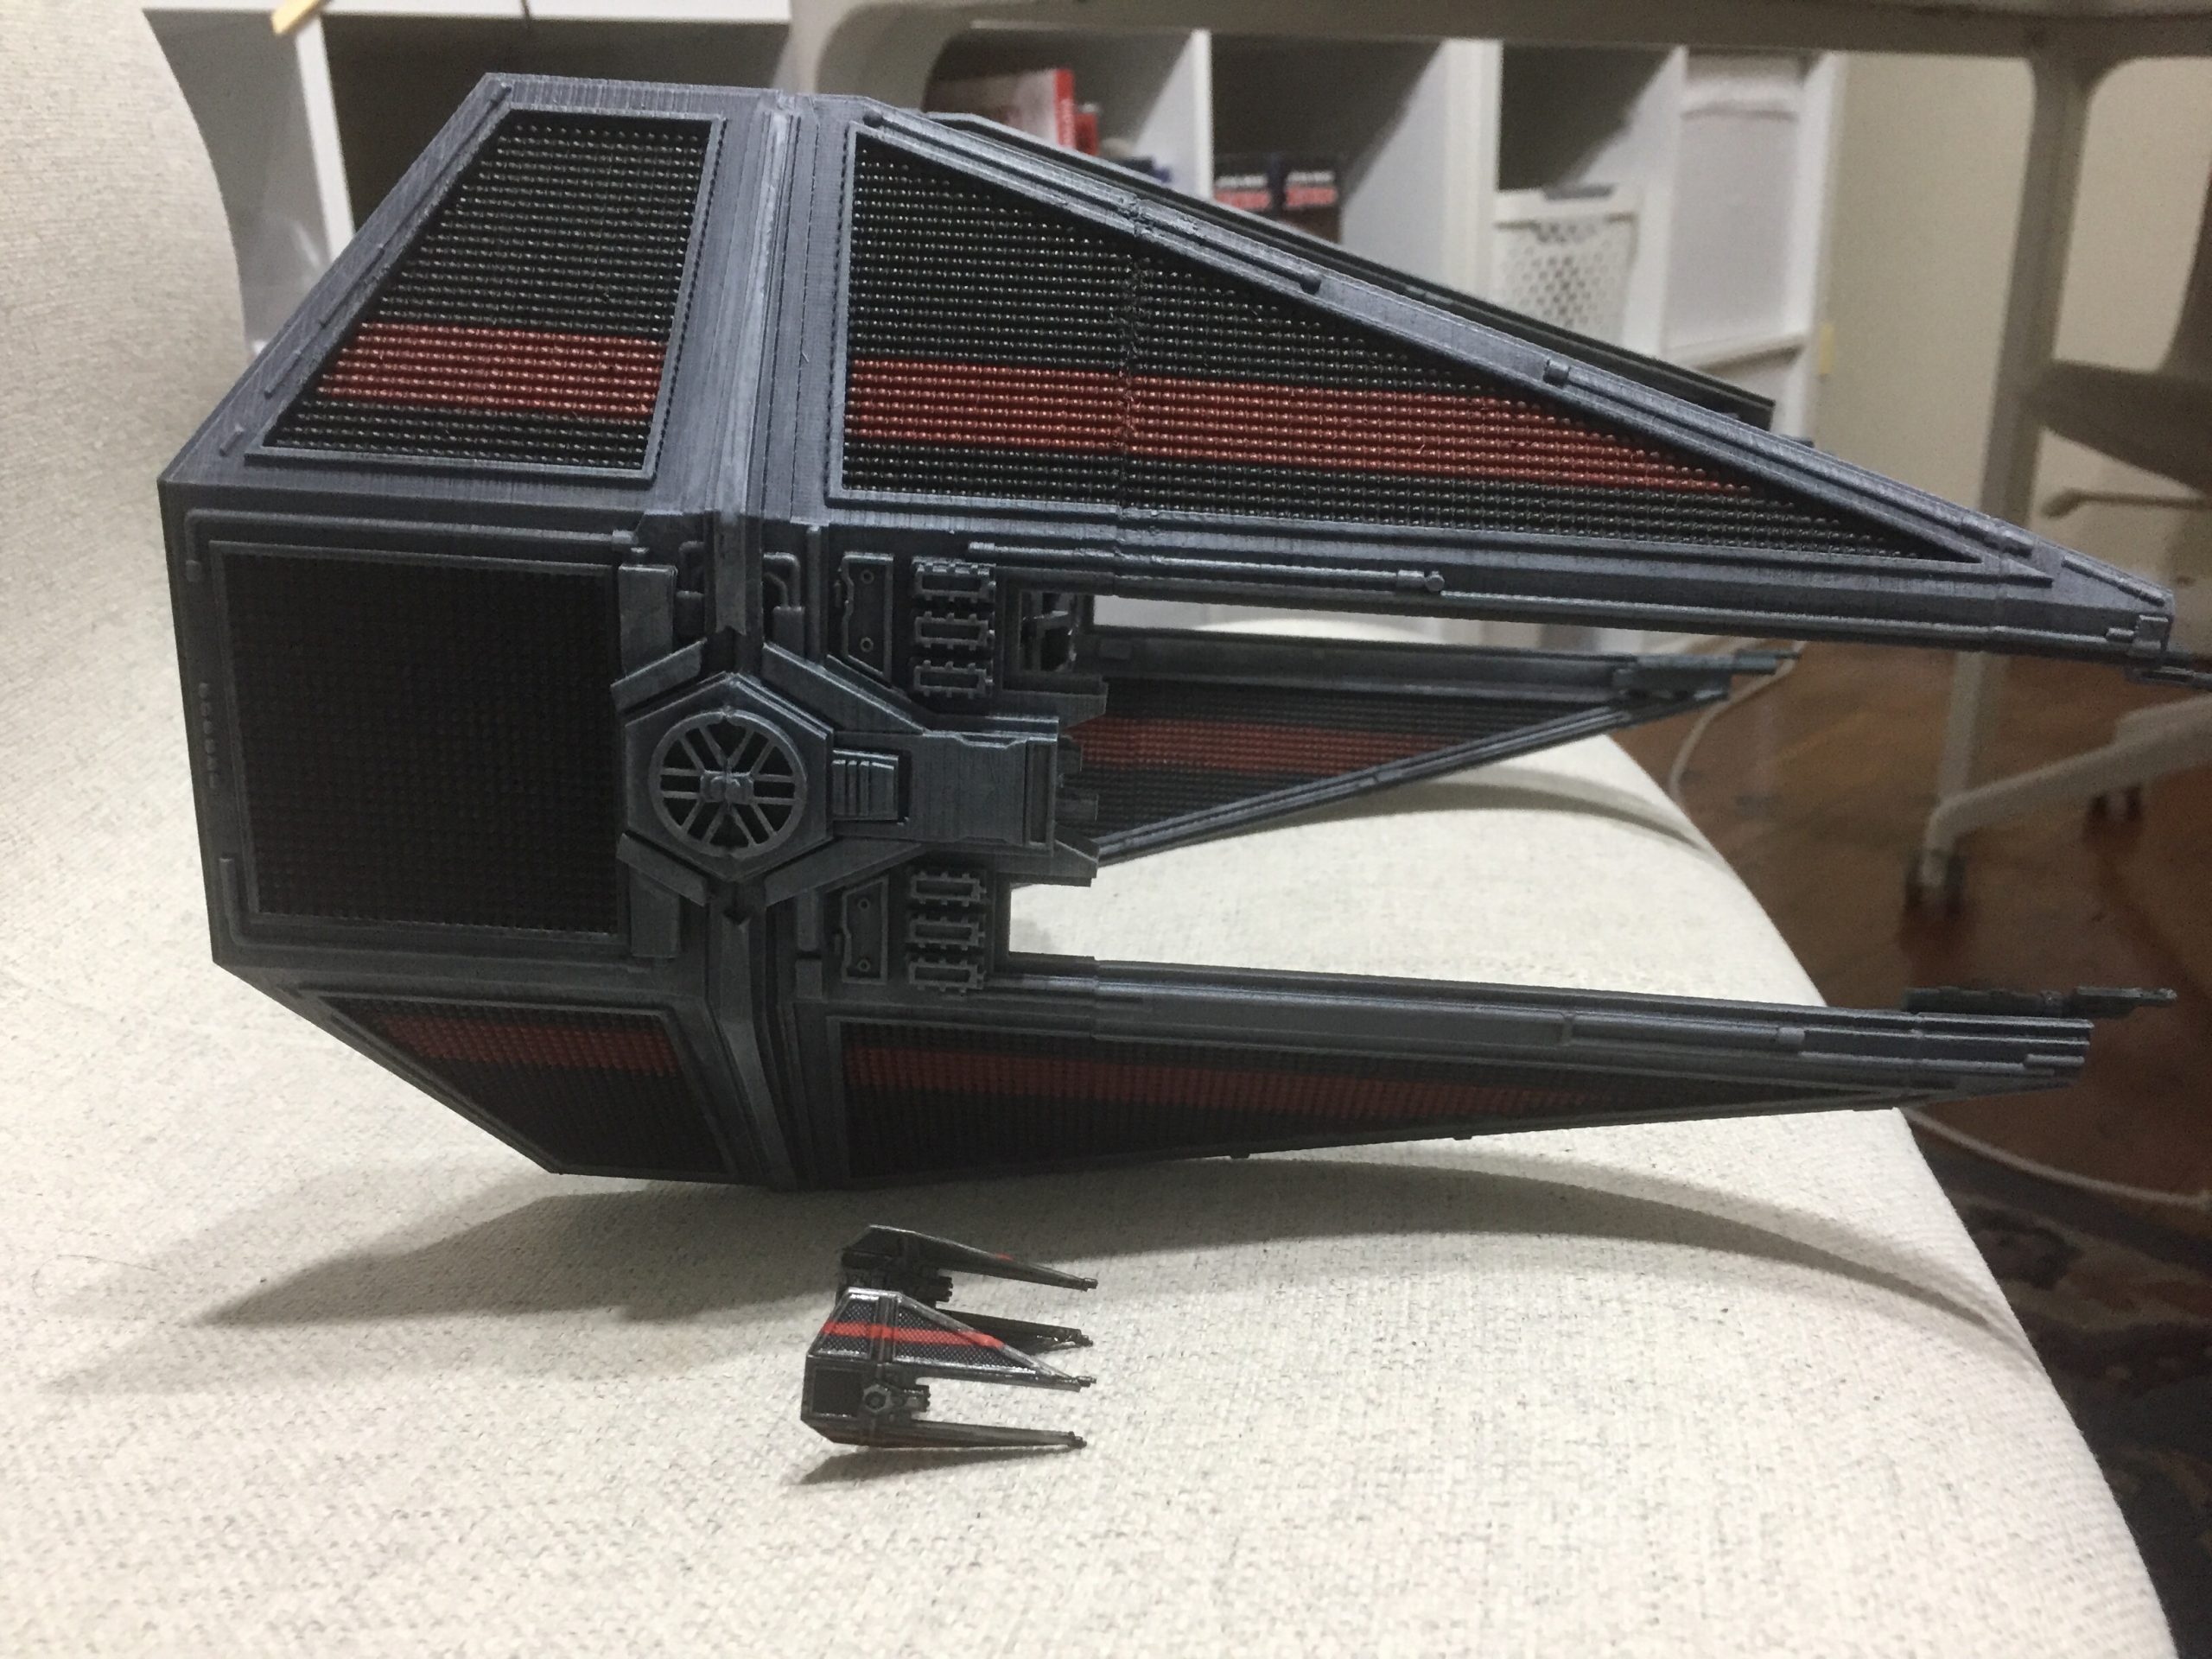
When I put my X-wing scale TIE Interceptor down, the red stripe is much more vibrant. I decided I liked this better and would eventually go over the 1000 Son’s Red with Blood Angels Red. I’ve also drybrushed with Admin grey. From here the lines where the model was cut are very visible. Unfortunately, my plan to cover up these gaps with putty did not succeed. I’m not sure if the putty (which is water based) reacted to the paint or if I just did a terrible job and didn’t notice. Probably it’s the latter.
Shot of the cabin. The black lines on the seat are the shadows from the canopy!
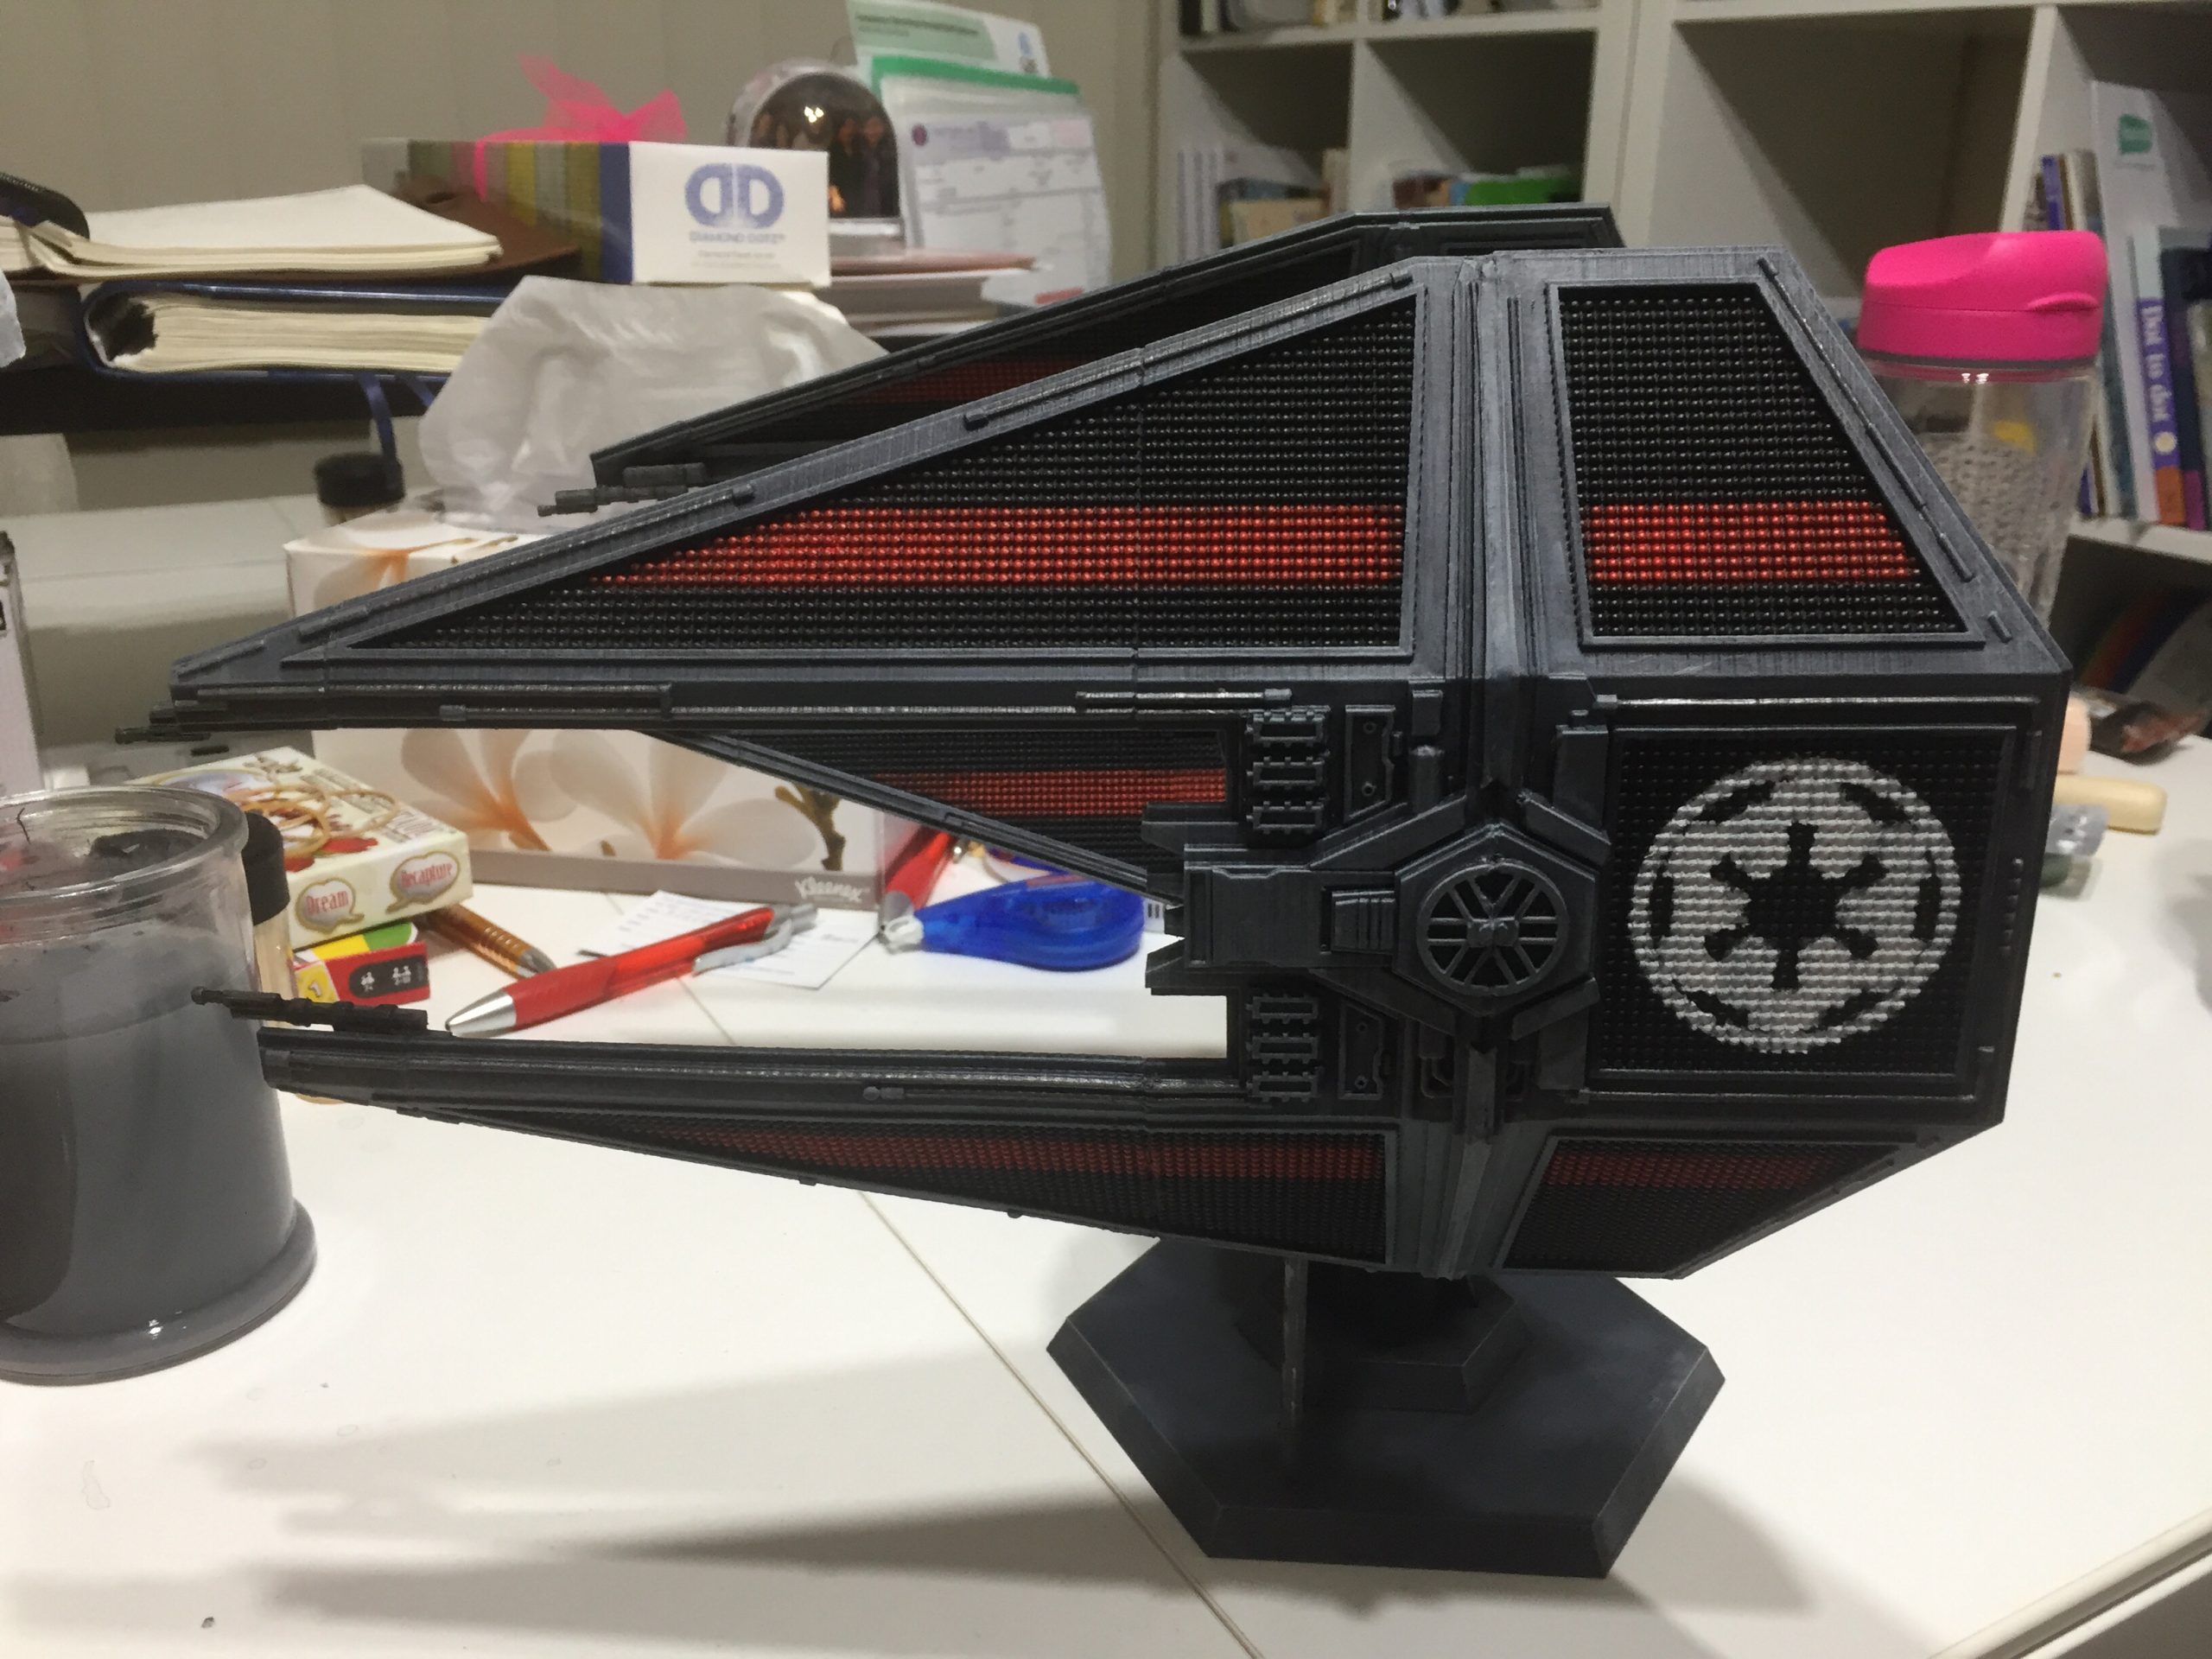
Wings with Blood Angels red. I’ve used a stencil that I’d 3D printed to mark out where the Empire logo will go. From here, I’ve also picked out the metal parts using leadbelchers and highlighted with a 50-50 mix of leadbelchers and white (it’s more visible on the cannons later).
I wanted to use a gold for the edges of the metal piping, but when I tested it, the gold looked like brown against the grey, so I decided not to bother.
Also, from here you can see one of the major shortcomings of the free model – where the circle in the middle of the wings is, it’s almost like two half circles were poorly formed together. That’s supposed to be an Empire cog logo, but for whatever reason, the graphic designer chose to do this instead. I tried to cover the gaps up as best as I could with putty, and in this case, it mostly worked.
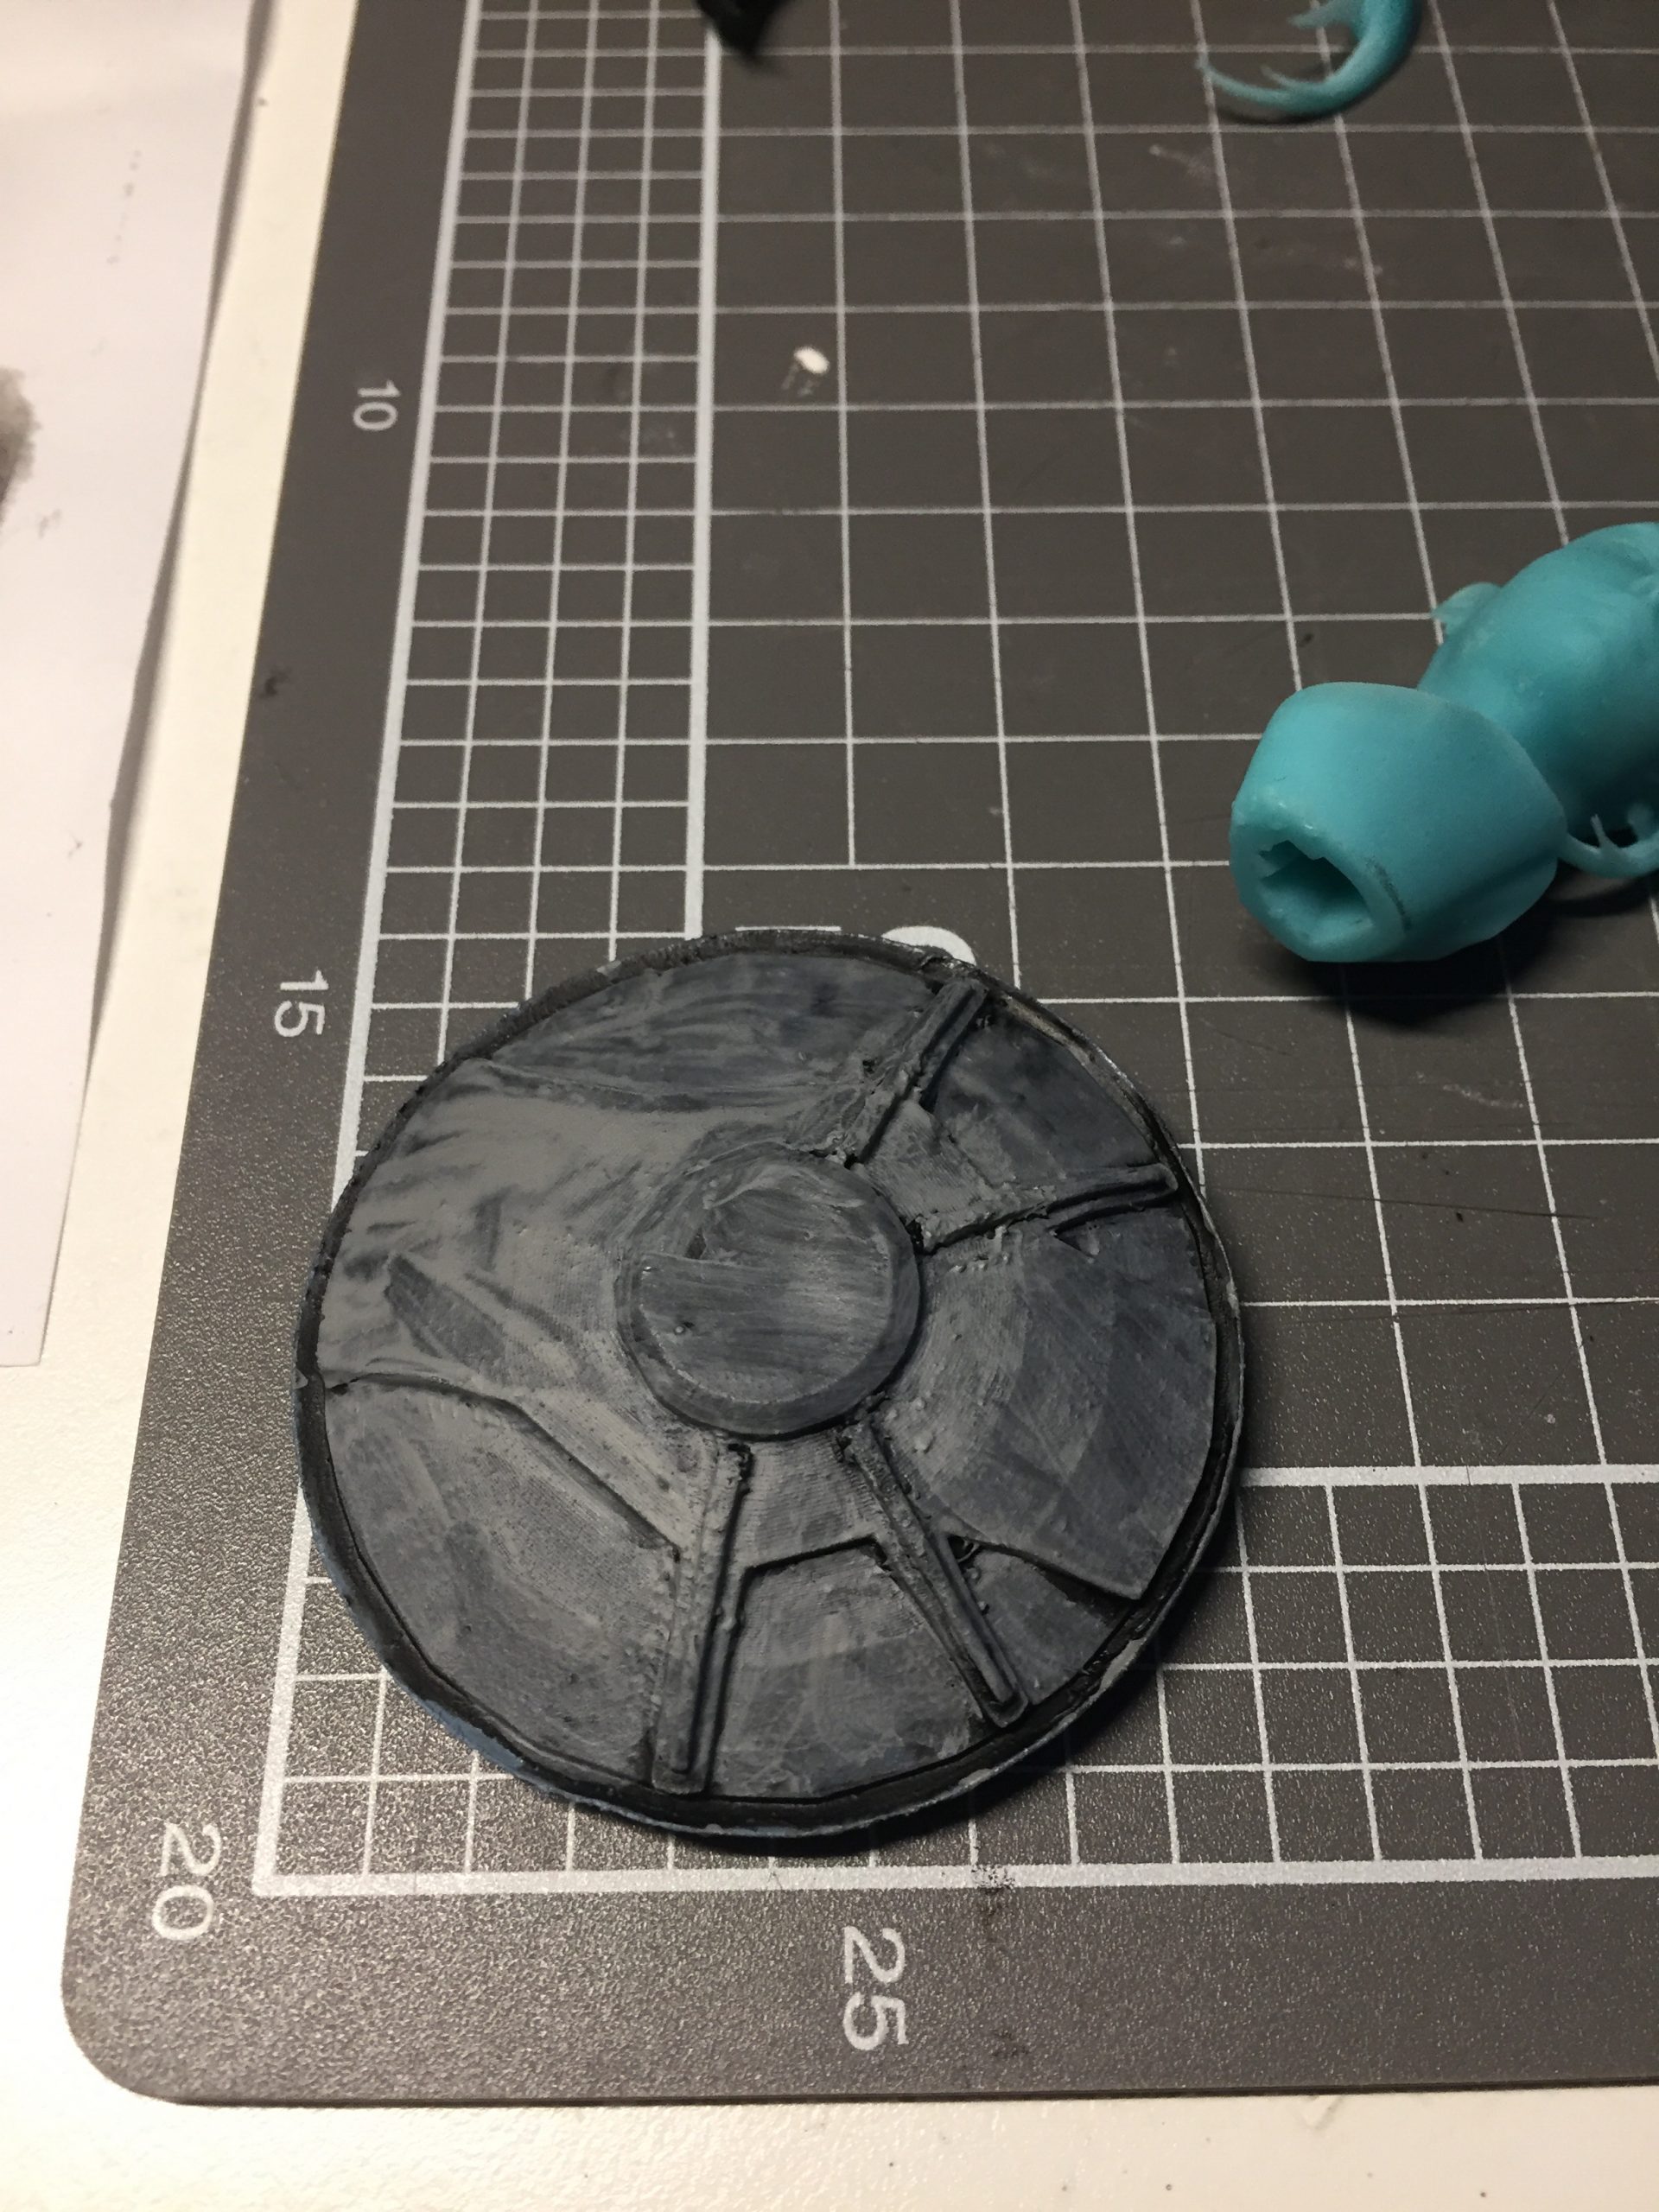
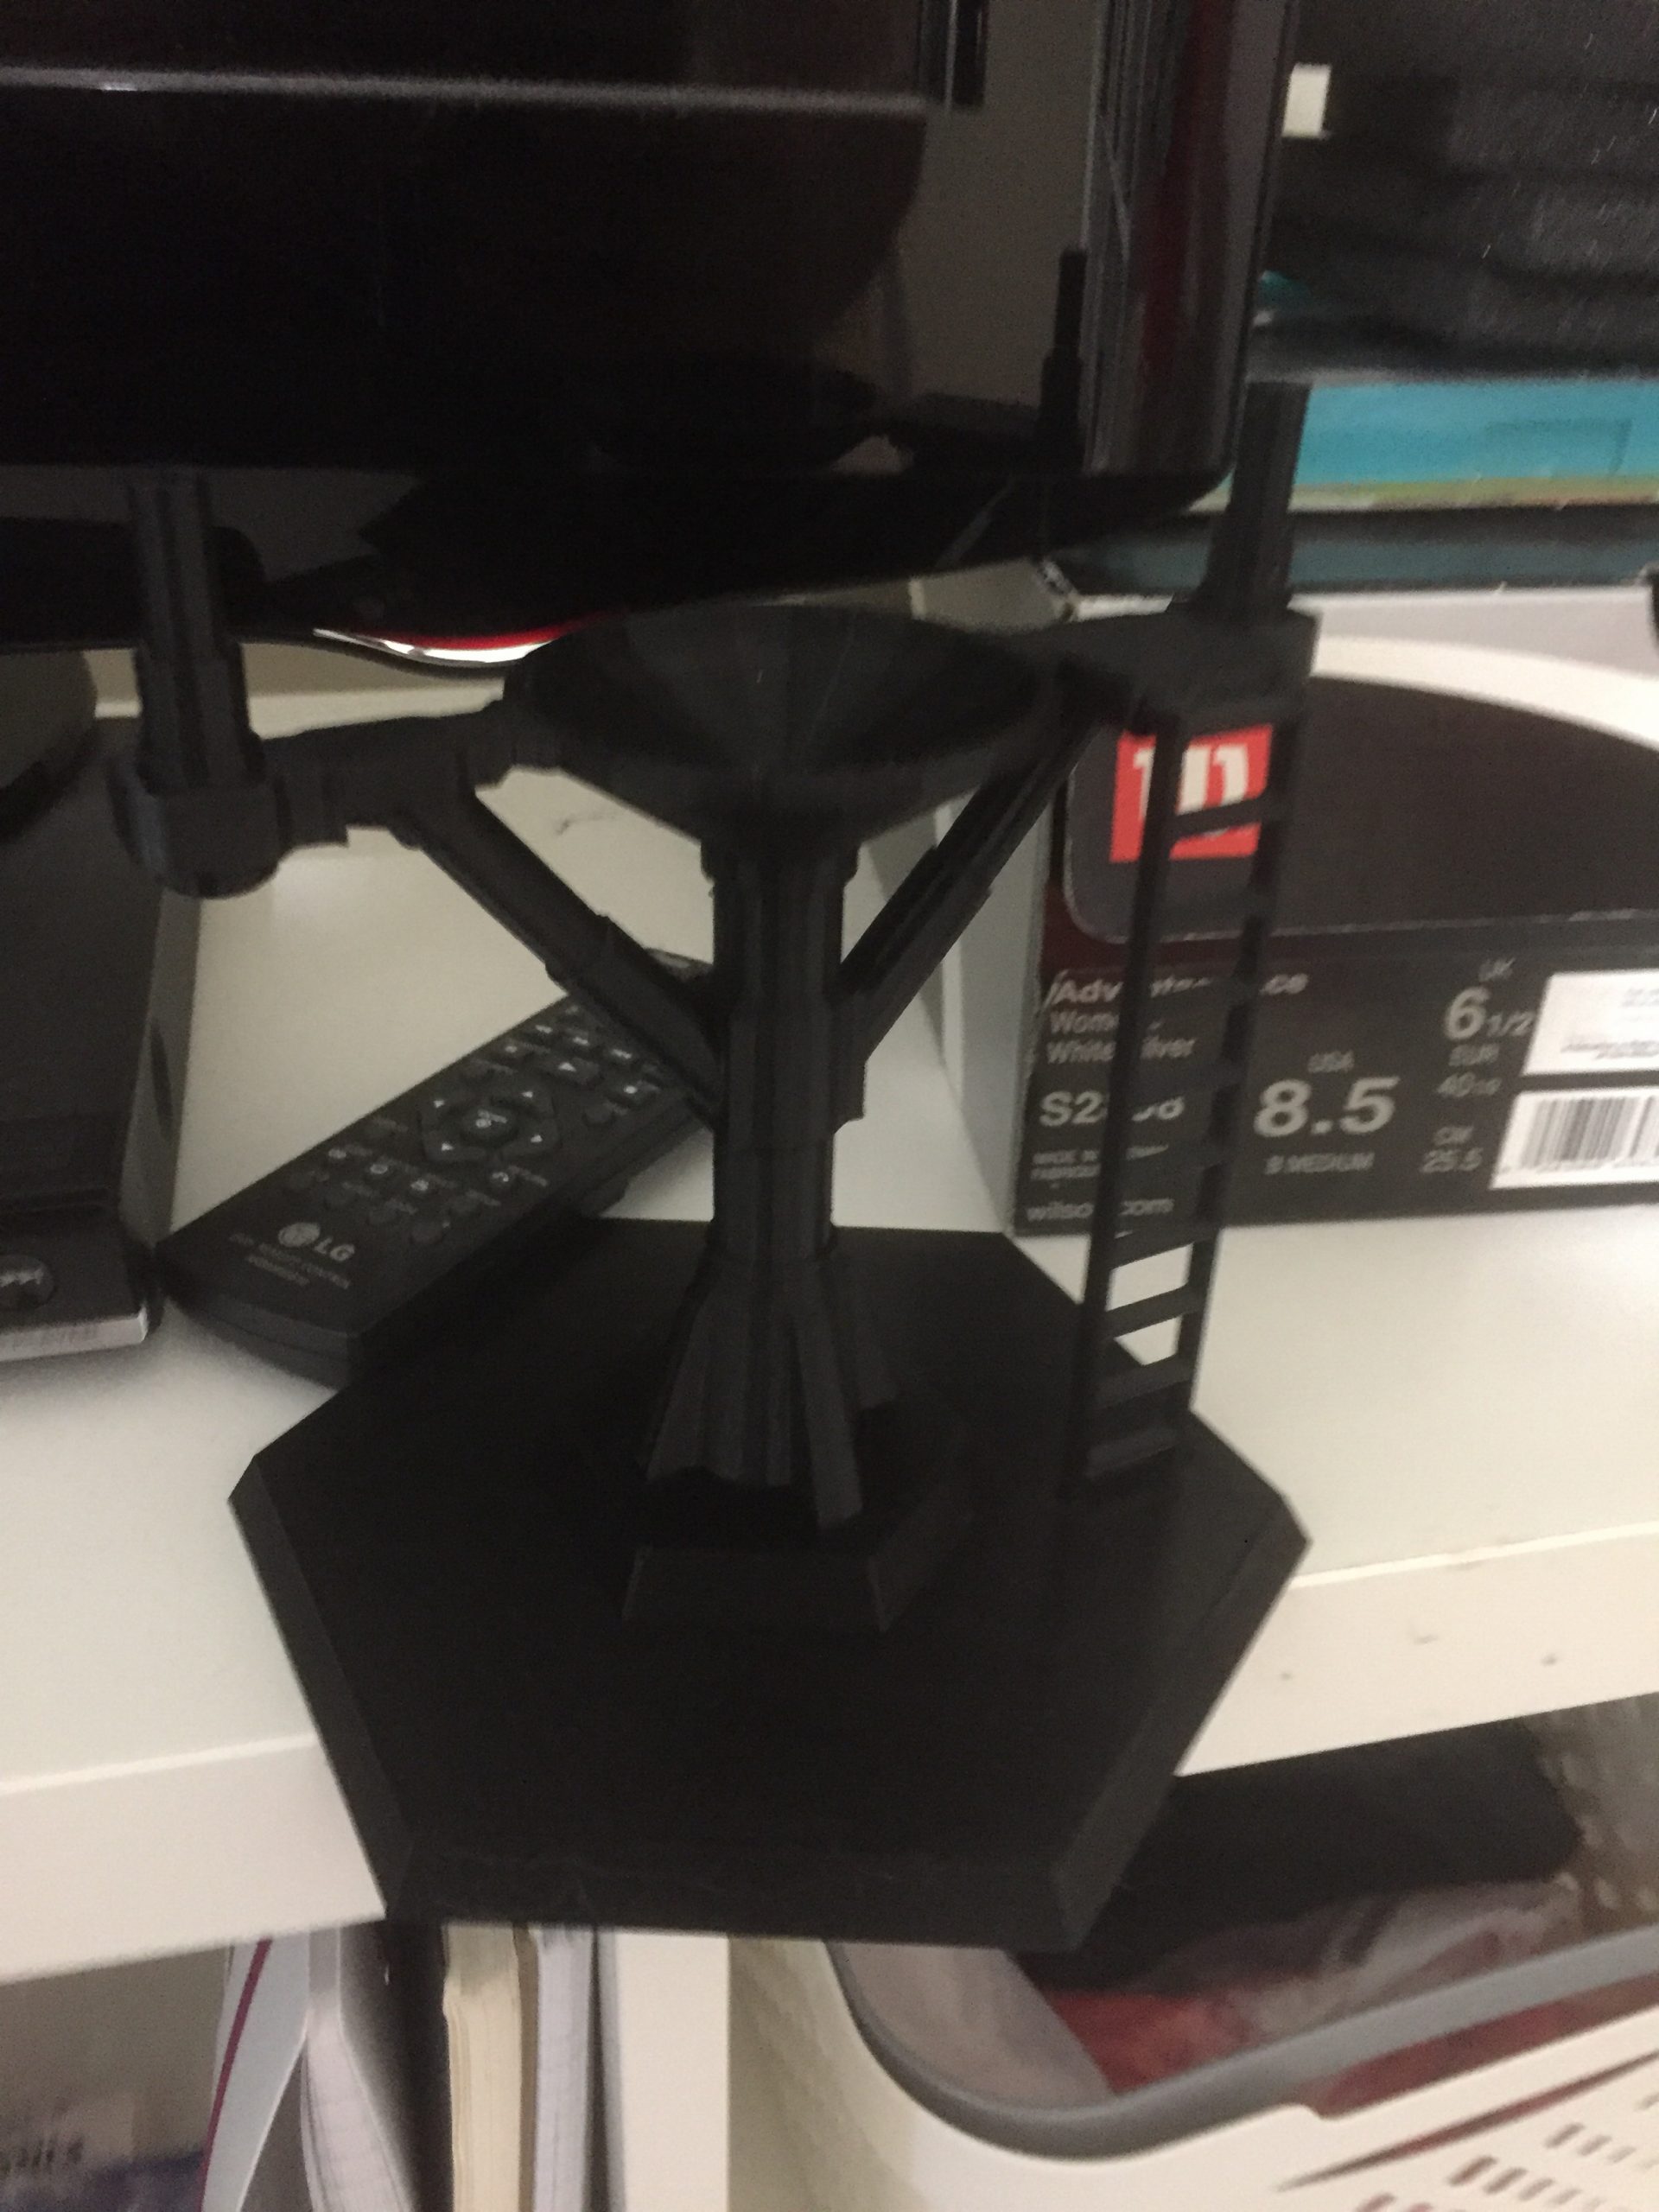
3d printed the stand.
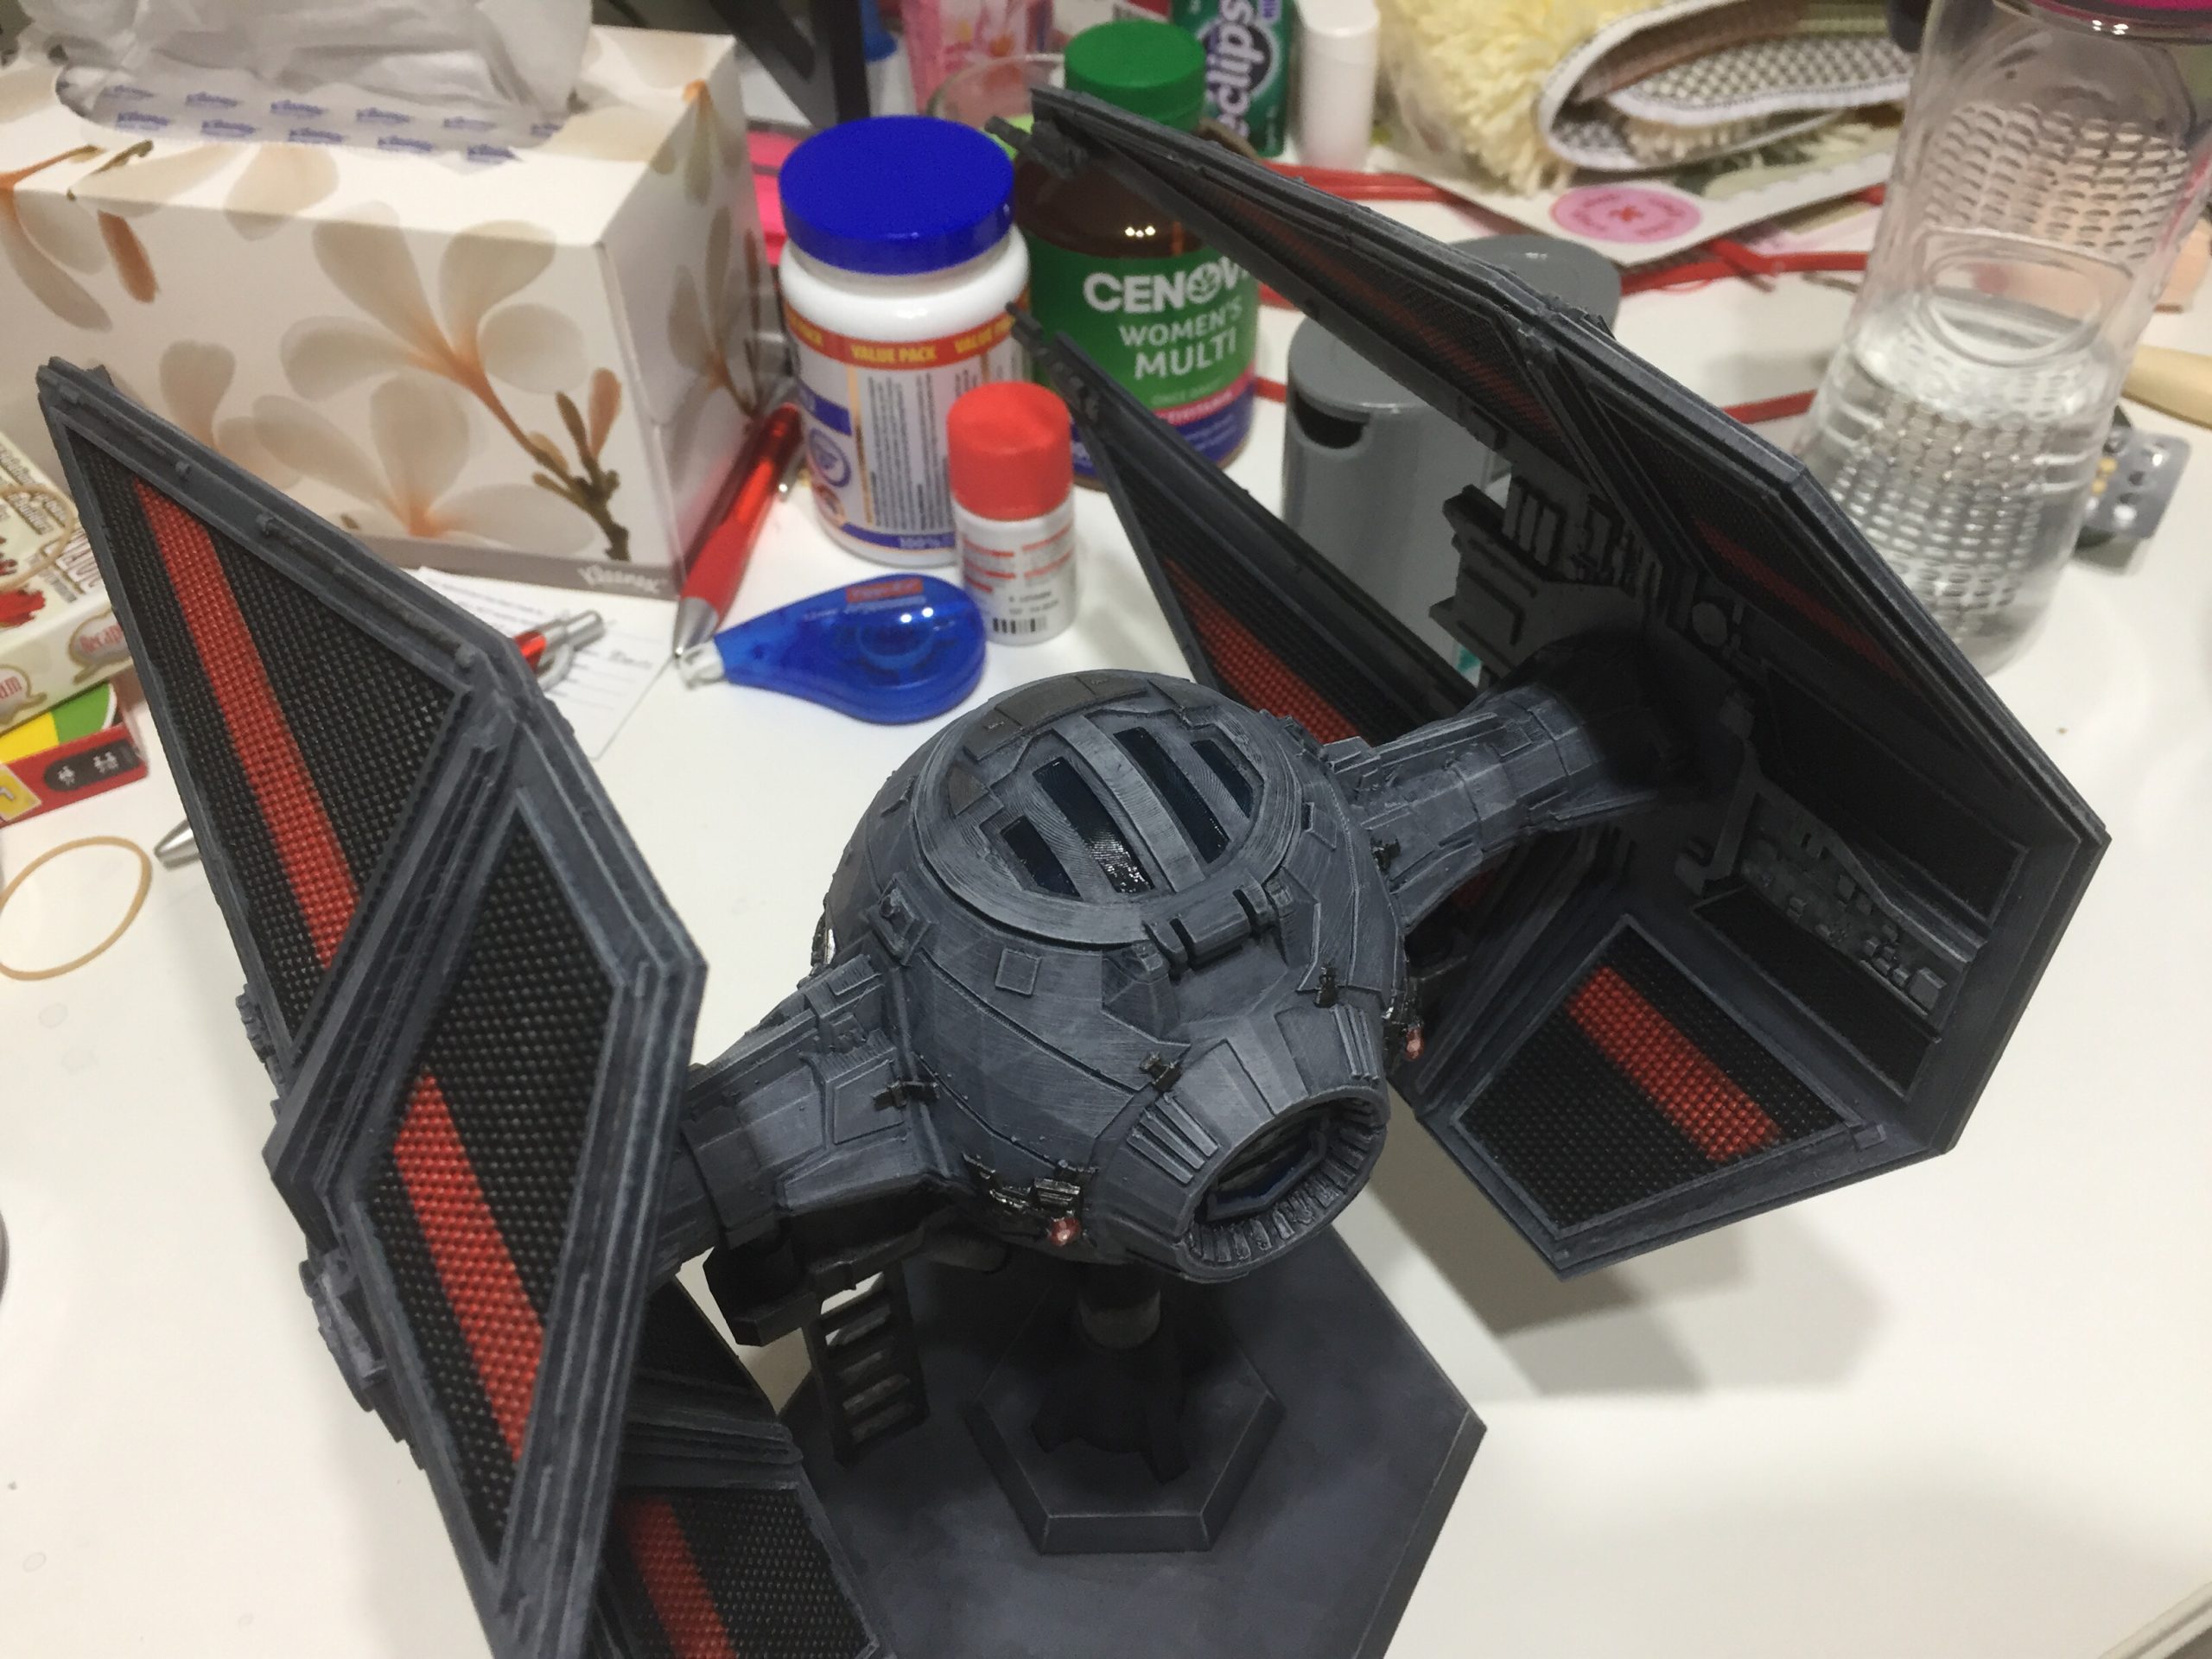
The wings are done and I glue the canopy up. I have printed resin glass for the canopy. Unfortunately it is opaque – I did some research later, and I found out that to get opaque glass I should have wet-sanded it with 1000 grit sandpaper before curing the resin. Unfortunately I was out of time and didn’t have the paper in any case.
I use putty to seal up the huge gaps in the chassis (front and back). You can see it as the white chunks on the front of the ship. After it dries, I filed it back as best I could.
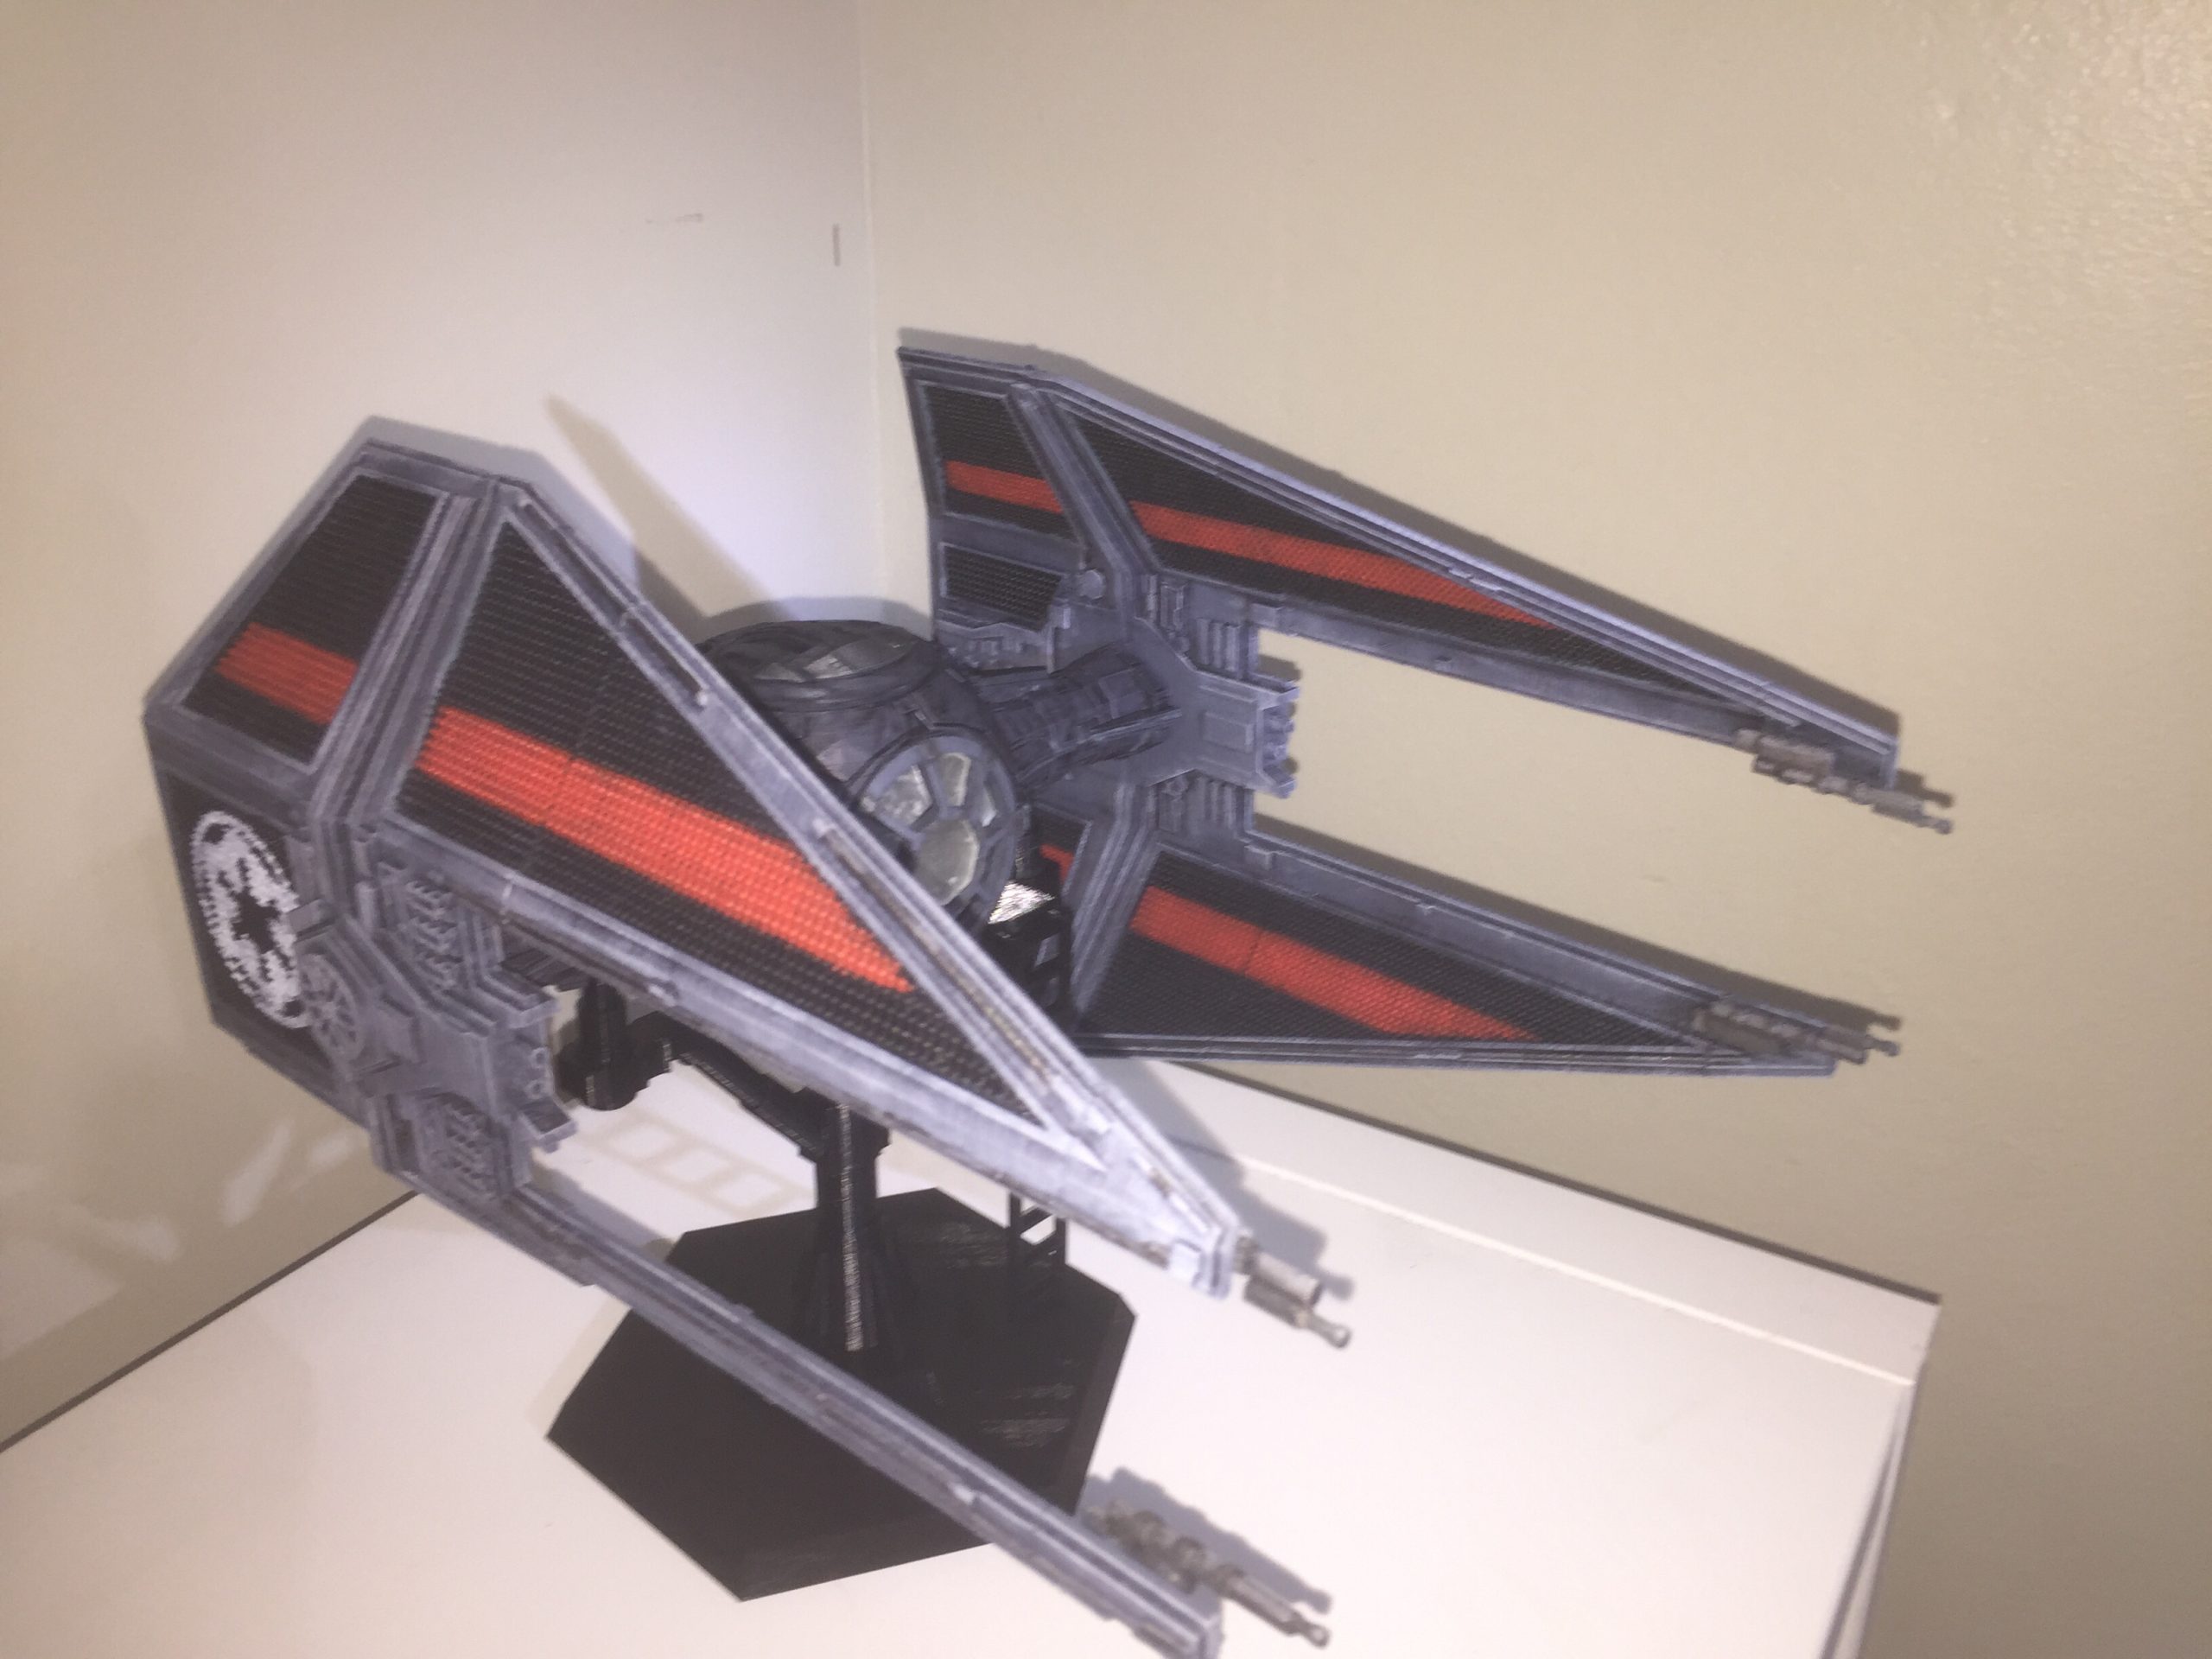
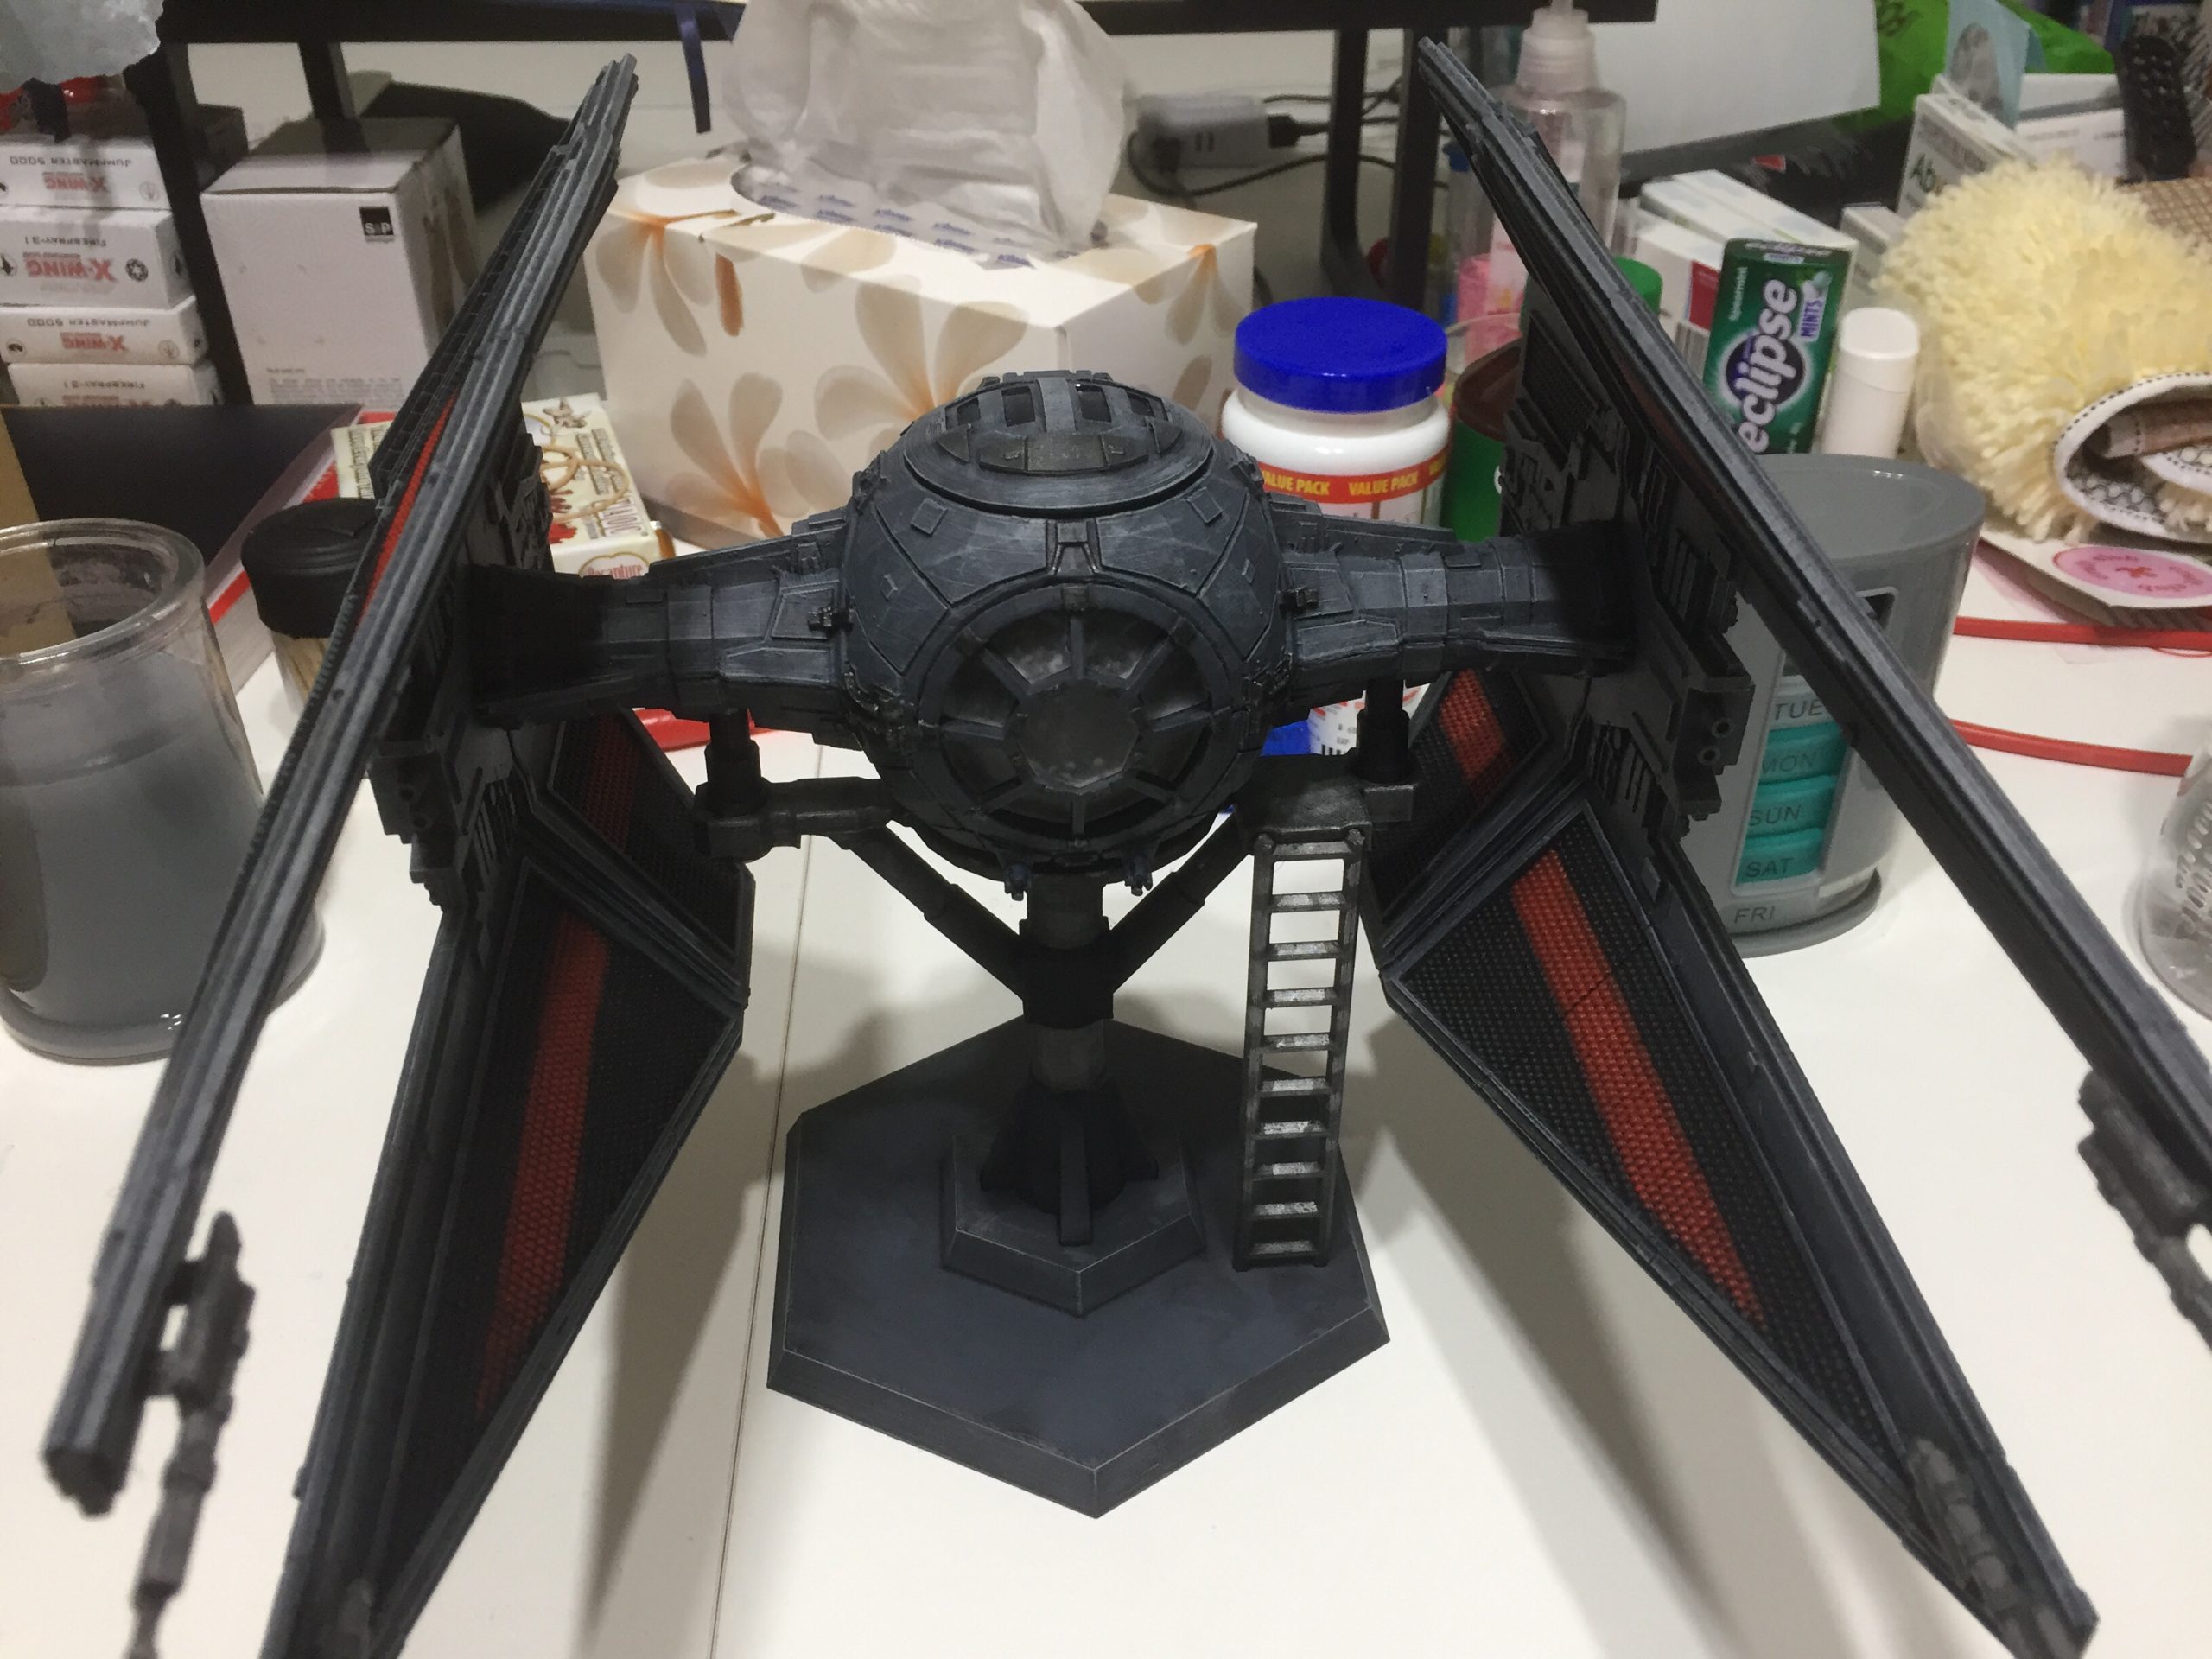
The finished product. Here it is before I spray varnished it.
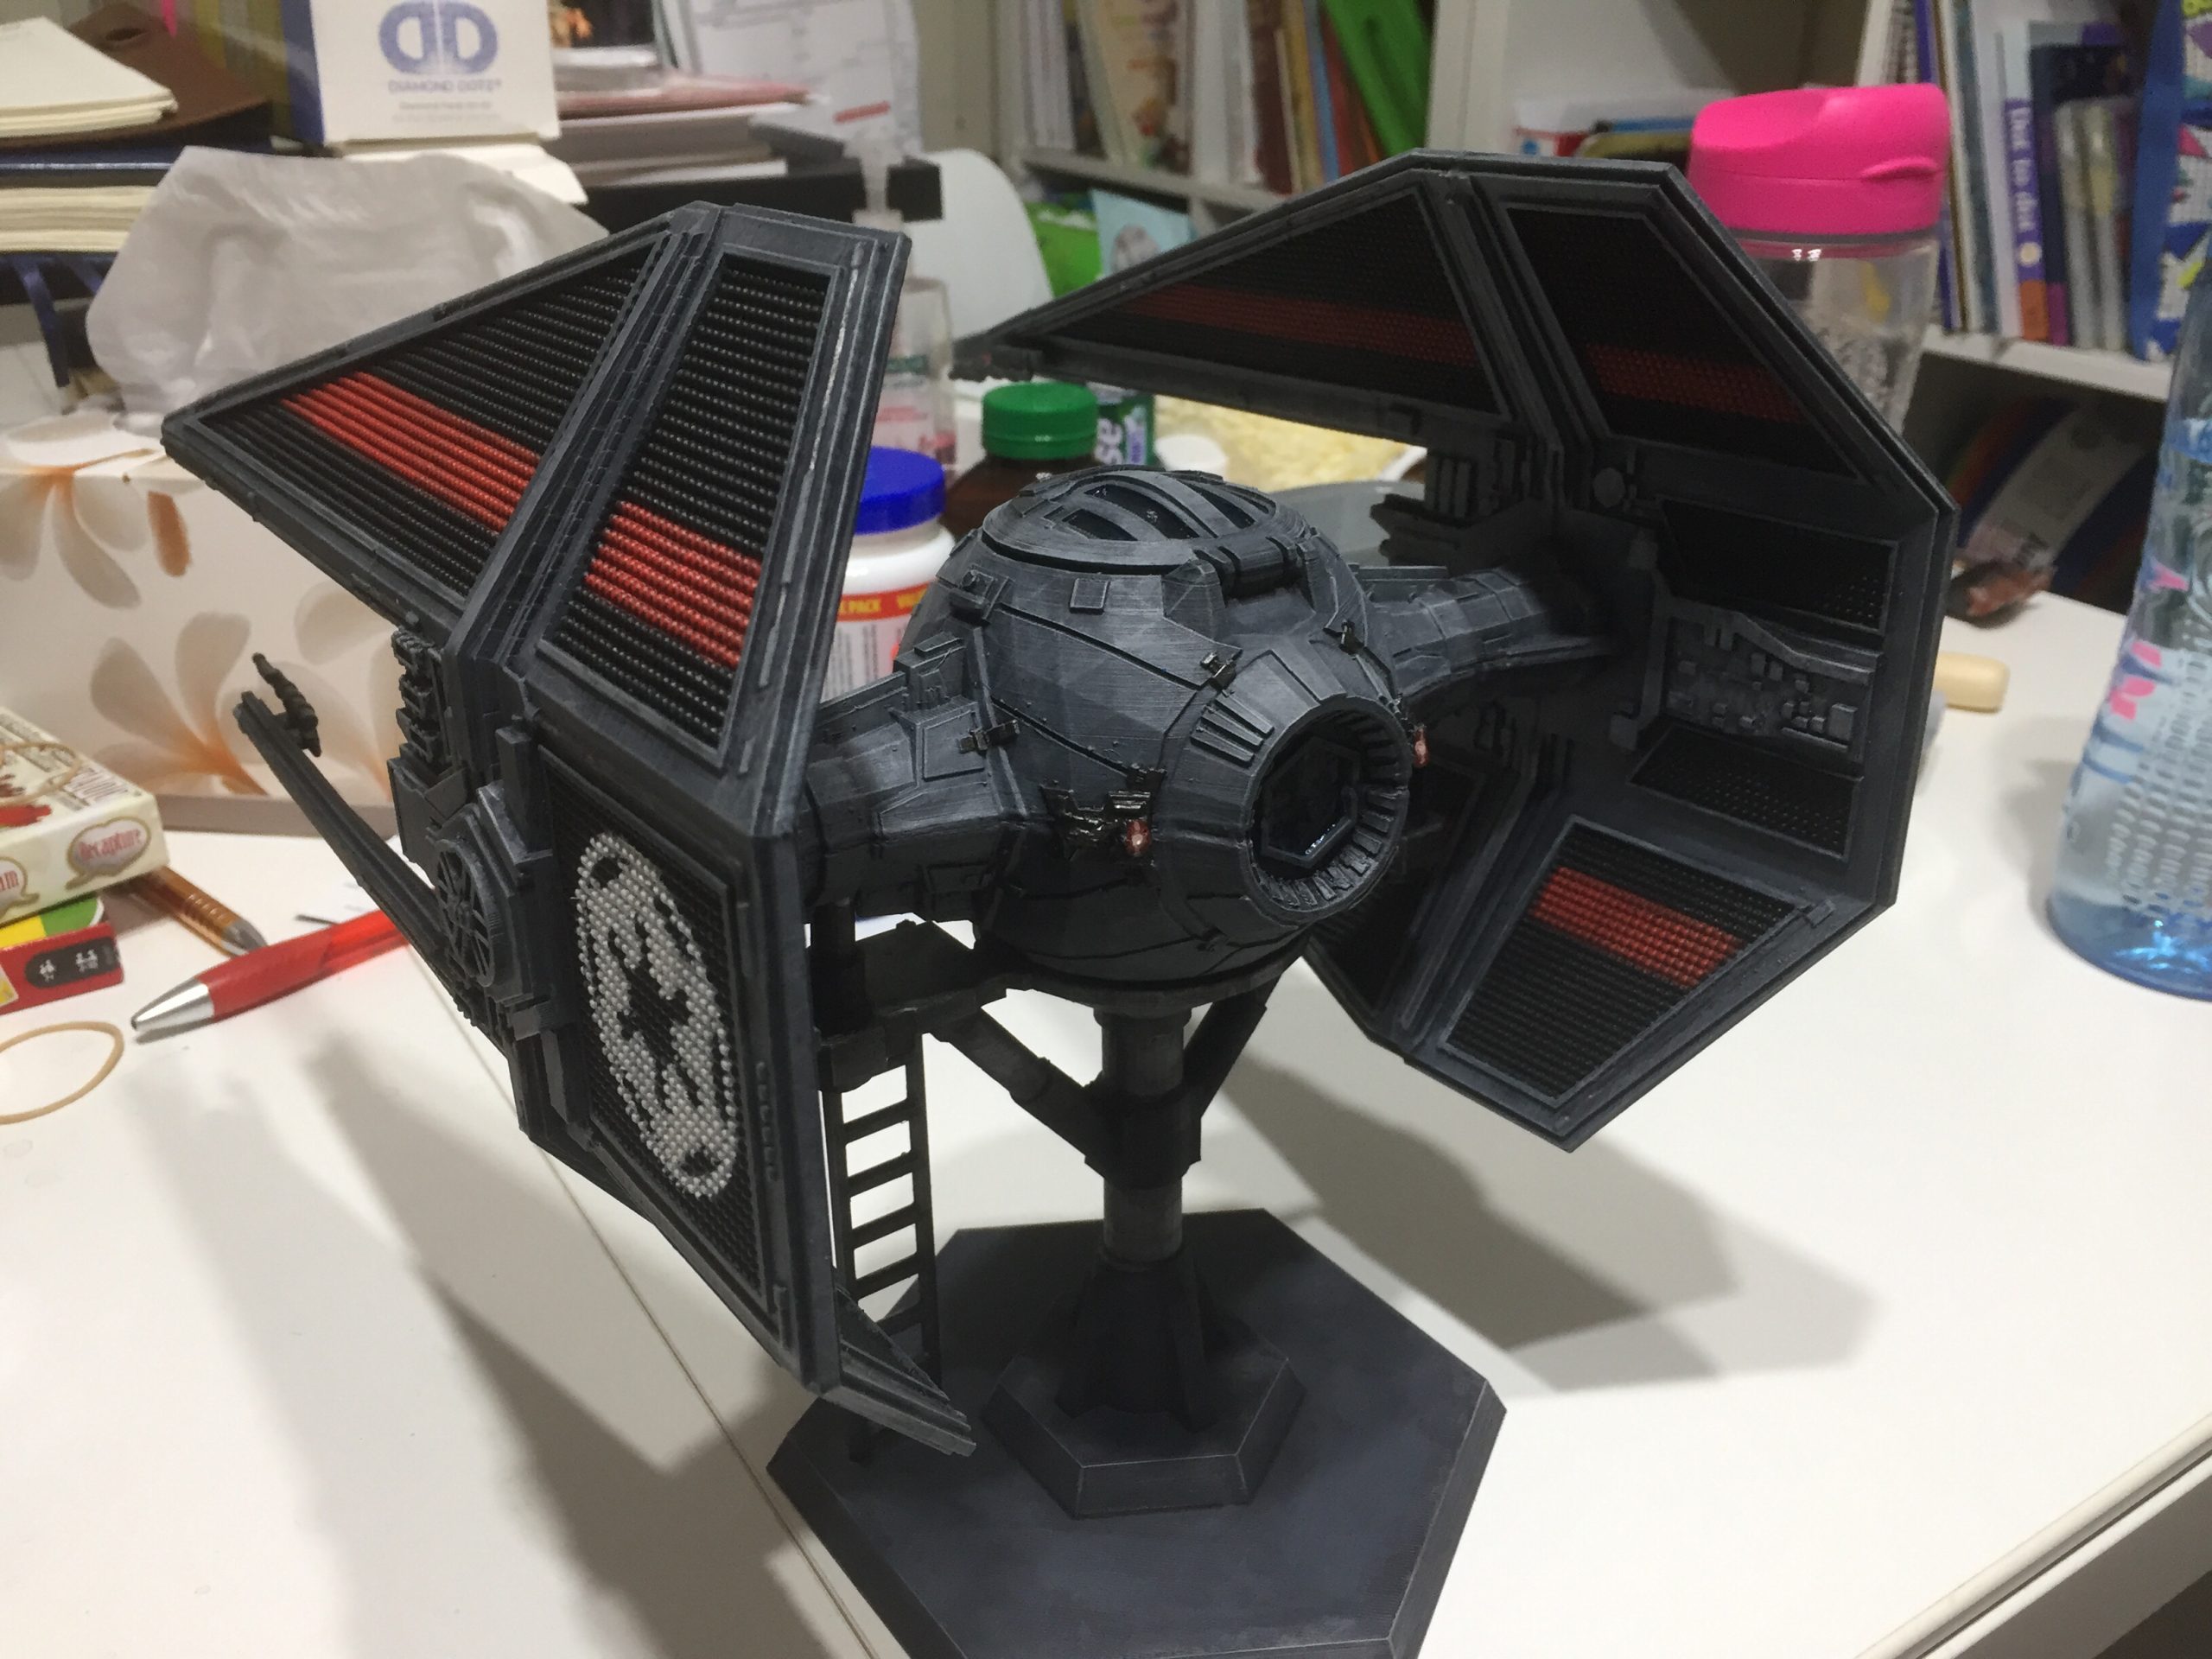
The blue on top/back of the Interceptor is Soulstone Blue mixed with a little black to try to give the illusion of depth. In the mk2 interceptor, I’ve taken these pieces into Blender and removed them, so that I can print resin to put here.
Now with varnish. I left the ship to dry overnight, planning to take some cool shots of it with the blue screen later. Unfortunately, my covid booster chose this time to act up and I was too ill to do anything.
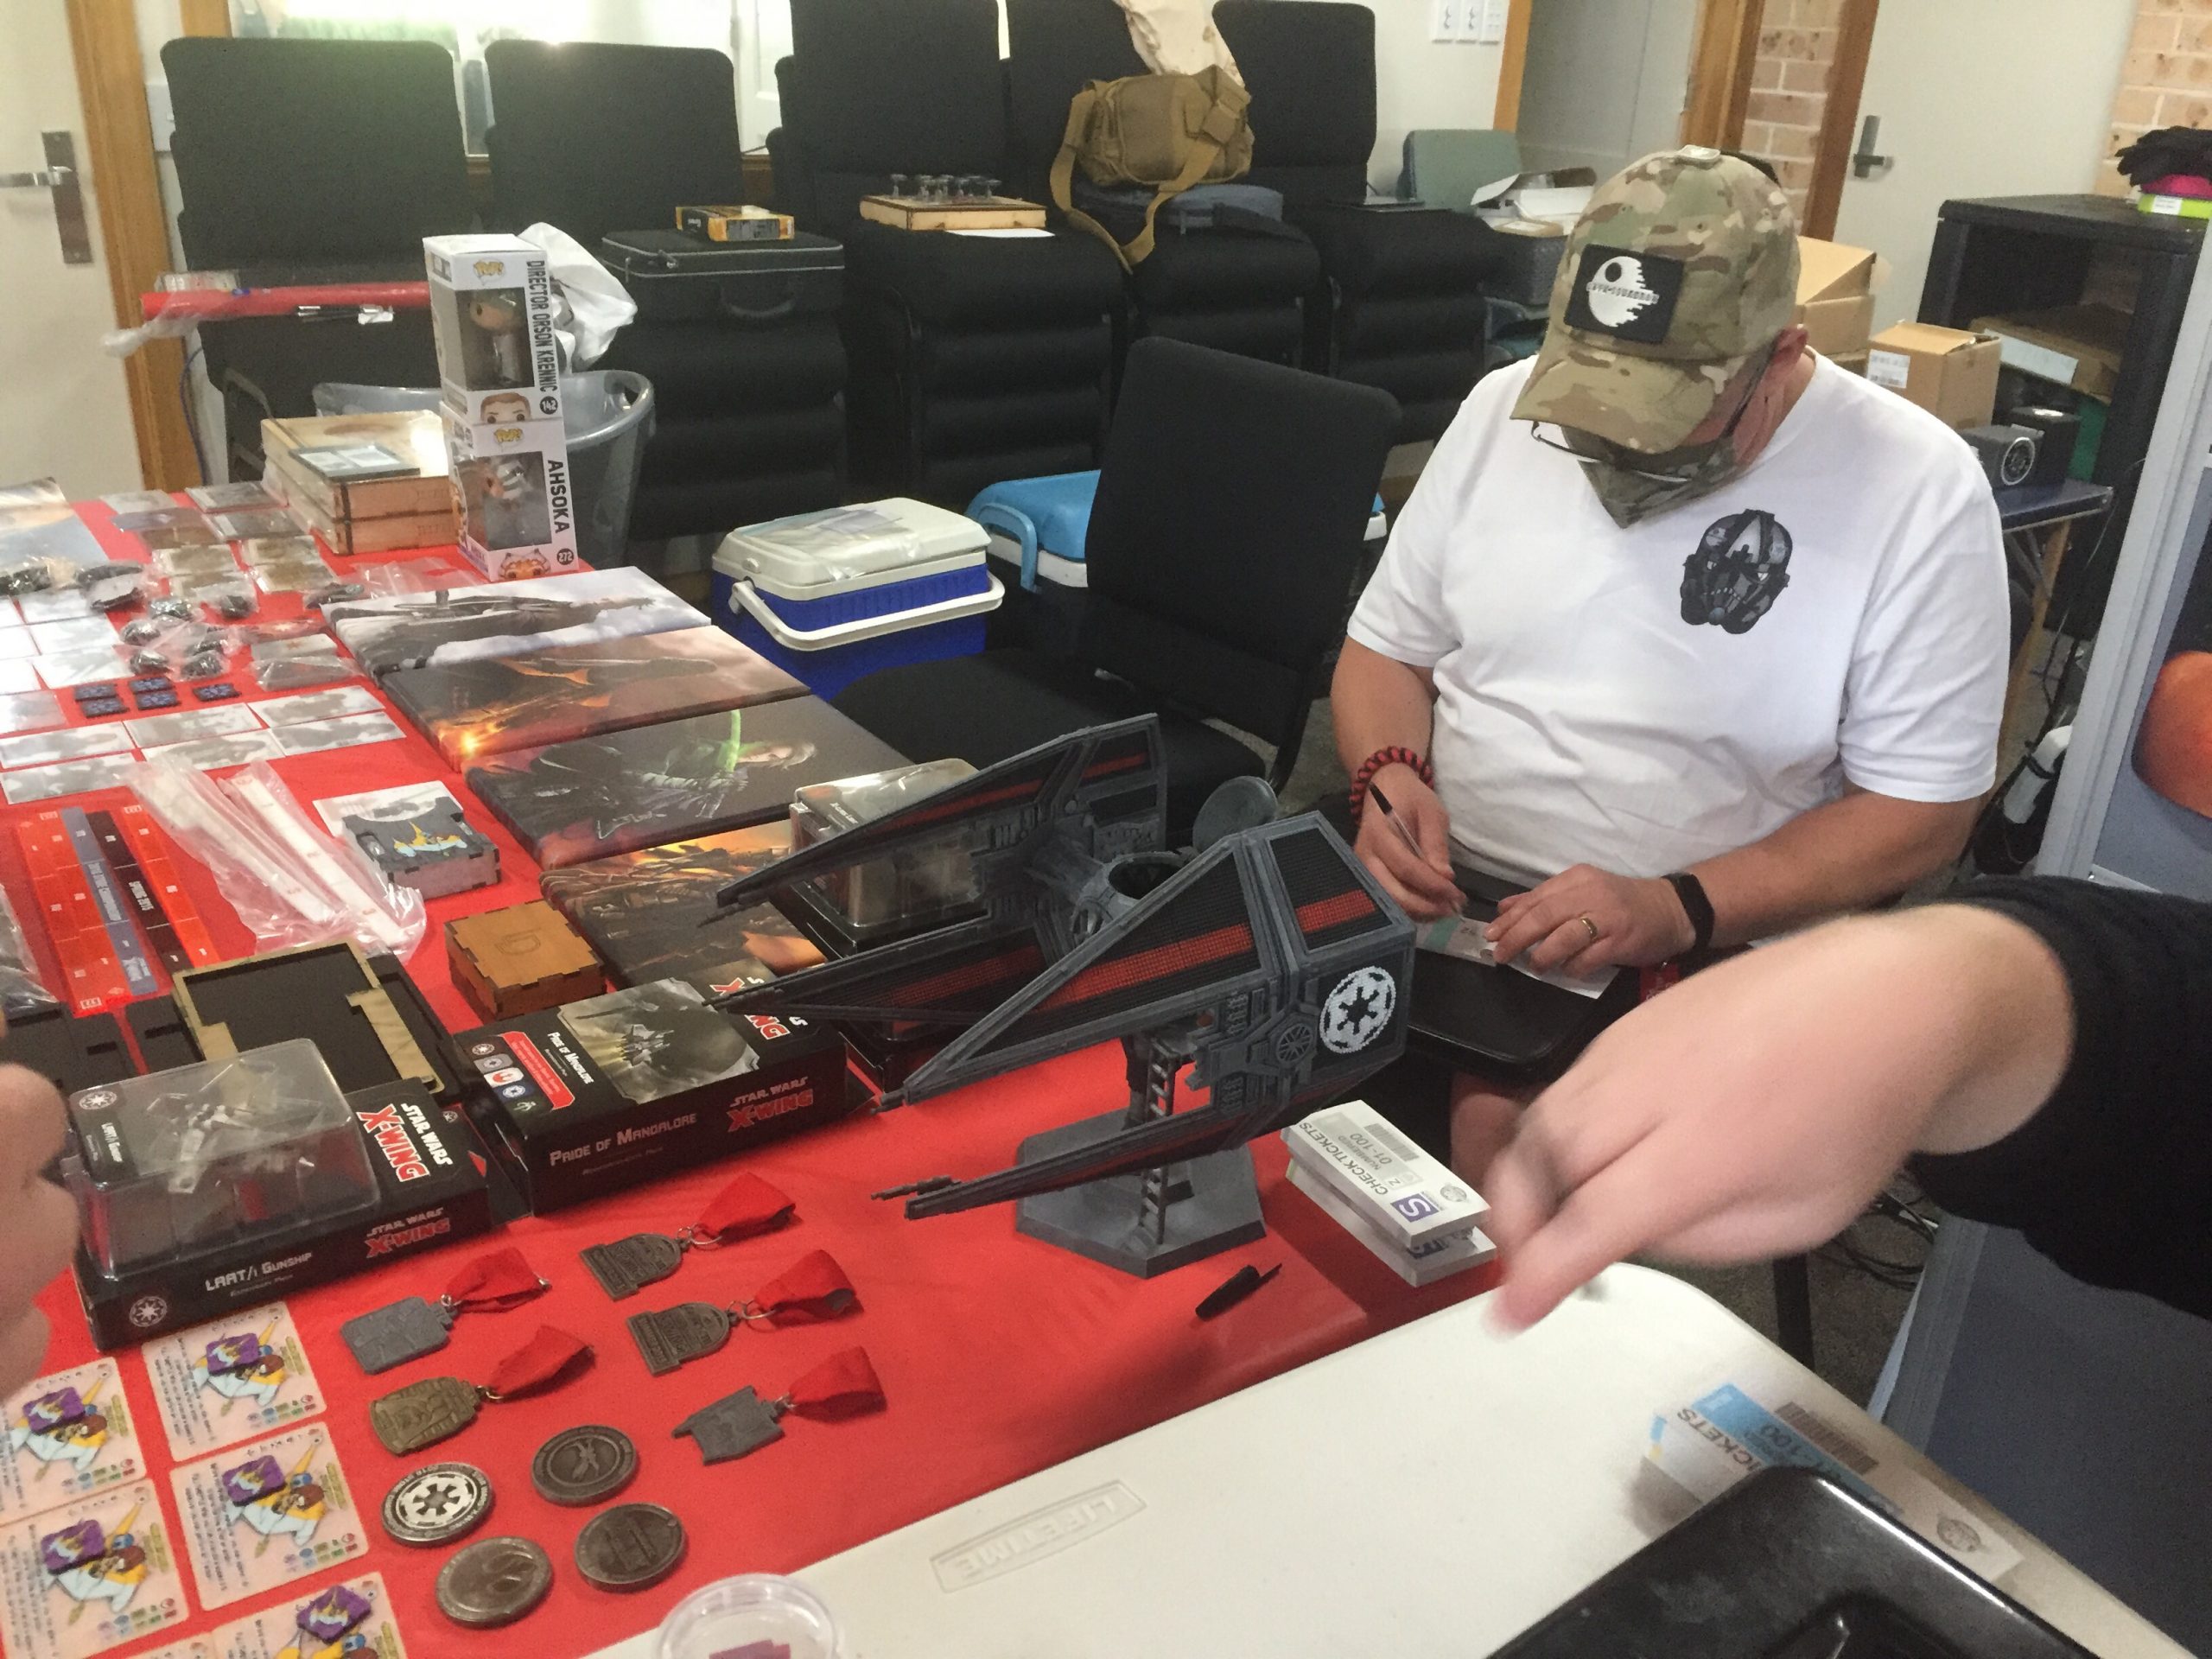
Here it is on the day of the raffle! I later found out that we raised over $1500 for the charity, and one person bid $600 hoping to win this ship. So it was a little bit sad that they missed out, but that person how now commissioned me for a ship they REALLY wanted, so it all works out in the end.
Overall this was a fun project and I’m glad to see it done. I’m not sure when I’ll do the mk2 Interceptor; I have a few other projects I’d like to finish first (see the prior post) and I’ll need to buy a lot more grey paint…

